Creating a New Organizer Topic
Once content is developed in Workbench Analysis and ready to be published, create a new Organizer from the Seeq Home Page.
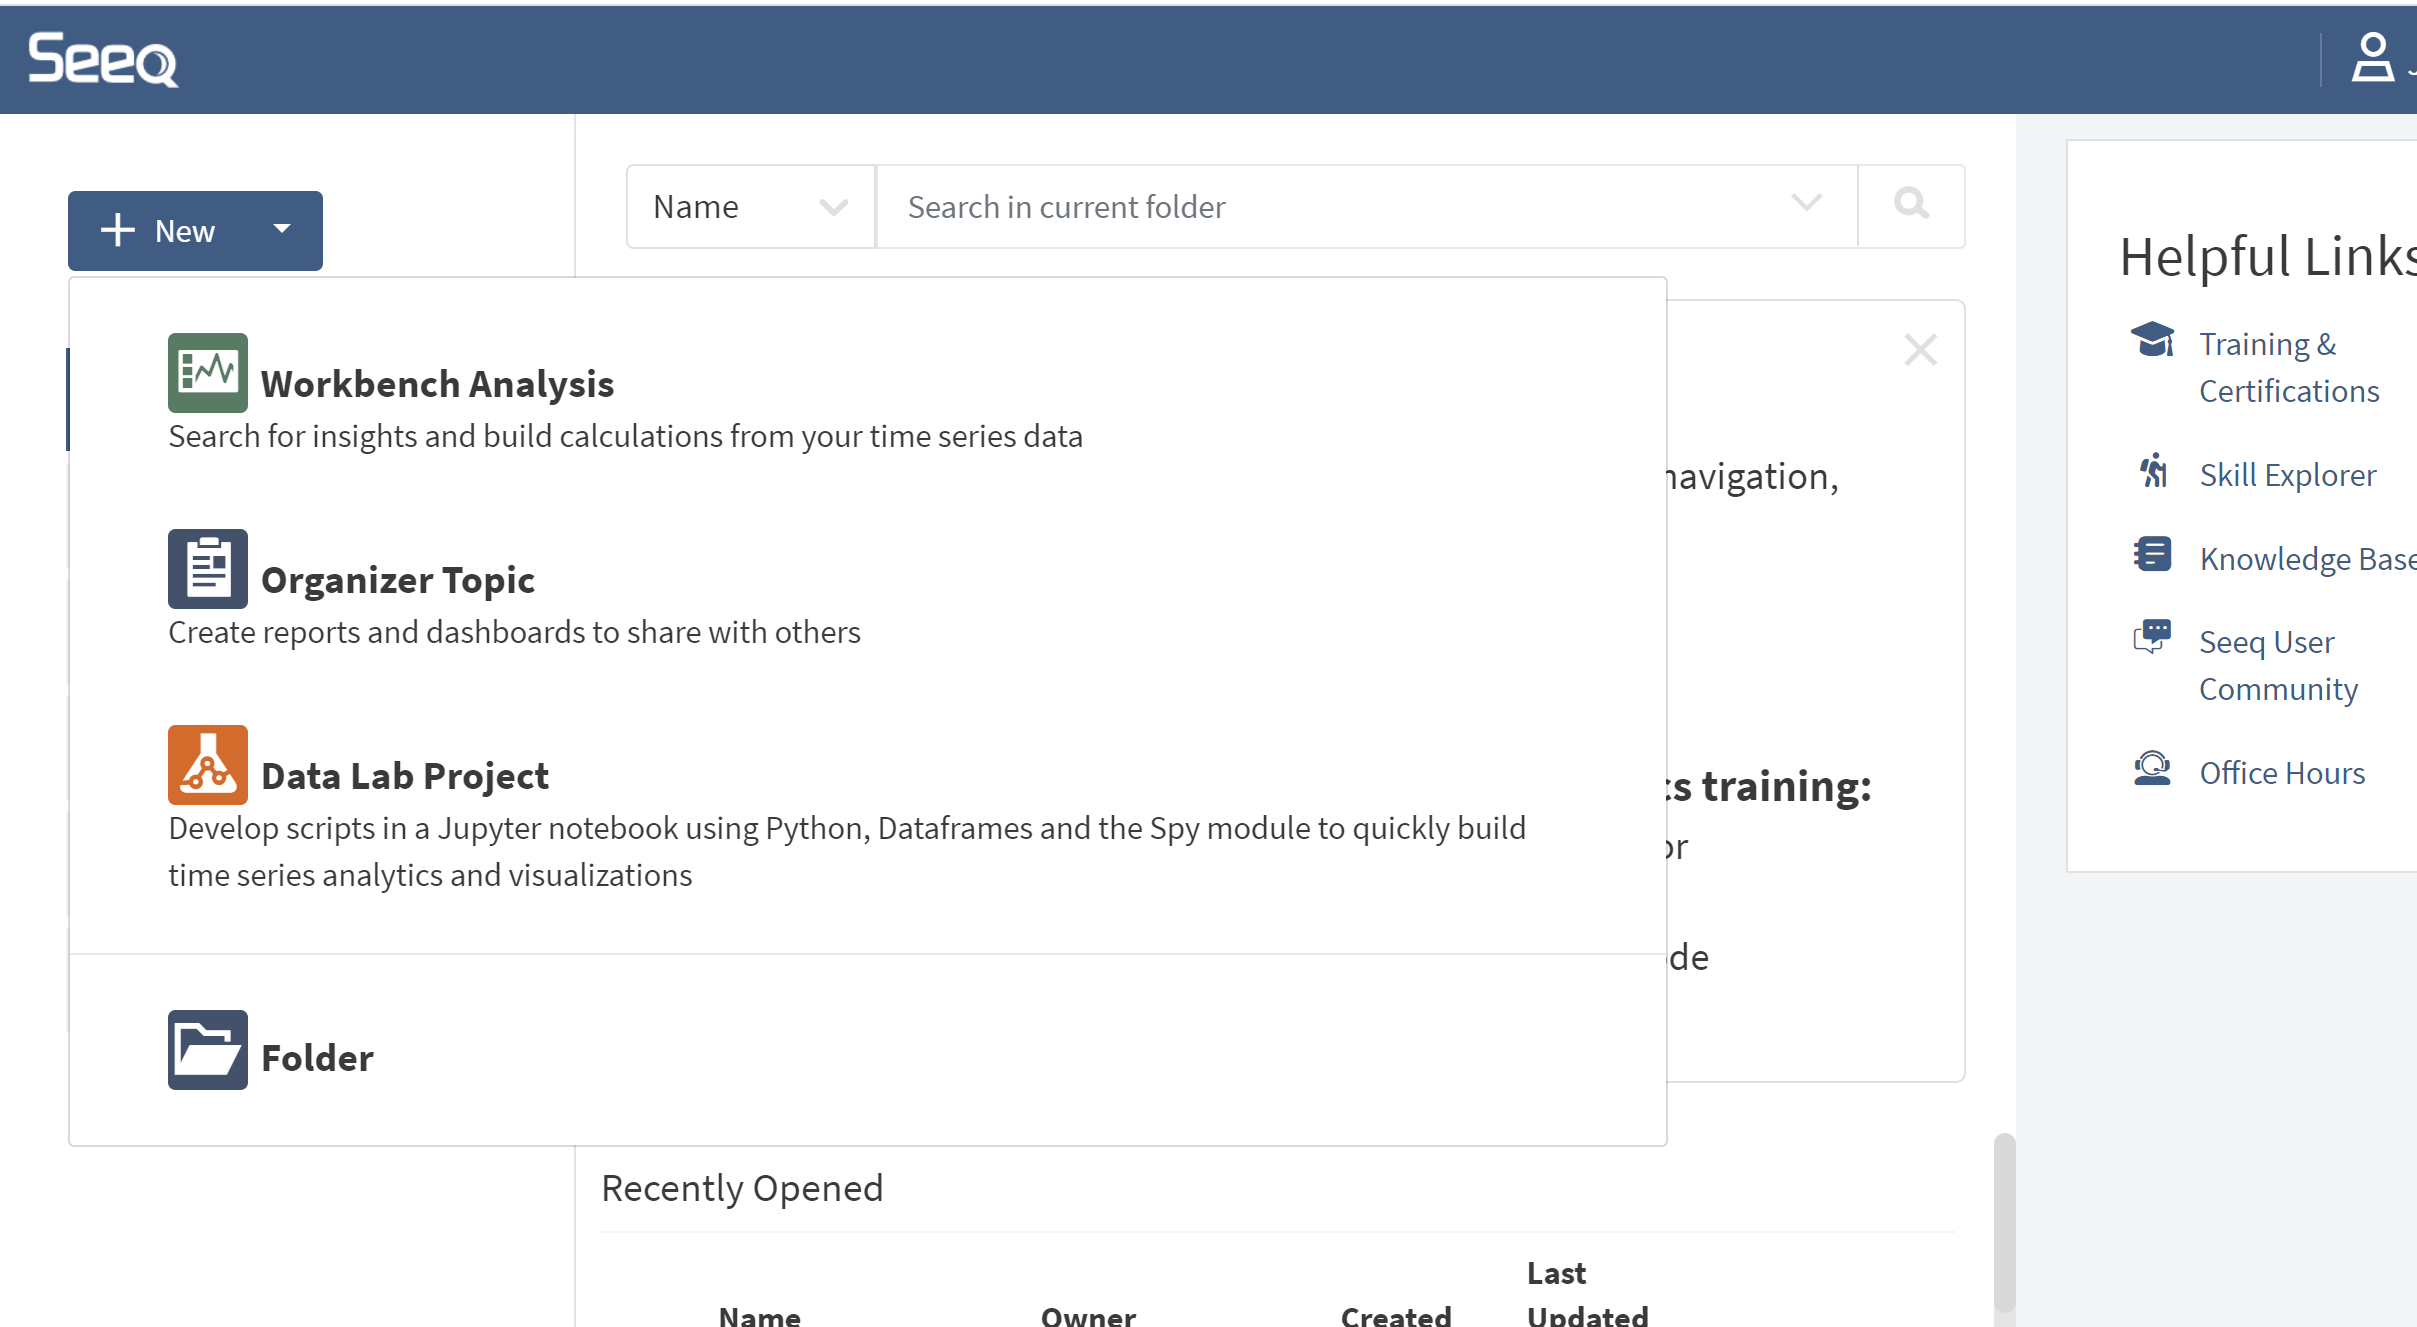
Select the New button on the Home Page to create a New Organizer Topic.
Whether the Organizer Topic is a Document or a Dashboard, it will be a web page that can be shared with others to view or edit. Documents are recommended for reports or when placement of page breaks are important when not viewing in a browser.
Any Seeq content can be attached to a Date Range or Asset Selection so that the content can update to display data for different date ranges or data from different assets without updating the underlying workbook. When shared with others as a View Only document, those users can also opt to make updates to the dates or asset selections to update the data on the page without changing the original document. Read more on this in the View-Only Experience page.
Organizer Topic Document
Organizer Topic Documents are fully editable text documents. This is the current default for all newly created Organizer Topics.
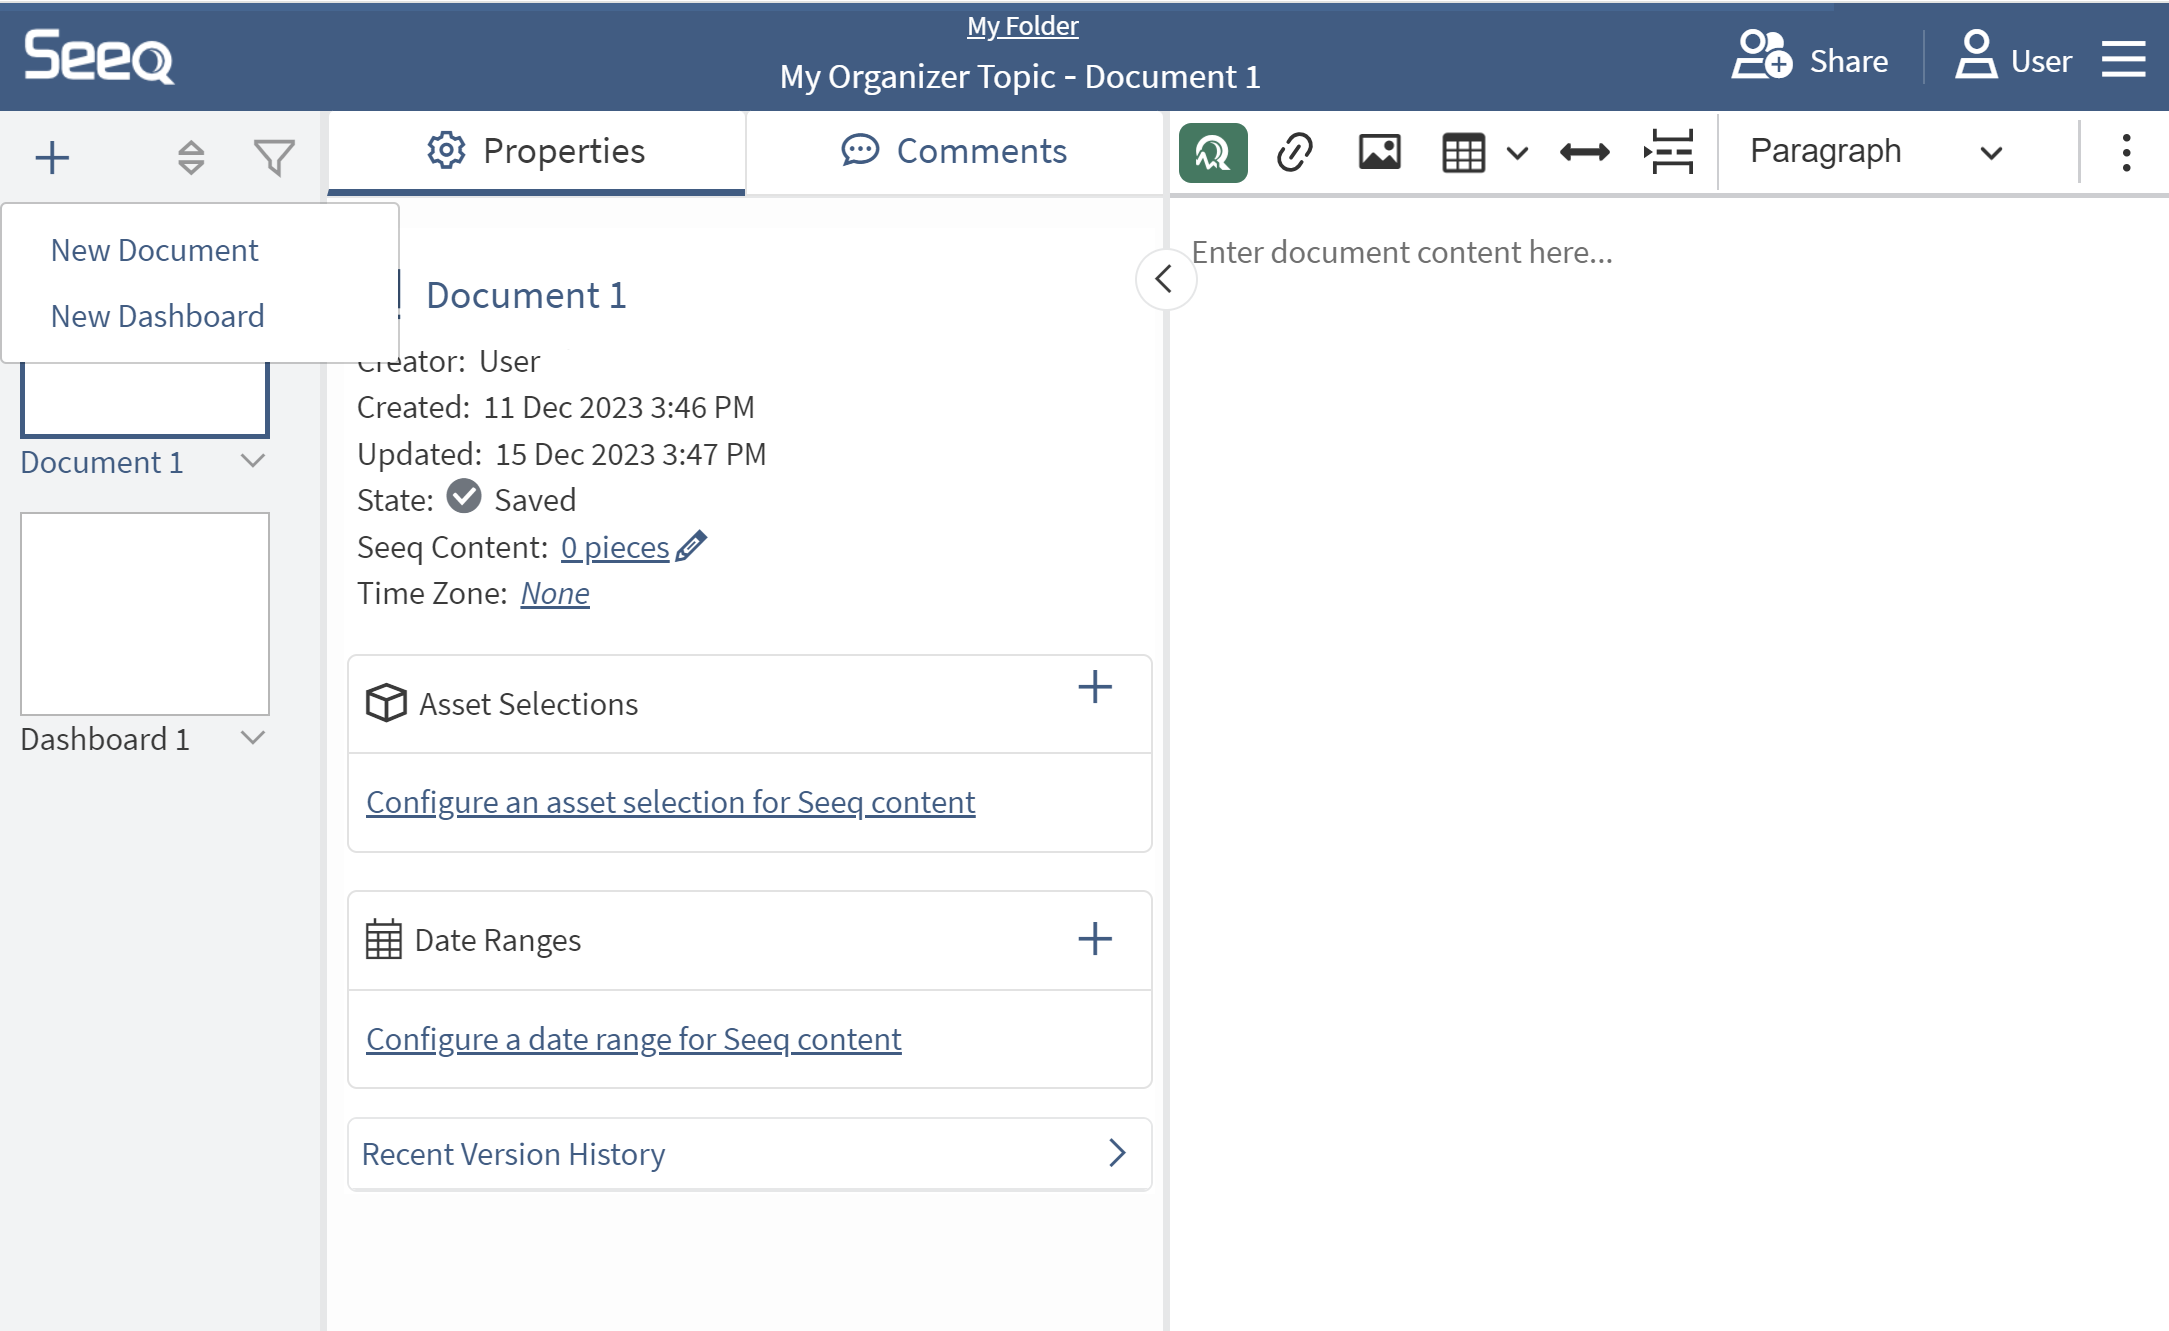
Use the toolbar at the top for text formatting and inserting new content.

This toolbar is also used to insert external links, pictures, tables, and publish PDFs when complete. Tables are recommended to organize content on the page so that trends or charts can display adjacent to text sections.
The toolbar also has a button to toggle the document between automatic width and fixed width modes. If you want to create a report to publish to PDF, fixed width will give you a better experience anticipating how the content will display in the configured PDF page size. If you want to share the document as a webpage with others who may open from a mobile device or a variety of screen sizes, automatic width is recommended. In automatic width mode, the content will resize to fit the width of the screen.
Using Organizer Templates
Designing your own report or dashboard can be overwhelming. Templates are available to help users more quickly access layout options for content inserted in Organizer Topics. Users can insert one or more templates into the same document.
Templates can be accessed via the first dropdown in the Toolbar, similarly to inserting content.
Select any template in the list to see a larger preview, and insert if desired or navigate to an alternative template. The template will be inserted wherever the cursor last was. Then proceed to insert content, associate Date Ranges, and Asset Selections or update text and modify colors or fonts as desired within the template. Date Range and Asset Labels can be very helpful to minimize future updates to your document.
Templates are only supported when the Everyone group is enabled. They will follow more specifically applied access control such that only certain groups or users can see and view them, but the user interface does not yet support applying different access control. Use the API or Data Lab using spy.acl as a means of modifying access control.
Templates can also include Placeholders instead of empty cells. This placeholder is a link that will launch the insert content modal, but you can also multi insert from a single placeholder and drag and drop non-interactive content over other Placeholders to replace them.
The HTML for this placeholder is <span class='customCkComponent insertContentLink'>, so you can include that in any HTML you post via Data Lab Projects or through the API, or copy and paste these around a Document after inserting a template, then post that as a new template.
Organizer Topic Dashboard
Organizer Dashboards use tiles that can be rearranged on the page. There are currently Seeq Content and Text tiles. If you do not need to create a multi page PDF, consider using a Dashboard instead of a Document.
When adding a new page within an existing Organizer Topic, you have the option to choose between Document and Dashboard.
Dashboard content sizes differently than Document content. Use the bottom right corner to resize. Tables in Dashboards can can have a max height and scroll.
Dashboards do not yet support duplication.
Content Permissions
By default the creator of an Organizer Topic determines access of all content shown on the page. Administrators can set a different user other than the owner to be used when determining access to all content within the topic. This option can be found in the Edit user interface available from the home screen. When sharing Organizers with other users with View Only permissions, it is recommended you give those same users View Only access to the underlying Workbooks so that they can make transient changes to the dates or assets. Read more about this on the View-Only Experience page.
