
Tree Builder is a new feature, only available for customers with the Enterprise Package (inclusive of legacy IEM Suite).
For more details, or if you are interested in unlocking the capabilities outlined below, please reach out to your Seeq Account Team.
Overview
Tree Builder allows you to create, view, and manage trees with a no-code user interface. Tree Builder uses a bottoms-up approach, starting with a list of all signals, scalars or conditions that will be contained within the tree, and then uses additional columns to group those items into a multi-layer tree. Additional columns that identify structural information about those items or other properties relevant to future analysis (such as asset name, location, equipment type, manufacturer) can easily be added to the table, either through rules or manual entry. Multiple trees can be built using the same starting table and once created, you can navigate your trees in Workbench to streamline data discovery as well as in a Scaling Table to scale out analyses.
Tree Builder enables effortless, self-service enterprise structure with improved data navigation and discoverability with:
-
Multiple search options to find your data (leverage existing asset trees, import CSVs, search based on custom properties or datasources, etc.)
-
Flexible, rule-based logic to accommodate differences in tags
-
Rapid bulk updates and manual entry to continuously crowd-source information from your experts
-
Easy onboarding of metadata and signal names from CSVs
-
Sharing your analytics across your organization or team
-
Automatically include new items with scheduled searching
-
Creation of multiple trees using the same metadata, organized for the specific views you need
Tree Builder vs. Scaling Tables vs. Asset Groups
If you’re aiming to build structure with flexible logic, automation, and high-volume deployment, Tree Builder provides more flexibility and power, especially for large enterprises and organizations. In addition, Tree Builder allows you to:
-
organize across your Enterprise; Tree Builder and Scaling Tables were designed for large scale applications
-
share your work across Workbooks: Tree Builder tables can be made Global.
-
manipulate text columns, to be used to add critical metadata like location, manufacturer, friendly names, etc.
-
leverage fallback rules to add new property information.
-
manage and navigate your large tables effortlessly through sorting, filtering, rearranging and hiding columns
If you need to manage a smaller group of assets, or to create a tag mapping manually when none exists, Asset Groups are still available for use.
While Tree Builder is fully focused on building and maintaining trees and metadata, it was built to work with Scaling Tables to create and deploy calculations. Scaling Tables searches can leverage the trees built in Tree Builder.
One key difference between Tree Builder and legacy Asset Trees / Asset Groups in Seeq is that jump tags are no longer created. A single item can be in multiple Tree Builder trees, and rather than creating a pass through copy item, the original item is placed in the new asset tree and can have several references called the Alias.
Accessing Tree Builder
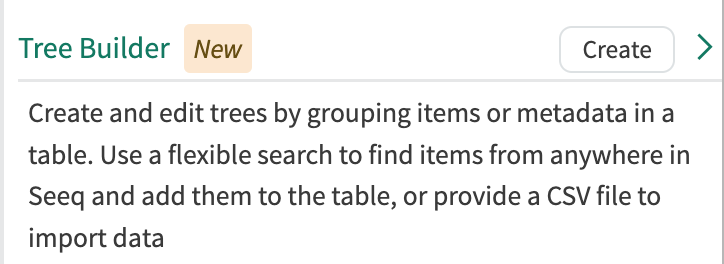
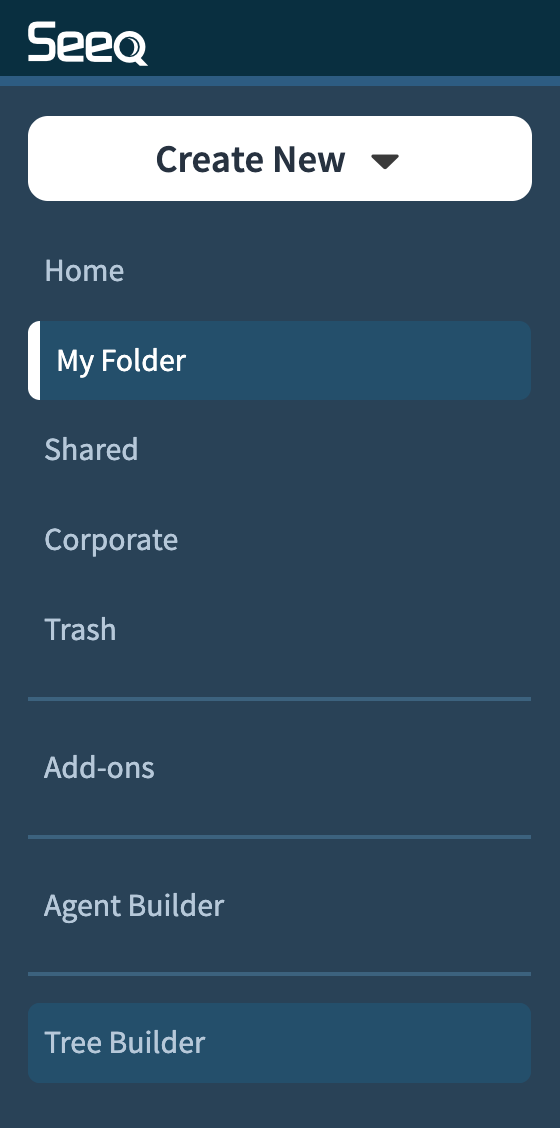
From the Home Screen: Click the "Tree Builder" card in the navigation area along the left-hand side. When entering from the home screen, users can view all of the tree builders that they have access to, edit them, or create a new tree in the Tree Builder Overview page.
When creating a Tree Builder through this flow, the workbook scope is selected first. The tree can be scoped globally, but by default, it is scoped to the workbook selected in this creation step.
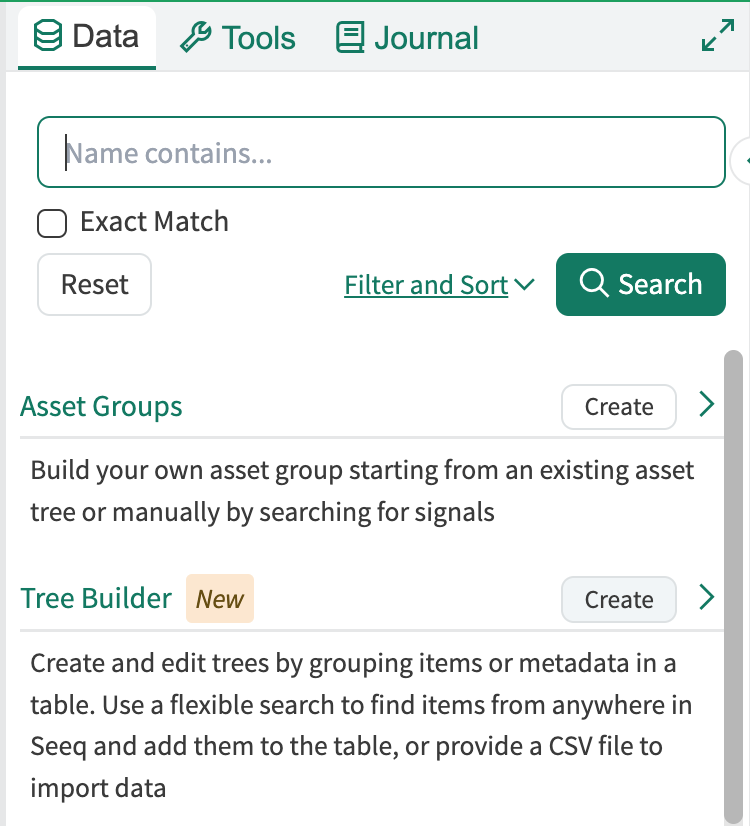
From Workbench: Click the “Create” button next to the Tree Builder area in the Data Pane. Note, this will initiate creation of a new table which will be scoped to the workbench from which it was launched.
Tree Builder Overview Page
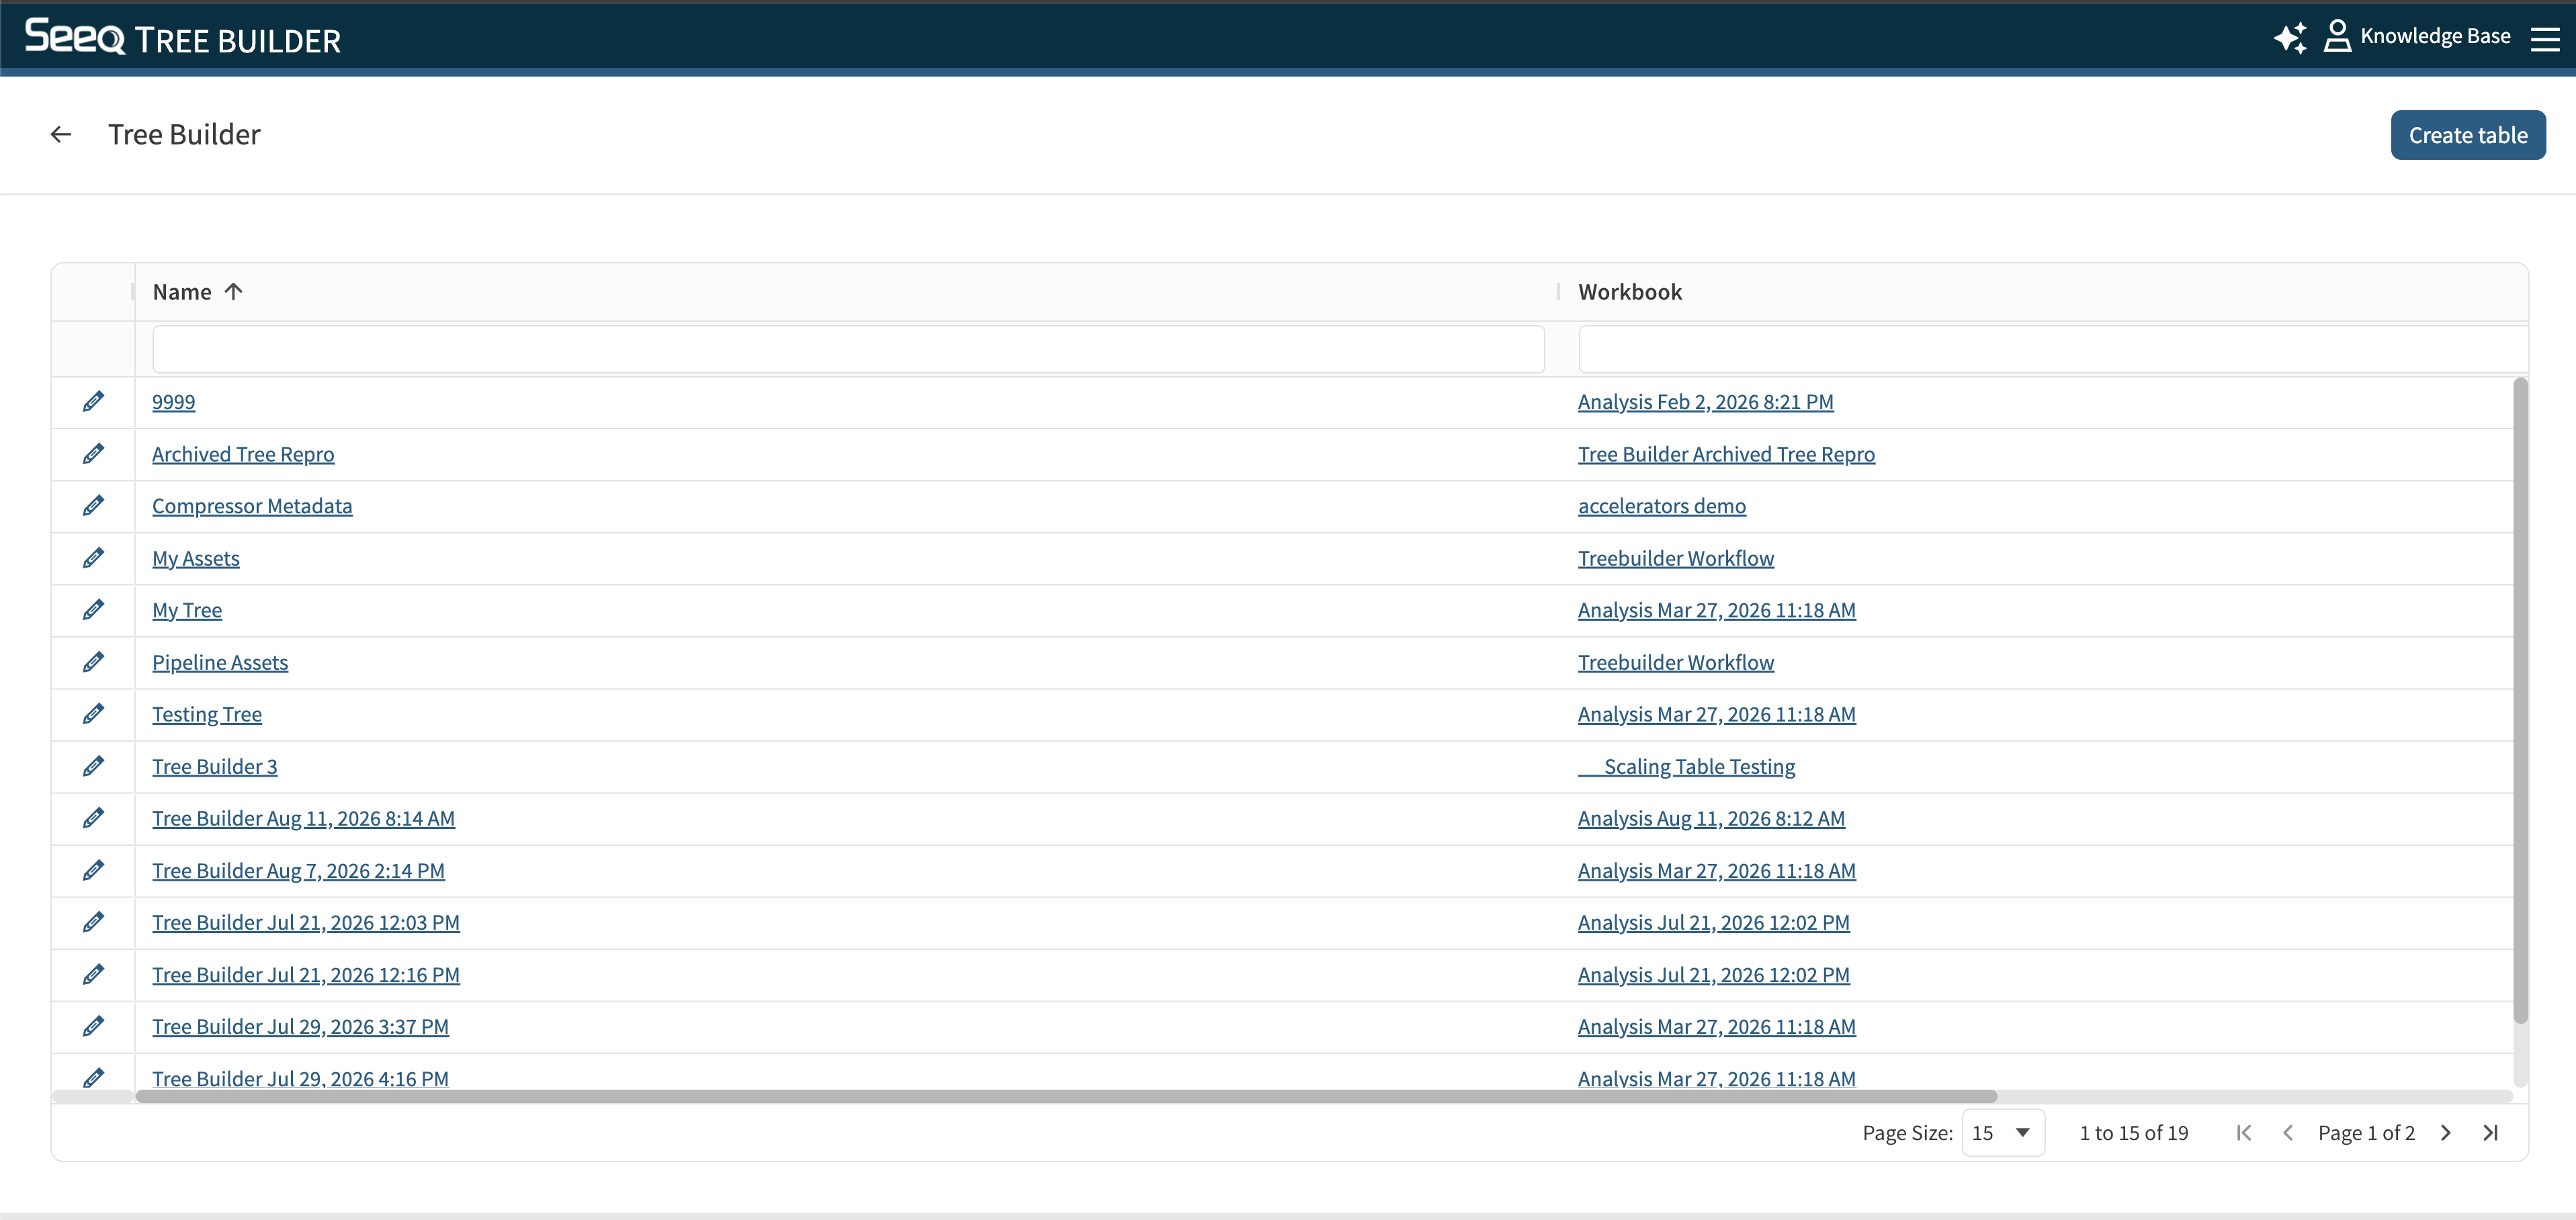
The Tree Builder overview page displays all your tree tables in an interactive table format with the following information:
-
Name: The name of your tree table
-
Workbook: The workbook the table is scoped to, or "Global", if applicable
-
trees: The number of trees defined from the table
Both the Name and Workbook columns are clickable and will navigate you to the Tree Builder Editor, or Workbench Analysis the table is scoped to, respectively. Users can also create new trees from this page.
Tree Builder Editor
Getting Started
Begin by navigating to a Workbench Analysis that has items you want to arrange into a tree or select the workbench when creating through the Tree Builder Overview.
Then, click the "Create" button in the Tree Builder section of the Data tab or in the Tree Builder Overview page.
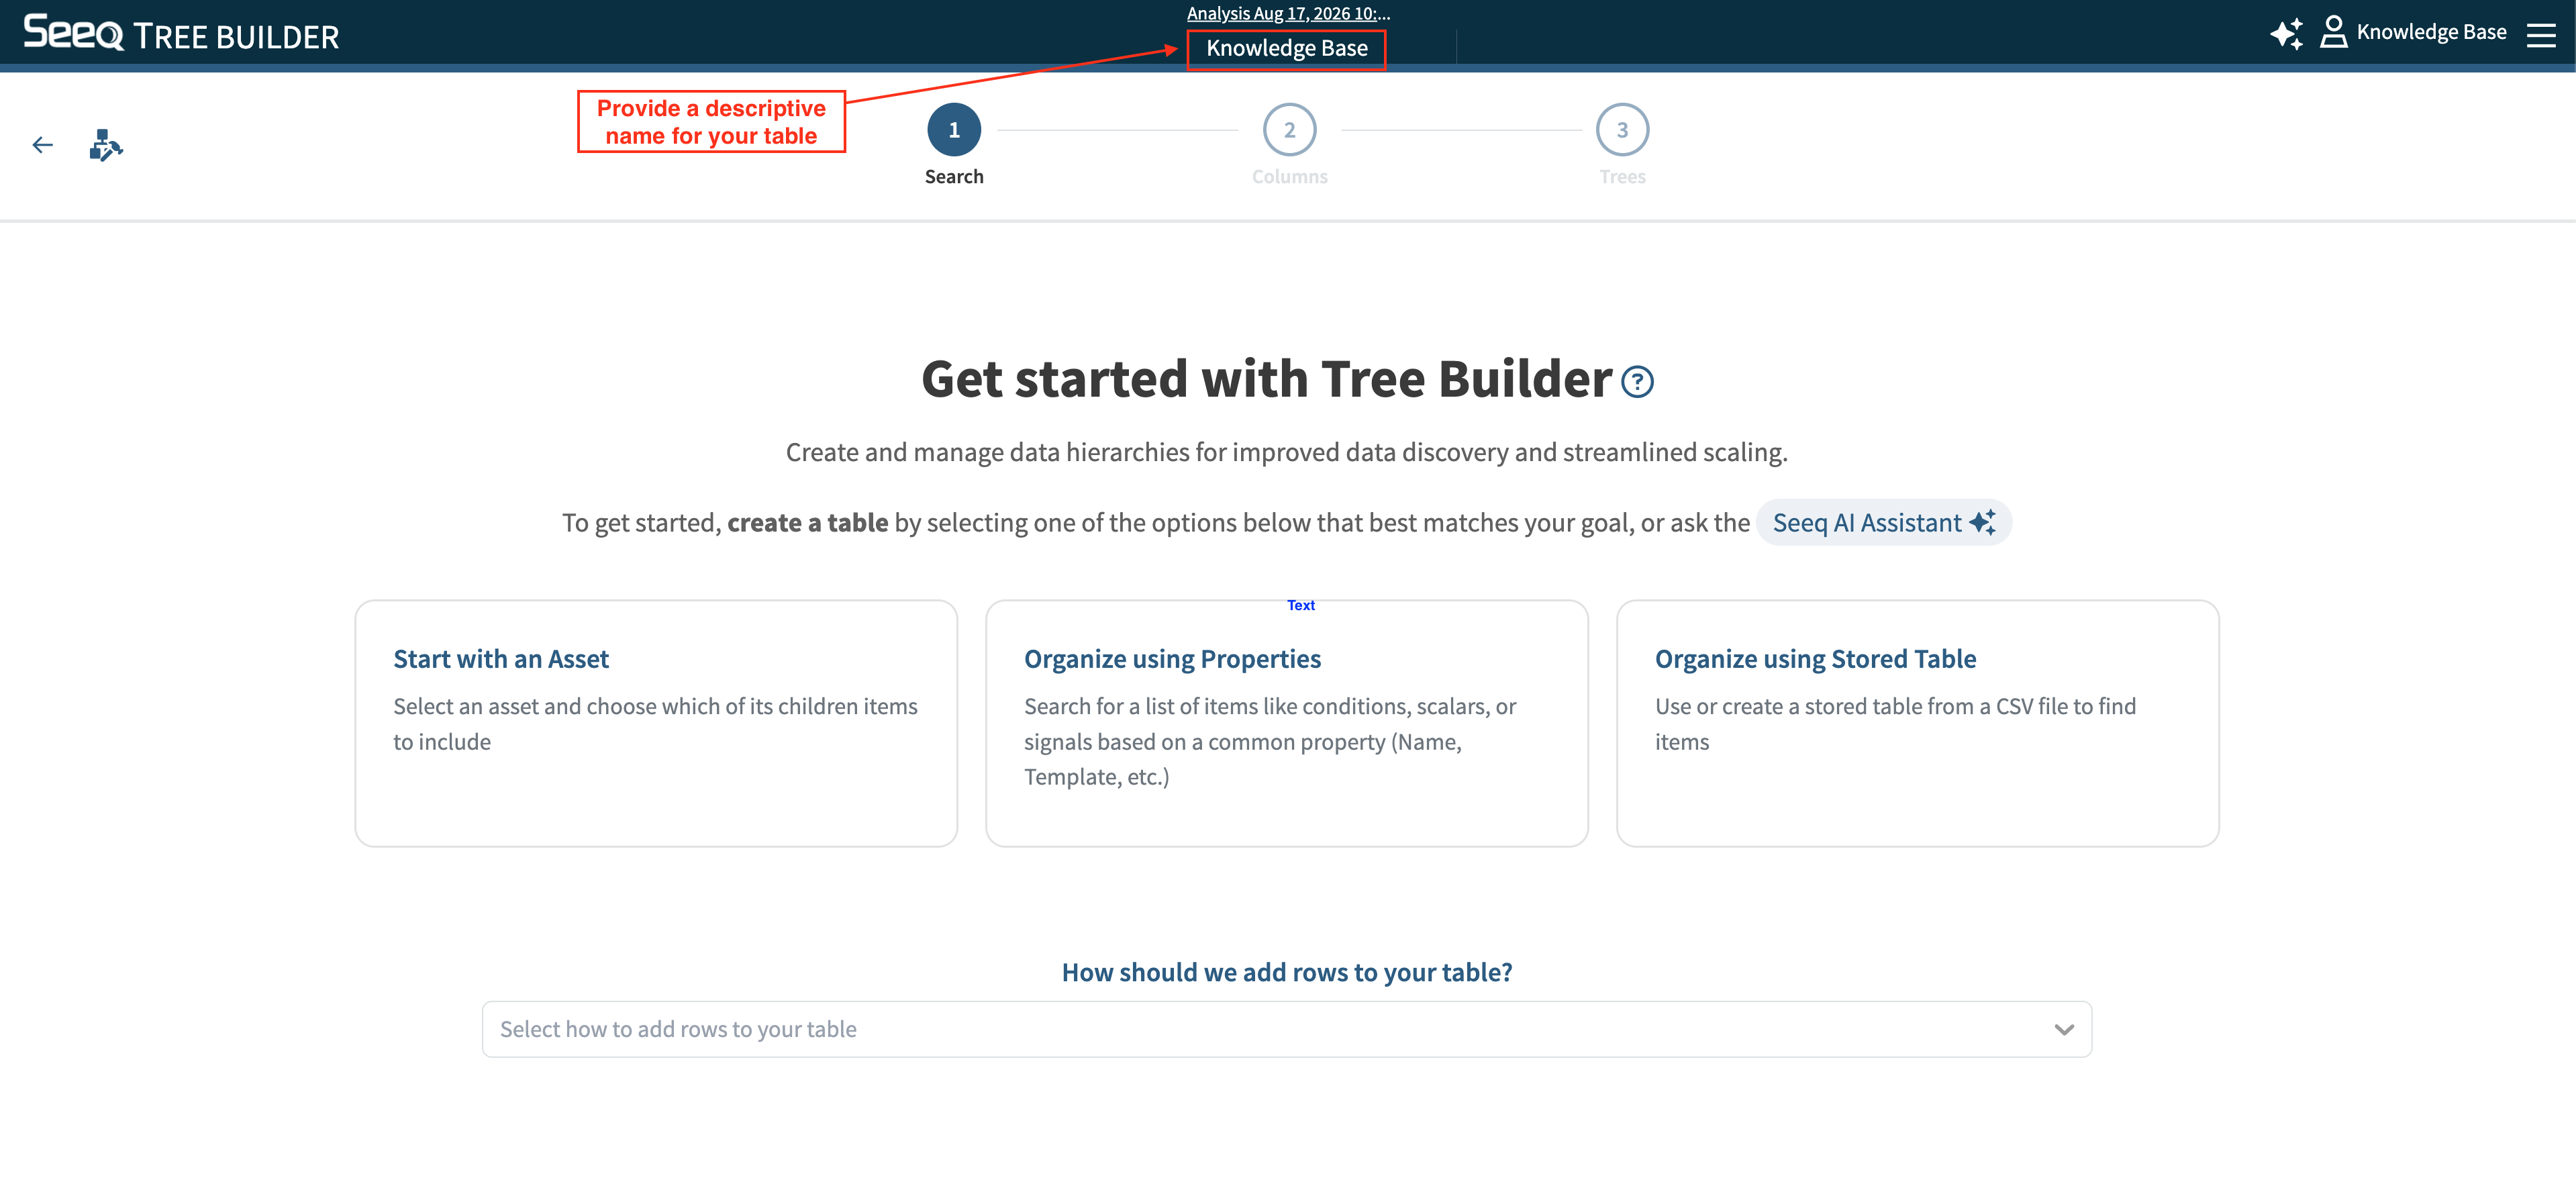
Enter a descriptive name for the new Tree Builder Table based on the tags and metadata you plan to organize. This name is specifically for the Table, not the resulting trees, so its recommended that the name reflects the source or metadata that you plan to organize within this Tree Builder.
Creating a Search
Use the form to create a search that will find all signals or conditions that you want to organize into a tree. There are several shortcuts provided to get started, whether you have properties that you can search by, or a csv file with your items and the new metadata. You can also explore the full search options in the dropdown rather than selecting a shortcut. Multiple search types can
Tree Builder uses a bottoms up approach to build structure. For this reason, most searches are filtered to find signals, conditions, or scalars rather than assets because in most cases, signals, scalars, and conditions are the desired lowest level of the tree. If an asset is selected as the item type to filter by, those assets will become the lowest level of the tree, and no signals will be placed underneath them.
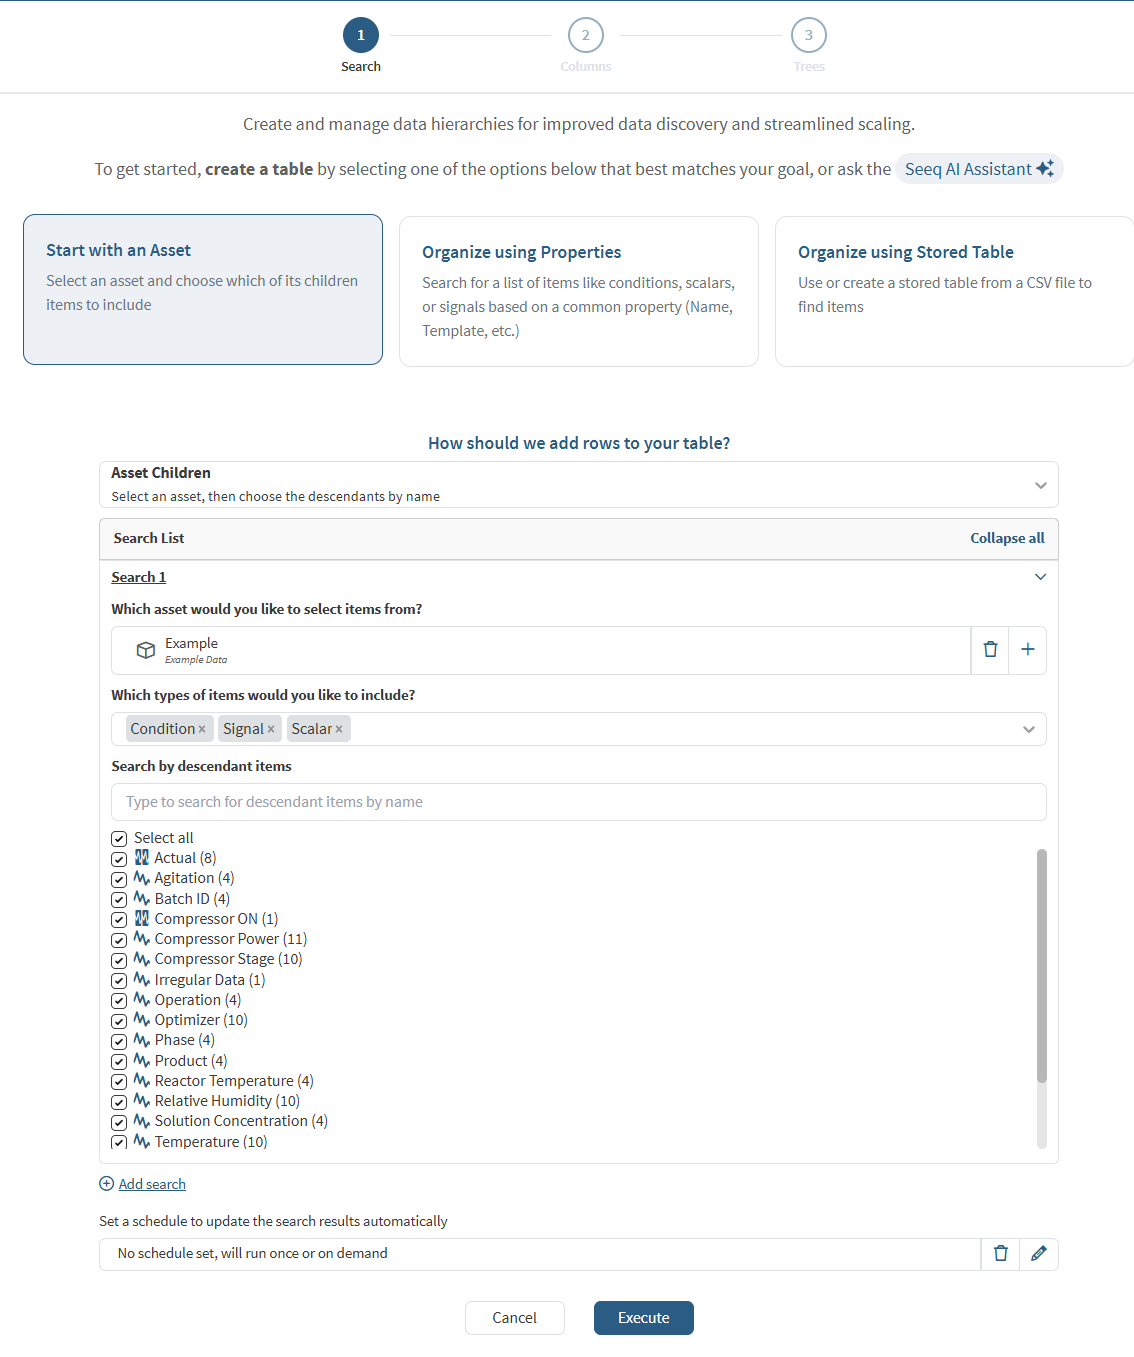
Start with an Asset Shortcut
In order to avoid the bottoms up confusion of Tree Builder, the shortcut for “Start with an Asset” allows visually identifying all the non-asset items under an asset. Simply select the item types to find and the asset under which to look for any items. Then choose the items that should be added as Search Items to the table. The filter can be used to search for items in the list returned, but all selected items will be added to the search results.
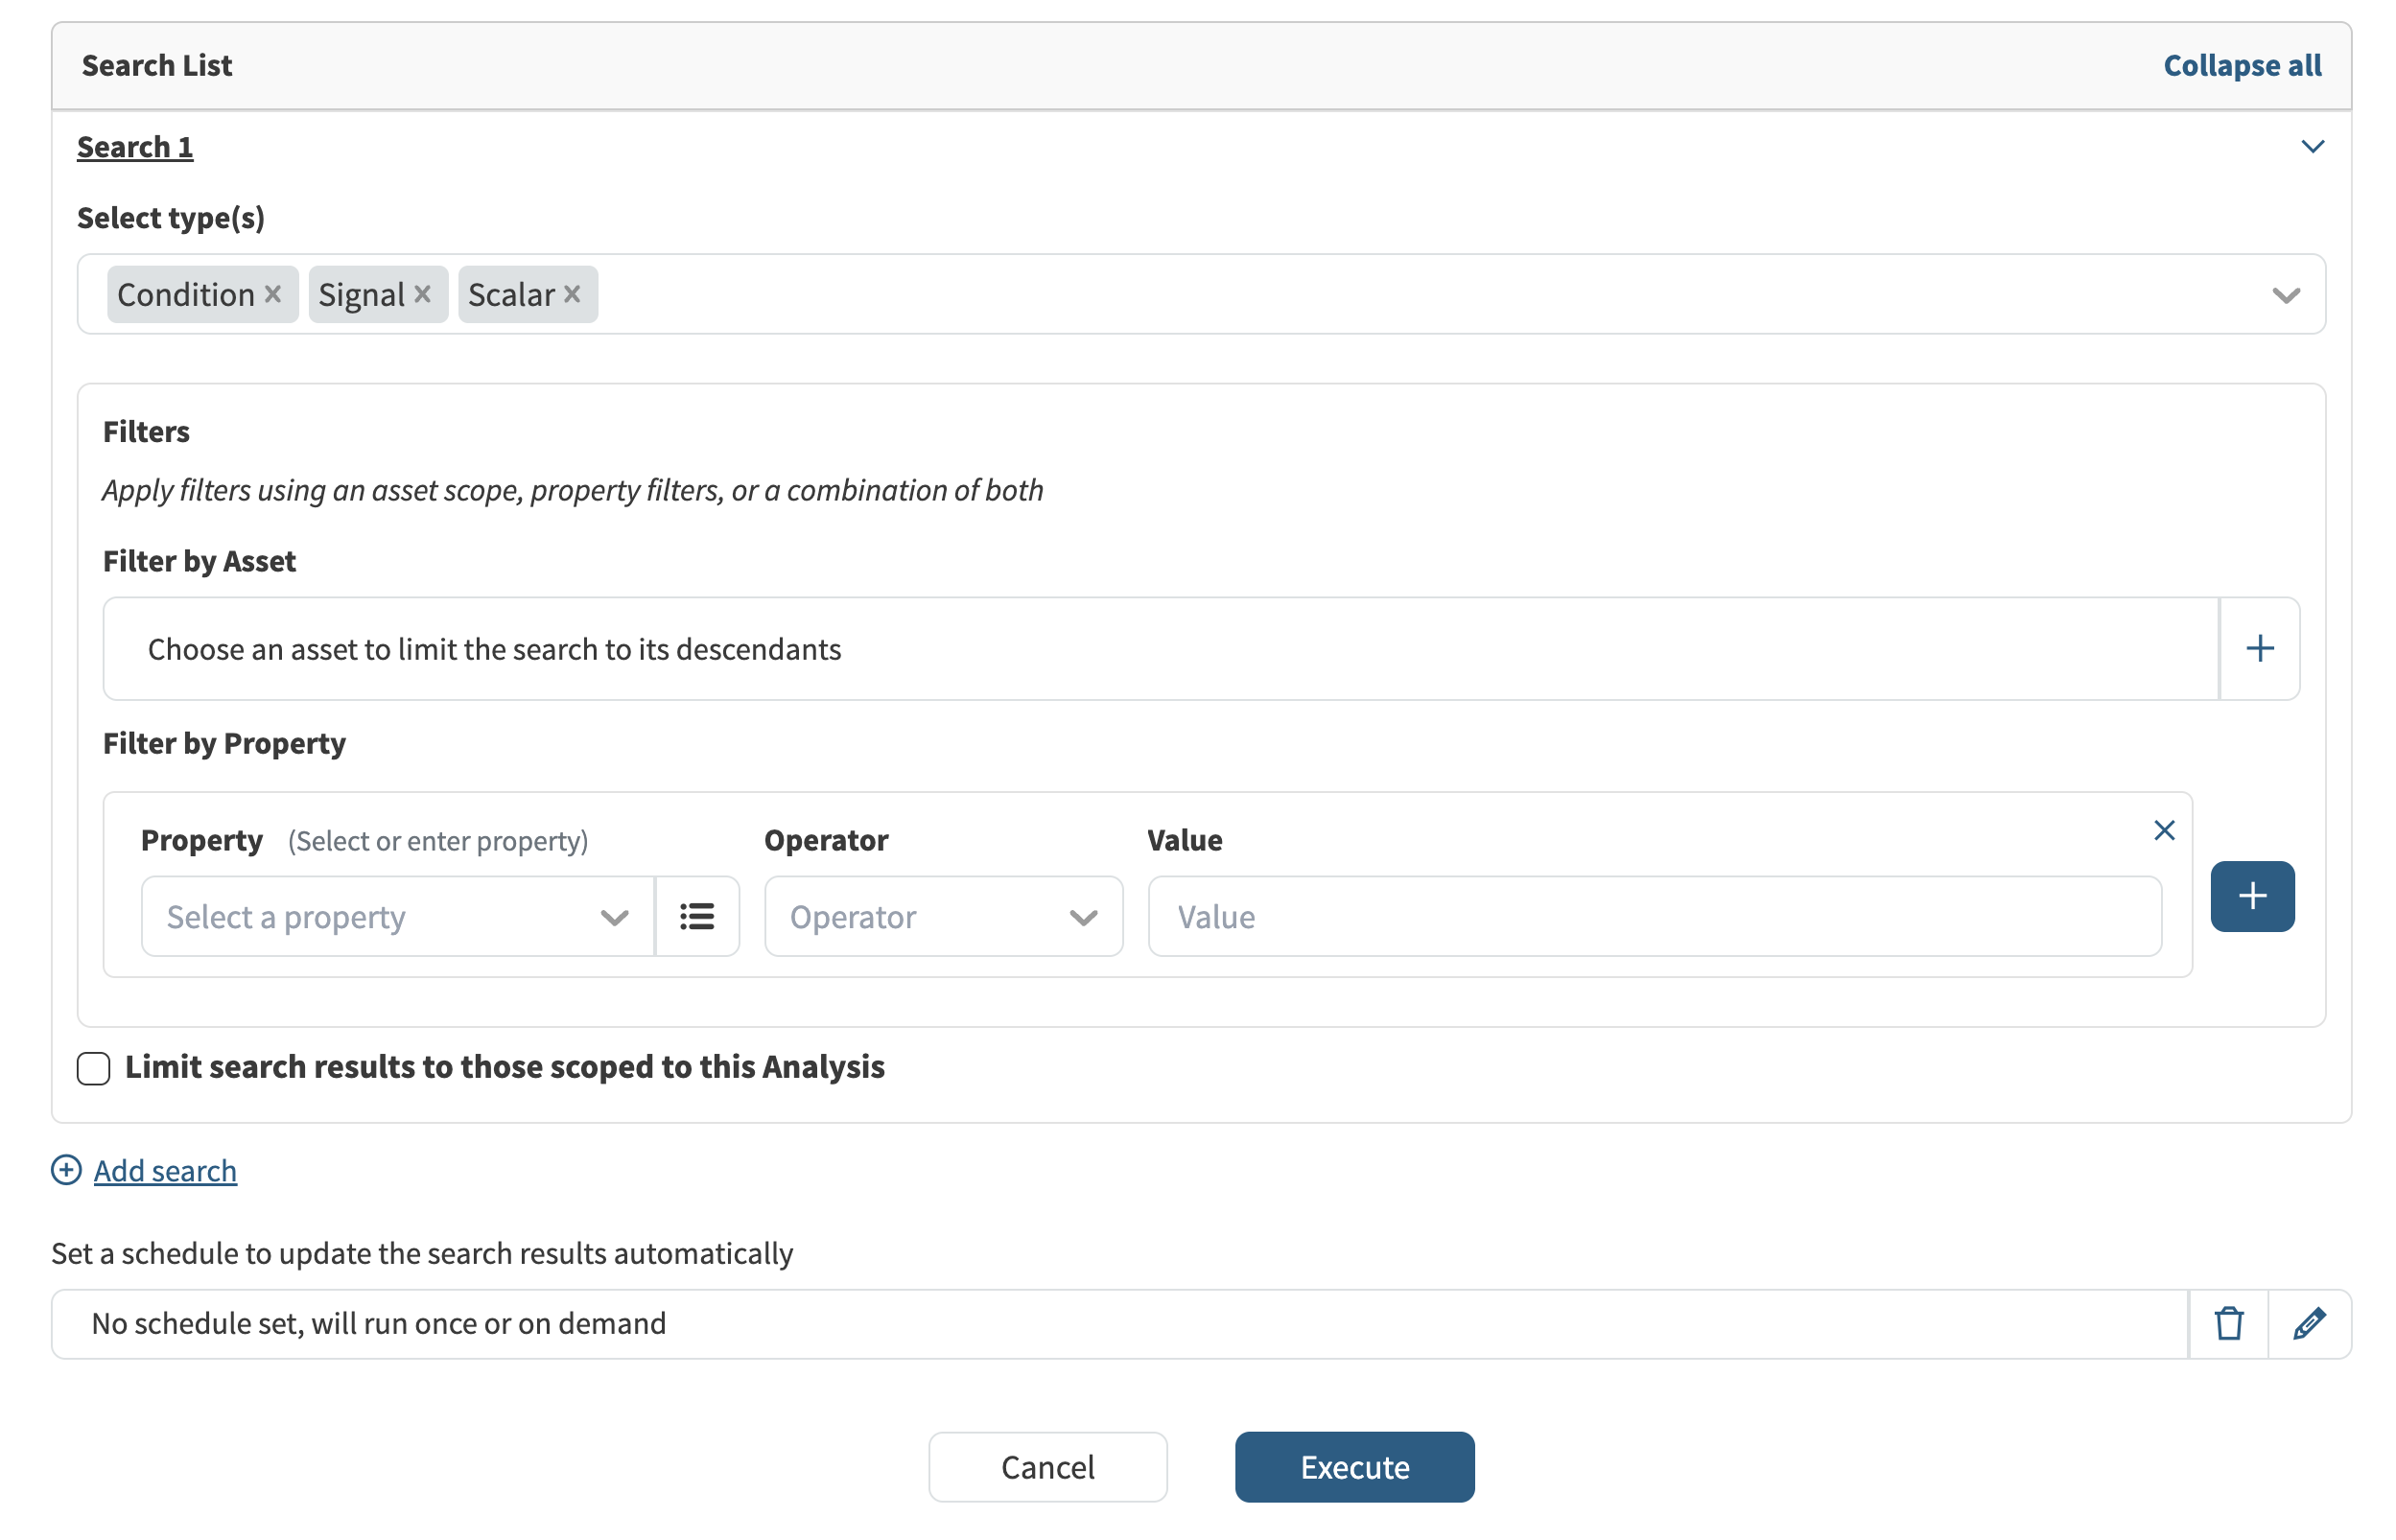
Organize using Properties
This is the most flexible search. You can search for any property on an item, including Name, Description, Datasource, or any custom property. You can further filter by an existing asset tree, and even specify properties of ancestors of the items.
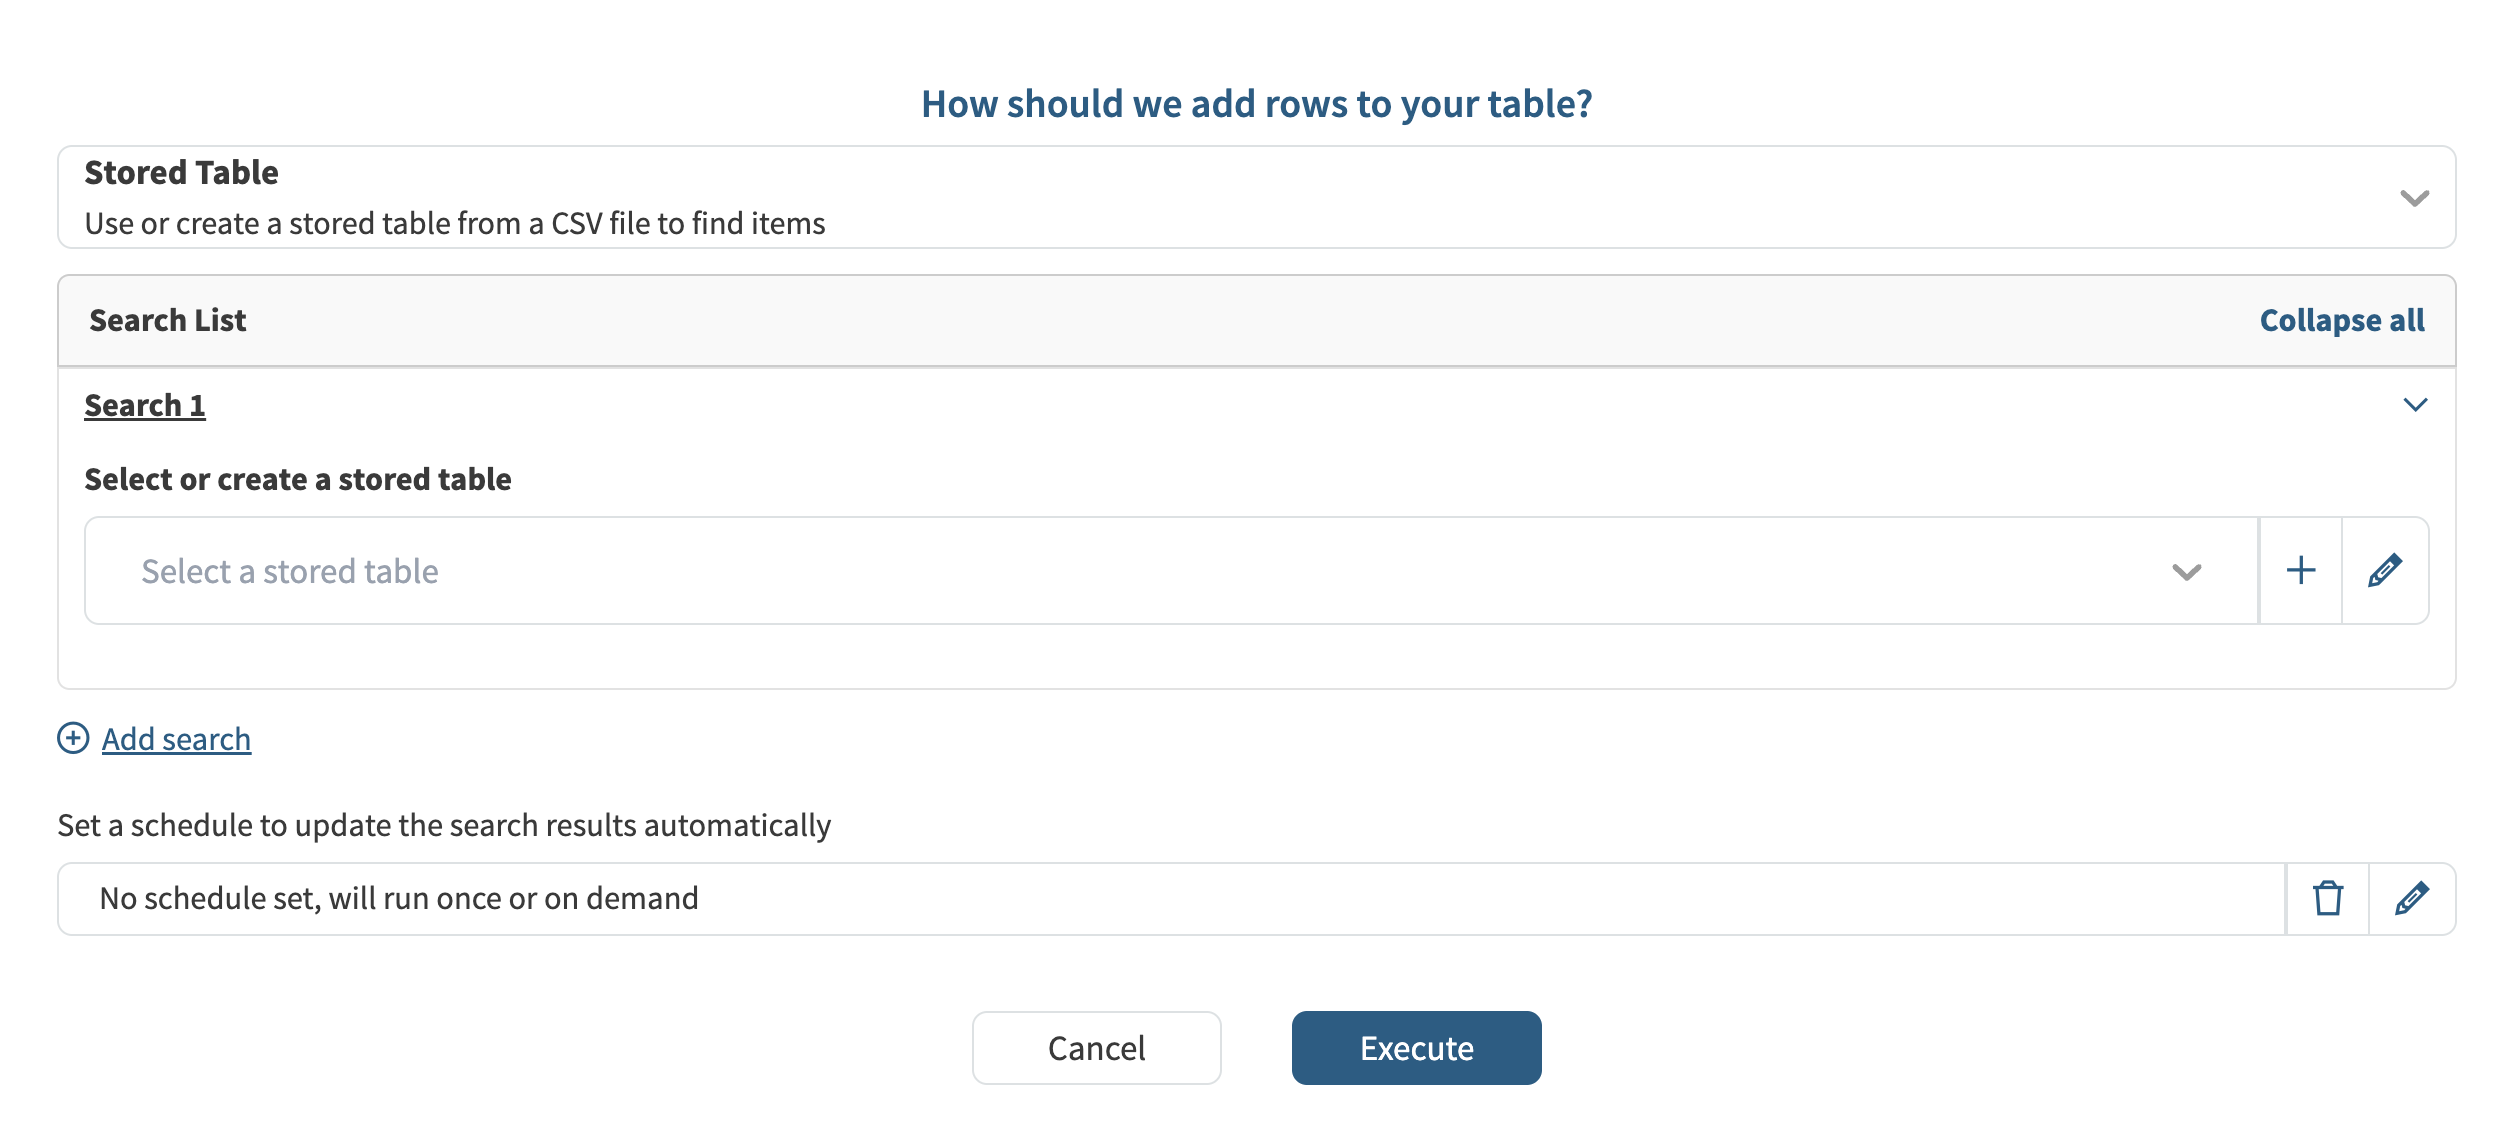
Organize using Stored Table
The final shortcut is to using an existing table as a starting point. This supports CSV import. If the metadata needed for tree creation doesn’t already exist in Seeq, this is a quick way to get started.
Add Items from a Scaling Table
If a Scaling Table uses a Tree created from this Tree Builder Table, you can add its calculated Items back to the shared table
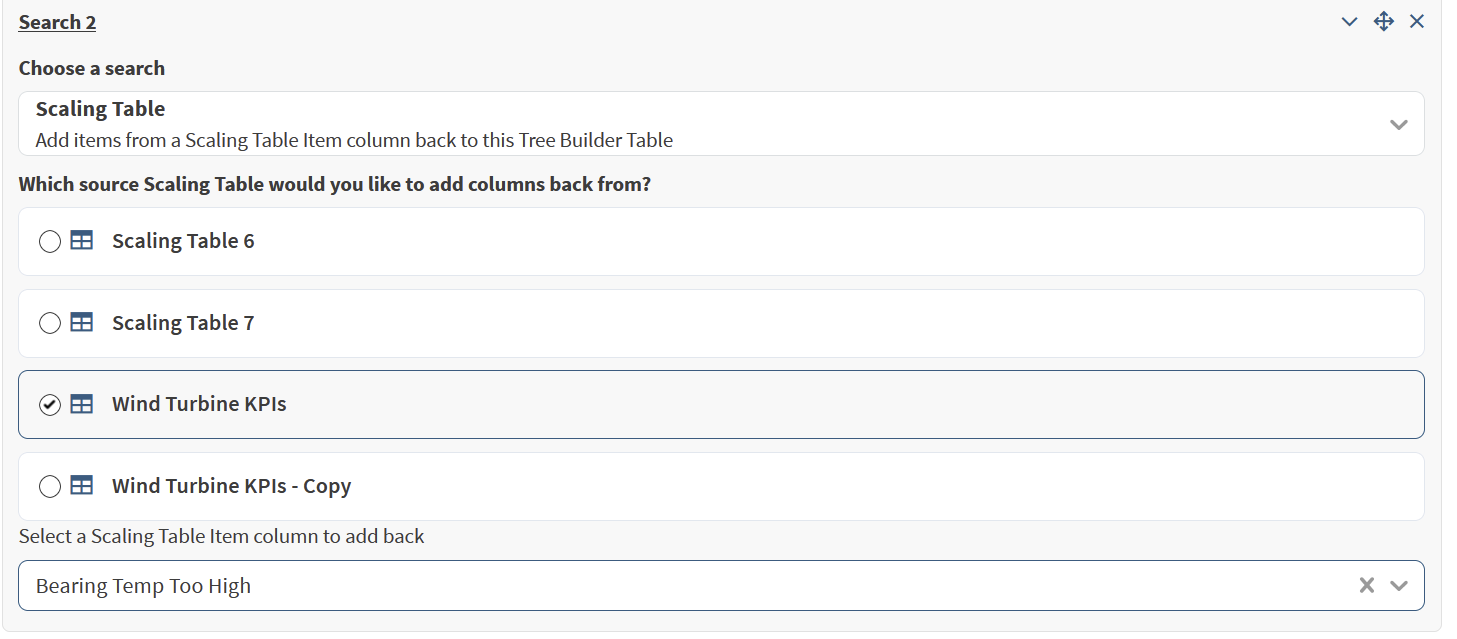
This affects every current and future Tree that uses the Tree Builder Table. Each Tree retains its own grouping and filtering.
Items added this way display an indicator that can be used to view the source Scaling Table and column or open the source Scaling Table. For a Global Scaling Table, first choose the Analysis where it should open.

You can always return to the search to edit, add more searches, or set a schedule by clicking the Search button in the top progress bar.
Adding Columns
Once you’ve found your search items, you can add additional columns to the table that will help you organize it into a tree structure. As reference, the column rules are similar to Scaling Tables, however, the available list for Tree Builder does not include any rules that create new items.

-
For example, you can create a column that is the asset name based off of a property on the item, or a column that identifies the location based on matching a portion of the signal name or description.
-
Tree Builder also allows for Manual Entry to provide metadata that may not already exist in Seeq rather than always having to do a CSV import. New values can be typed in, or copied from external sources or within the table and pasted into the table to fill out the manual entry column. Selecting multiple cells and starting to type will apply the entered value across all selected cells, and drag and fill functionality is supported to apply one value to multiple cells.
-
In addition to metadata like location, sensor type, equipment, or manufacturer, it may be helpful to create a column used to rename the signals with something more easily identifiable for future users. This will become the Alias during the tree creation step.
-
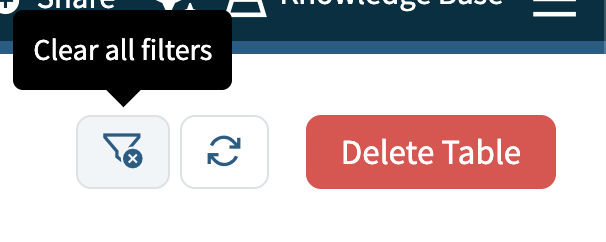
Columns can also be sorted or filtered for validation steps. If the columns are sorted or filtered at the time of tree creation, those will be applied to the trees created as well. The option to clear all filters can be found in the top tool bar.
Creating Trees
Once all of the metadata have been added as new columns, Click the "Trees" tab on the left and then click the "Create" button to start a new tree, or click the “Trees” progress button in the toolbar.

You can use the Tree Levels section in the side pane to add, remove, and reorder levels of the tree. Alternatively, you can drag columns into the grouping section at the top of the table to form a tree. The new column with more easily identifiable names can be specified as the Alias for these items.
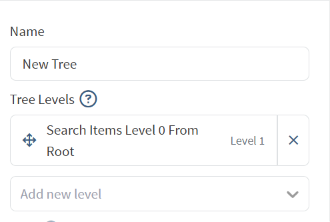
Once you’ve made groups, you can now explore how the tree is organized by expanding each level.
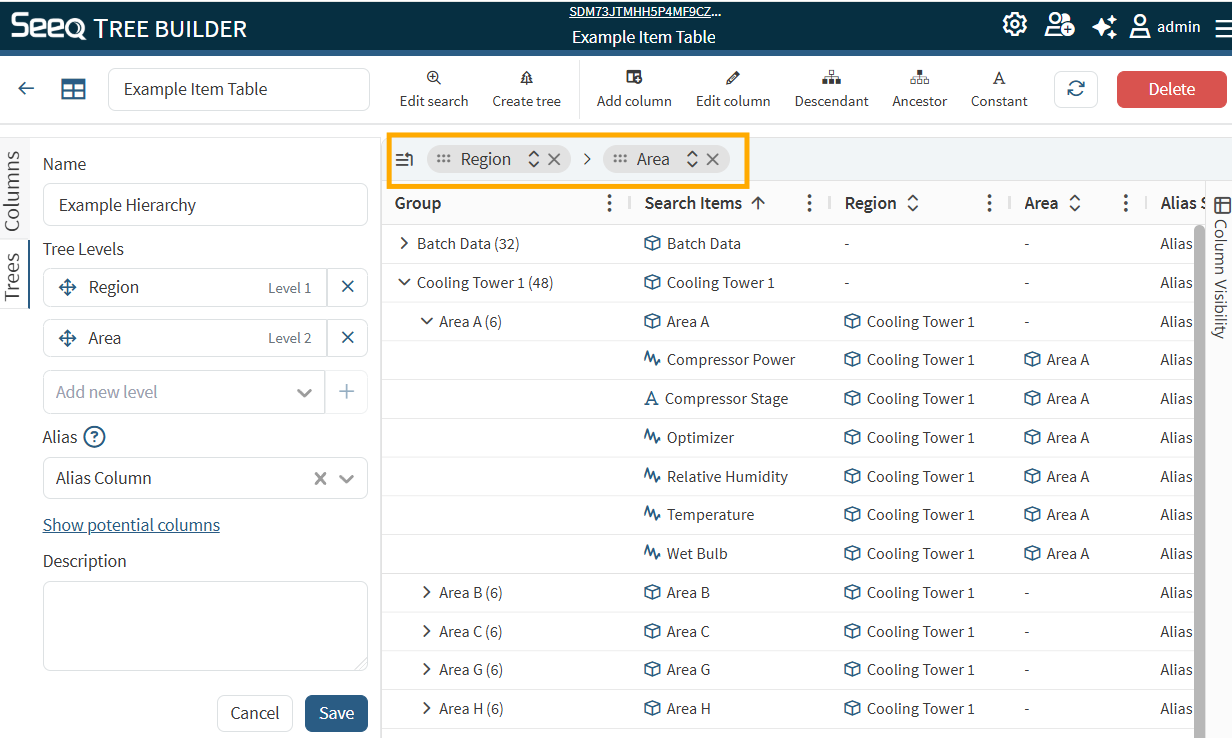
The Alias does not rename the Seeq items as these could be coming from a historian. Instead, it creates a reference specific to the trees created by this table for ease of discovery and use. Because this is a special property that relies on the context of the tree, the same item can have several aliases if that item is added to several trees.
When a tree is saved, any sorting or filtering selections on the table are saved with it and will be respected when navigating and using the tree.
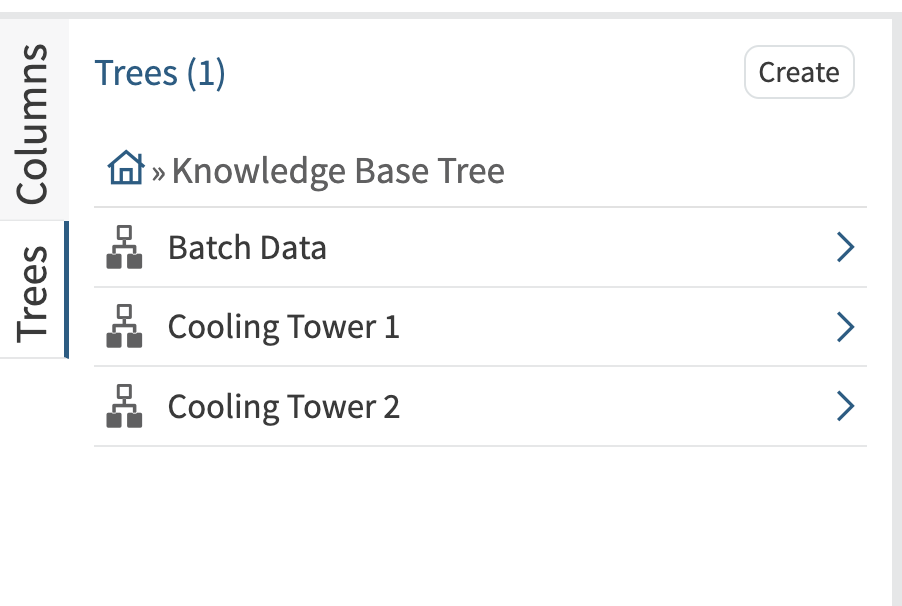
Once the tree(s) are created, you can see a list of all of the trees created from that specific tree builder table. From the left trees pane, you can also validate the new structures in Tree Builder before returning to use them in Workbench.
Filtering Added-Back Items by Scaling Table
Use Add Back Filtering to choose which Scaling Tables contribute added-back items to a tree. Different trees can show different selections while sharing the same Tree Builder table.
-
Open the Tree Builder table, select Trees, and create or edit a tree.
-
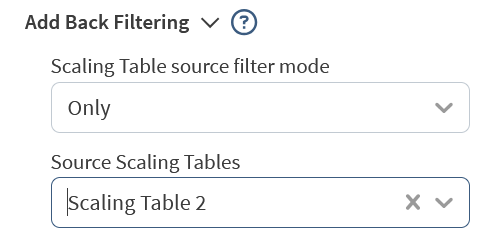
Expand Add Back Filtering in the configuration side pane.
-
In Scaling Table source filter mode, choose:
-
Only to include added-back items from one selected Scaling Table.
-
Exclude to hide added-back items from one or more selected Scaling Tables.
-
-
In Source Scaling Tables, select the source table or tables.
-
Review the filtered rows in the grid, then save the tree.
Both modes keep rows without a source Scaling Table, such as original signals that were not added back. Other filters on the tree still apply.
The grid previews the filter while you create or edit the tree. The filter is saved with that tree, not the shared table, and does not remove items from the table or change other trees. Scaling Tables that search the saved tree also respect its filter.
To remove the source filter, clear all selections in Source Scaling Tables and save the tree. Collapsing Add Back Filtering does not clear it.
Managing Table Access
To control who can view or modify a Tree Builder table:
-
When editing the Tree table, click the Share

-
In the Access Control dialog, you can:
-
View current permissions
-
Add users or groups with specific access levels
-
Remove access for users/groups
-
Change permission levels
-
Working with Global vs. Scoped Tables
To control the scope of a table, click the Settings 
Global Tables
-
Available in all workbooks, for users who have been included its' Access Control plus Administrators
-
Marked as "Global" in the Workbook column
-
Useful for organization-wide data structures
Workbook-Scoped Tables
-
Only available in the specified workbook
-
Useful for project-specific or team-specific data
-
Workbook name will be shown in the header of the Tree Builder editor so that you can easily navigate back to the
workbook.