You can create, edit and disable users & groups via the Administration page in the Seeq user interface. Users and groups can be utilized to grant or restrict access to items & workbooks (both Workbench Analyses and Organizer Topics).
Authentication Directories
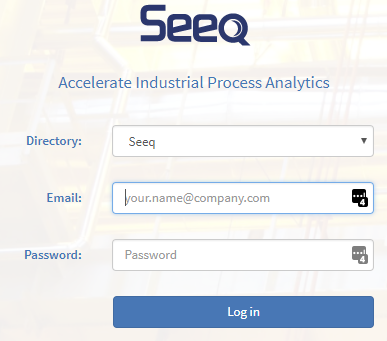
Users are authenticated against a directory. Users are presented with a choice of directories when logging in.
The default "Seeq" directory utilizes the Seeq built-in database to store user authentication information (username and password). This is the mechanism that is used most often to start with, it requires no additional configuration.
You can choose to add an enterprise directory via the LDAP Connector, which is compatible with the popular Microsoft Active Directory software. If you add an LDAP connection, the Directory dropdown will contain an entry for it.
You can also choose to leverage Microsoft Azure Active Directory if your enterprise is using Office 365 or has otherwise federated its enterprise directory to Azure.
Configuring the Default Login Directory
You can change the default login directory in three ways: By the Default Provider mechanism or by a special URL.
In either case, you will need the Directory ID of the directory you want to make the default by doing the following:
-
Open the menu in the upper right-hand corner and select
Help Center -
In the Help Center, click
API Reference -
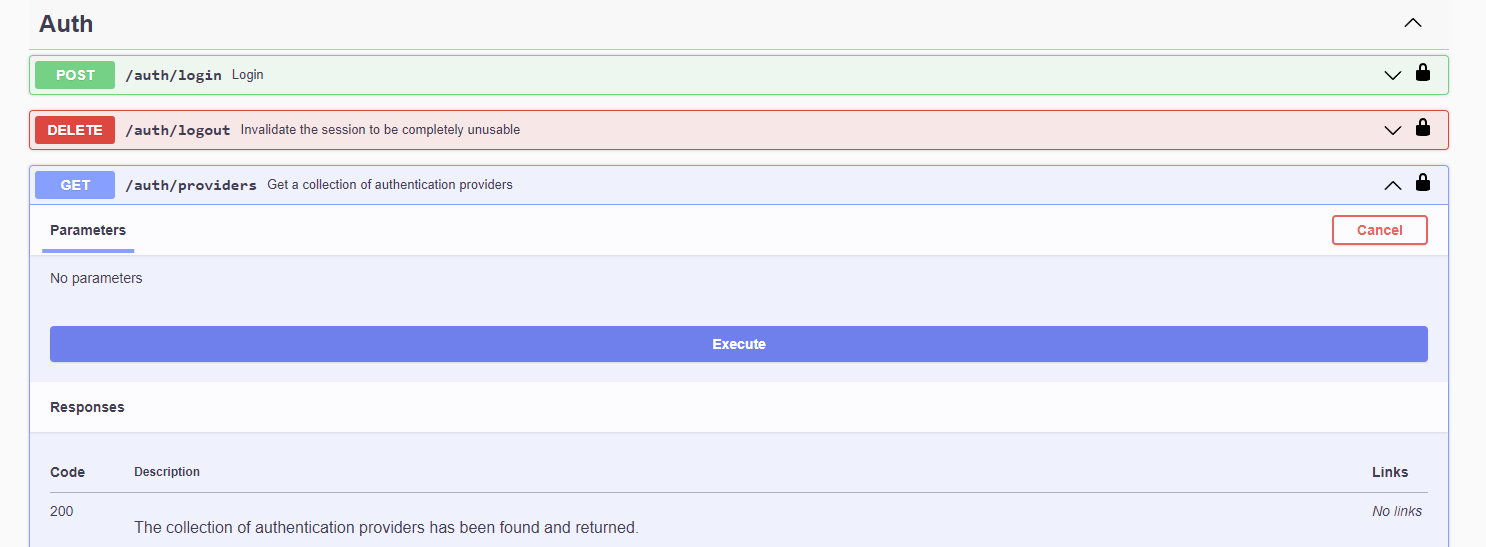
Expand the
Authsection and theGET auth/providersendpoint -
Click
Execute -
A JSON document should be returned
{
  "authProviders": [
    {
      "id": "97E1801C-E99B-4754-848D-A34715027C60",
      "name": "Seeq Test SSO",
      "type": "Datasource",
      "isArchived": false,
      "isRedacted": false,
 ...
-
The Directory ID is the field called
ID. Copy this value.
.
Default Login via DefaultProviderId Setting
You can configure the Seeq login screen to auto-select a particular directory so that users need not click the dropdown each time they encounter the login screen. Take the following steps:
-
As an Administrator, log into Seeq and click on the menu in the upper right-hand corner and click
Administration -
Click on the
Configurationtab -
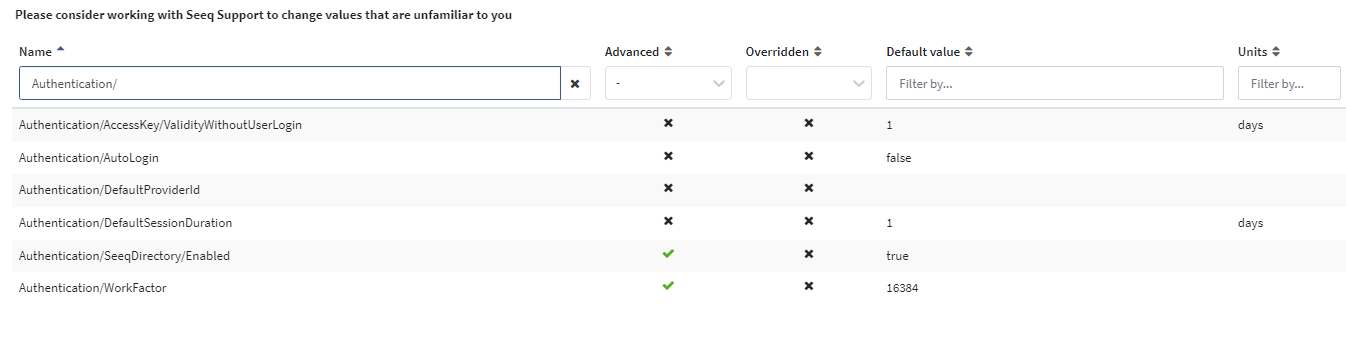
In the drop-down under advanced, select
-and typeAuthentication/into theNamefilter -
Click on the
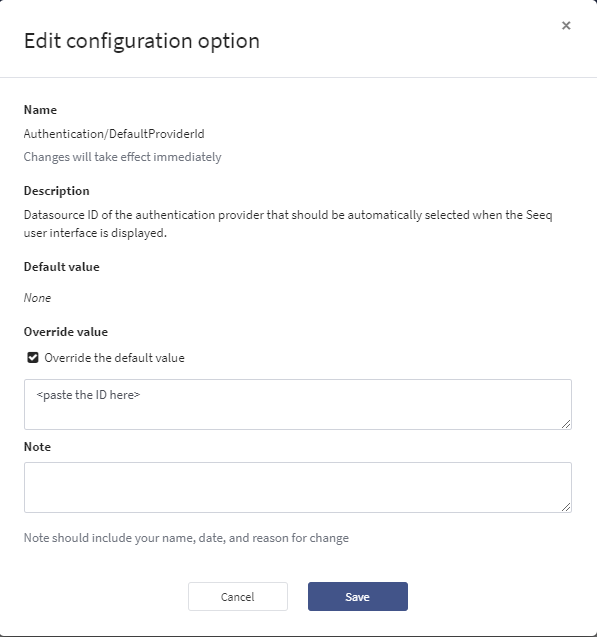
Editbutton in theAuthentication/DefaultProviderIdrow. -
Click the checkbox next to
Override the default value. -
Paste the Directory ID in the box below.
-
Optionally, you can type in a note with who and why this change was made.
Default Login via Specific URL
You can also provide a special URL to specific sets of users that they can bookmark so that they always see a certain directory at the login screen.
Provide the users with the following URL:
http://myseeqserver:34216/login?directoryId=<Directory ID>
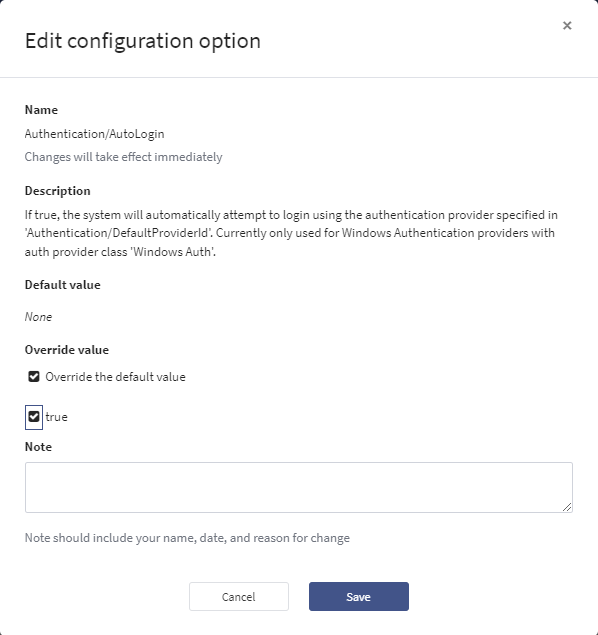
Configuring Auto-Login
If you have configured Windows Authentication or OpenID Connect and you have configured a Default Login Directory as described above, you can add "auto-login" which will obviate the need for users to click the Login button – they will be automatically logged in and taken to the main Seeq Workbench screen. To configure auto-login:
-
As an Administrator, log into Seeq and click on the menu in the upper right-hand corner and click
Administration -
Click on the
Configurationtab -
In the drop-down under advanced, select
-and typeAuthentication/into theNamefilter. -
Click on the
Editbutton in theAuthentication/AutoLoginrow. -
Click the checkbox next to
Override the default value. -
Click the check box next to
true -
Optionally, you can type in a note with who and why this change was made.
Note that if a user still needs to log into a different directory (for example, Seeq's own user directory), then the user will need to add /login?autoLogin=False to the URL they use to get to Seeq. For example:
http://myseeqserver:34216/login?autoLogin=False
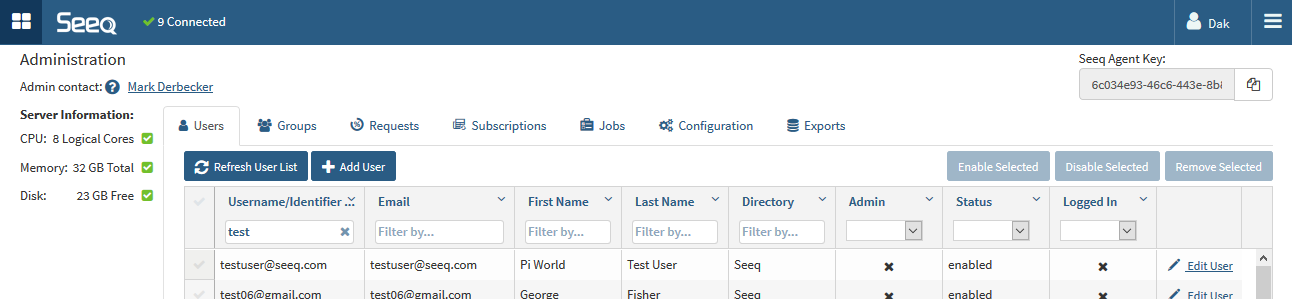
Creating, Editing, Disabling Users
Users are managed in the Administration page, which is accessible in the upper-right "hamburger" menu if you have administration capabilities.
Users that have been granted the User Administration Capability can access the Users and Groups sections of the Administration page, where they can add, edit and manage users and groups.
Users can be disabled so that they can no longer access Seeq.
If User Self-Registration is on, then users can create a Seeq user account themselves (against the Seeq directory) the first time they navigate to the Seeq login page. If you have added an LDAP directory, it is recommended that you turn off self-registration so that user credentials cannot be created in the Seeq directory.
-
Set the Features/UserRegistration/Enabled option to false as described in Configuring Seeq.
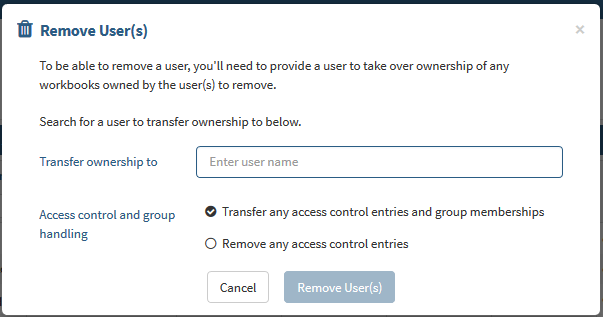
Removing Users
Users can removed and their content migrated to a new user. For example, if you start out using Seeq's internal authentication mechanism and later want to switch to using an existing LDAP directory. To be able to remove a user, you'll need to enter the name of a user which will take over ownership of any items (for example workbooks) that are currently owned by the user you want to remove.
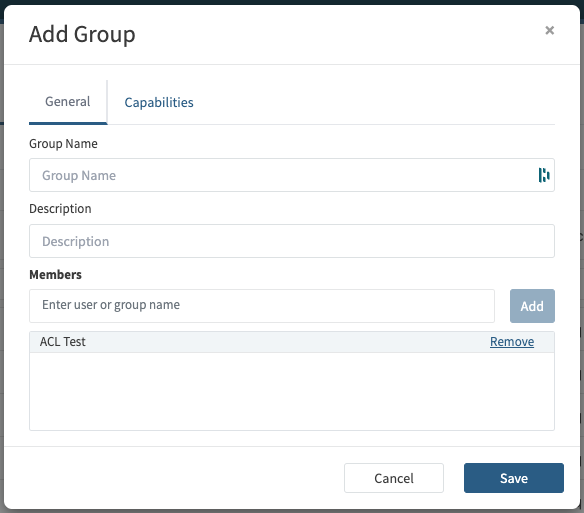
Creating Groups
Groups are managed in the Administration page, which is accessible in the upper-right "hamburger" menu if you have any administration capabilities. Creating a group will allow users to set access control for Analyses or Topics with a number of people at the same time. To create a group click "Add Group" name the group and add the users and groups to be included.
Capabilities can be granted to entire groups via the Capabilities tab when adding or editing a group. See Administration Capabilities.
Please note that administrators can configure automatic group synchronization from Active Directory via the Windows Auth Connector (see Identity Synchronization using Windows Authentication Connector) or LDAP connector (see LDAP (Active Directory) Authentication Connector). Additionally PI Connector and AF connector can send PI/AF identities (see Synchronization of security information from PI and Synchronization of security information from AF) as groups to Seeq.
Resetting Passwords
Seeq Directory
In cases where users are authenticating against the Seeq directory, passwords are managed in Seeq.
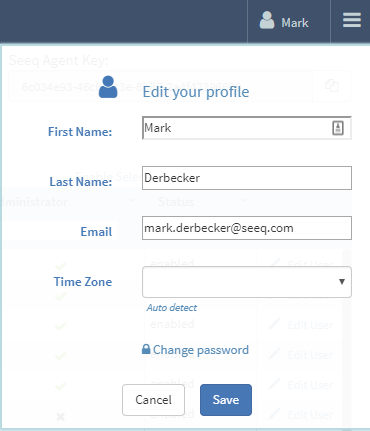
Users can reset their password at any time by clicking on their user icon in the top right and selecting Edit profile and then Change password.
If a user forgets their password, administrators can reset them. Administrators do so by clicking Edit User in the Administration section and then selecting Reset Password. (There is currently no email-based password reset feature.)
LDAP Directory
In cases where users are authenticating against an LDAP directory (e.g. Active Directory), passwords are managed in that system and cannot be reset in Seeq. Contact your local information technology (IT) helpdesk for assistance.
Windows Authentication
In cases where users are authenticating using Integrated Windows Authentication, passwords are managed in your corporate directory and cannot be reset in Seeq. Contact your local information technology (IT) helpdesk for assistance.
Azure Active Directory
In cases where users are authenticating against Azure Active Directory, passwords are managed through that system. That could mean that your credentials are federated from your enterprise's Active Directory system, or you might be using a Microsoft account like Hotmail.
Lost Administrator Password
If you have lost an administrator password and their are no administrators left that can log in and reset it for you, you can utilize the "admin reset" mechanism as explained in Resetting Admin Password.
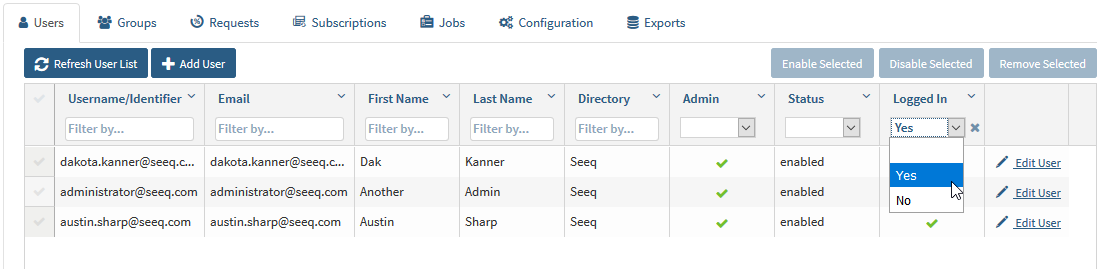
Who is Logged In?
Filter the Users list. This provides an overview of which users have recently used Seeq.
-
Go to the Administration page. You should be at the Users tab by default.
-
Find the Logged In column and select true from the dropdown.
-
Any user that is listed is either currently active or was active within the last 15 minutes.
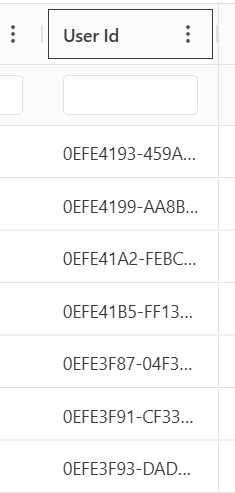
Getting User IDs
User IDs are useful when a User Administrator needs to set specific properties on a user via the REST API using the API Reference page. To see a user’s ID right-click on the header of the users table and click on Choose Columns and tick the box next to User Id. Click the X to close out the menu and you should see the User Id column in the far right column.

Access Control
Users and groups can be utilized to grant or restrict access to workbooks (both Workbench Analyses and Organizer Topics) as explained in Setting Permissions - Access Control.
Groups can be created in the Administration section and can include users from any directory and can also include other groups.
Restrict Logs
By default, all users are allowed to view Seeq server logs via the Seeq web interface. Since these logs contain detailed information about all activity in the system, it may be desirable or necessary to restrict their access.
To restrict log viewing via the Seeq web interface to users with the View Logs Capability only, set the Features/RestrictLogs/Enabled option to false as described in Configuring Seeq. More information on granting capabilities is explained in Administration Capabilities.
All users may still download/send logs via the Send Support Request feature, even when this setting is enabled. The logs downloaded via the Send Support Request feature will be encrypted (128-bit AES) such that only the Seeq support team can decrypt them.