Skip table of contents

Seeq Organizer

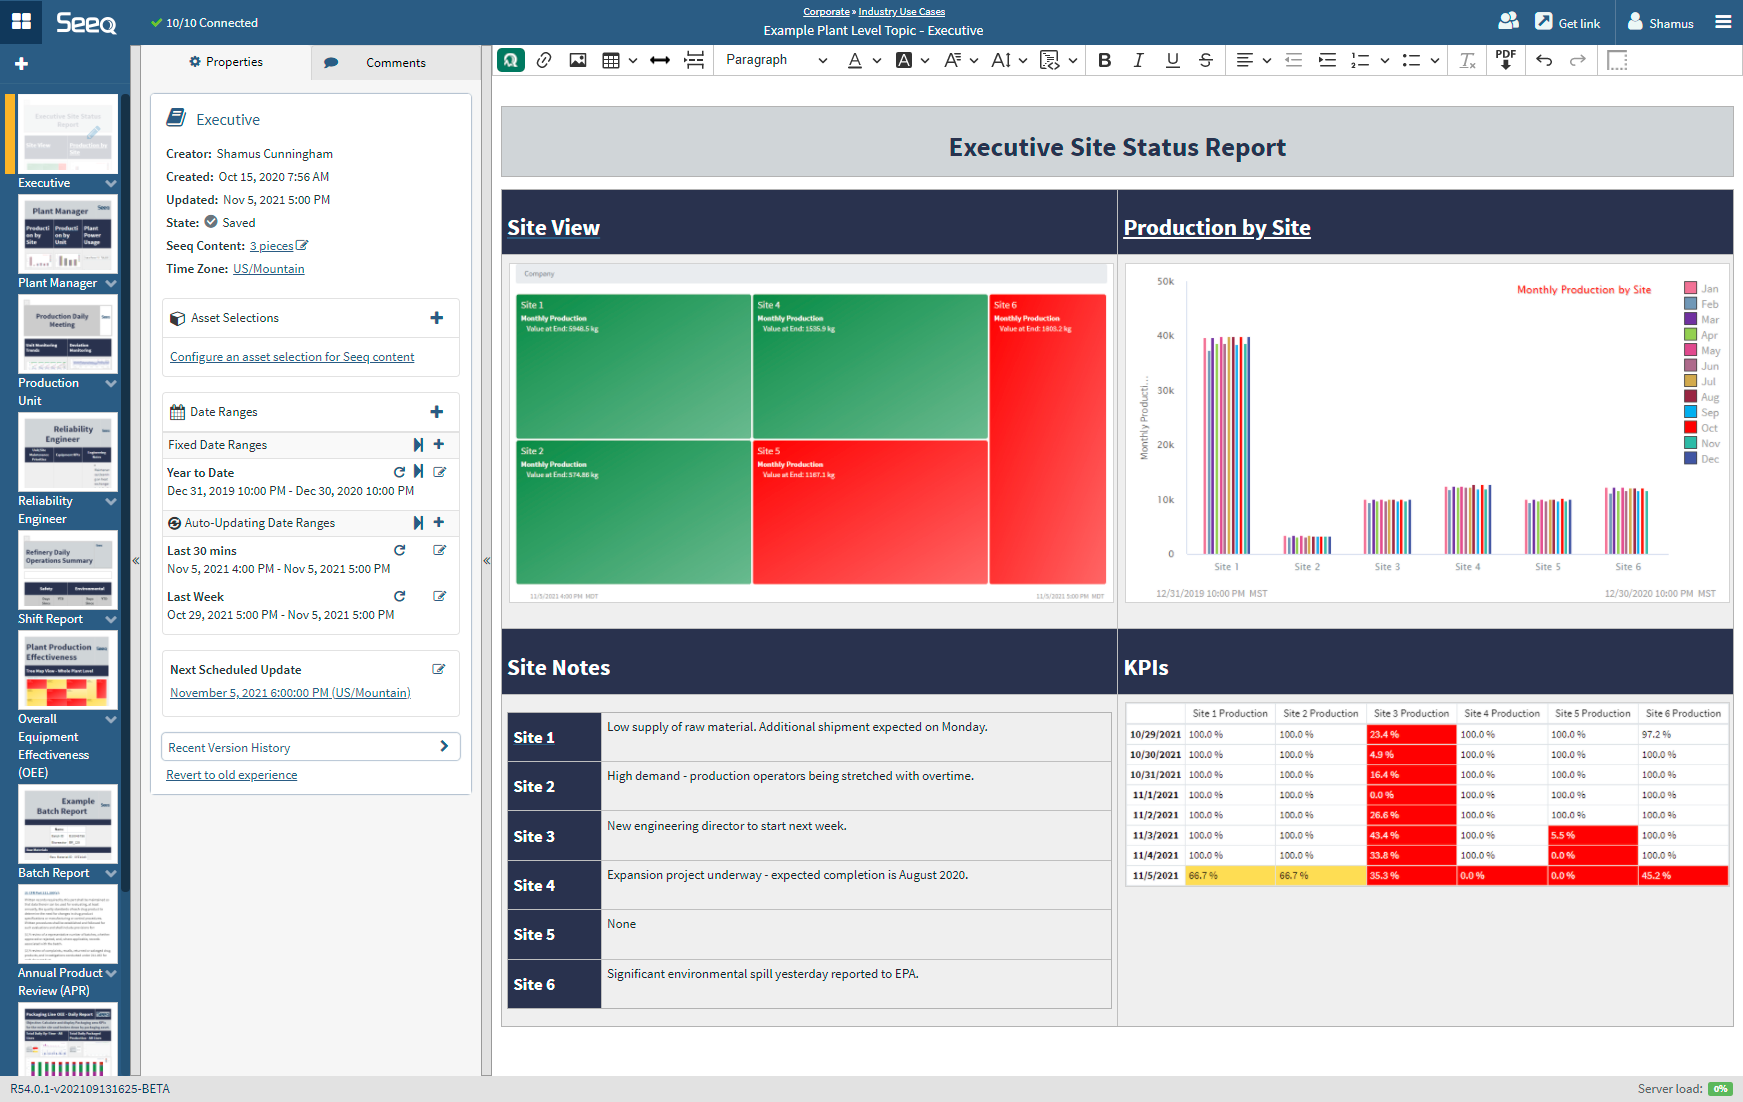
This section covers the basics of how to put together Topics which templatize and summarize information from multiple Workbench Analyses.

 Organizer Topics can be used to generate reports and dashboards that can auto update. The Organizer Topic can be published to a PDF that contains live links back to View Only mode in Seeq, enabling any reader to view the data.

Frequently Asked Questions

I shared my Topic with my colleague but they get errors after changing the date in View Only mode. How can they make changes and see the data?

In order for another user to successfully change the dates or asset selections in View Only mode, they will need at least read permission for each workbook that is used in the Document. Navigate to each workbook linked in the Document and update who has read access via the Share button at the top of the screen. More details on Sharing at Setting Permissions (Access Control).

I've made changes to my workbook since I inserted content. How can I recover the state in my workbook that matches the content I inserted?

When content is inserted in an Organizer Topic, it is a snapshot of the underlying worksheet at the moment it is inserted. Changes made to the worksheet later will not naturally appear in the Organizer Topic so that your reports and dashboards do not change without direct intention. Those changes can be intentionally updated by Modifying Seeq Content and updating from the worksheet. If your workbook has strayed from what is displayed in your Organizer Topic and you want to see what the Details Pane looked like when you inserted a piece of content, use the Open Link button to navigate to the workbook in View Only mode. While looking at what is in the Details Pane here you can reconstruct that in either the same or a different worksheet in Edit mode.

Some users drop a Journal link in their workbooks when inserting content so it can be easily recovered.

How do I move a table to be only on one side of my Organizer?

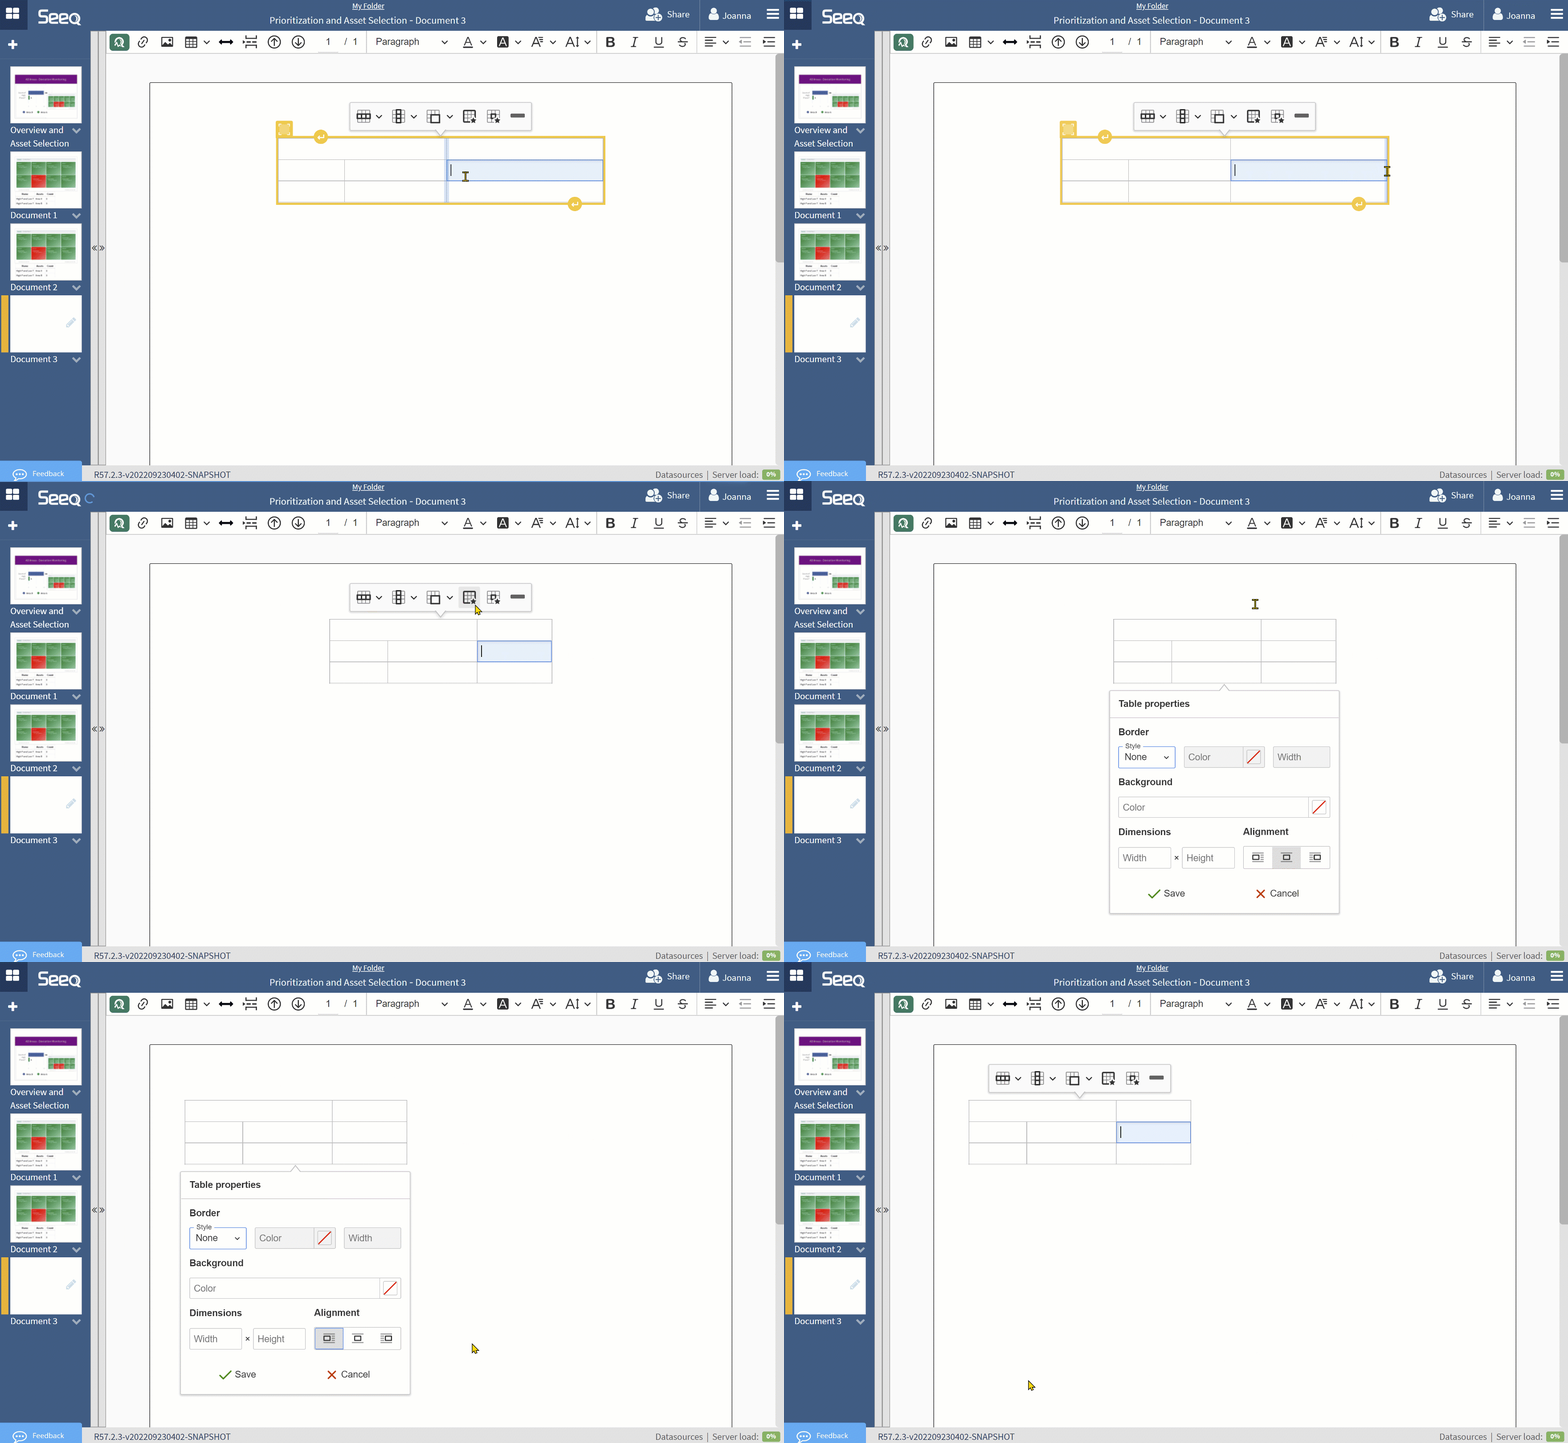
Tables are centered by default. If you resize them by dragging columns, you may want them to stick to one side or the other. Use the Table Properties menu to select alignment on the left, center, or right.

I am trying to add a column to my table but it doesn’t let me. How do I add another column?

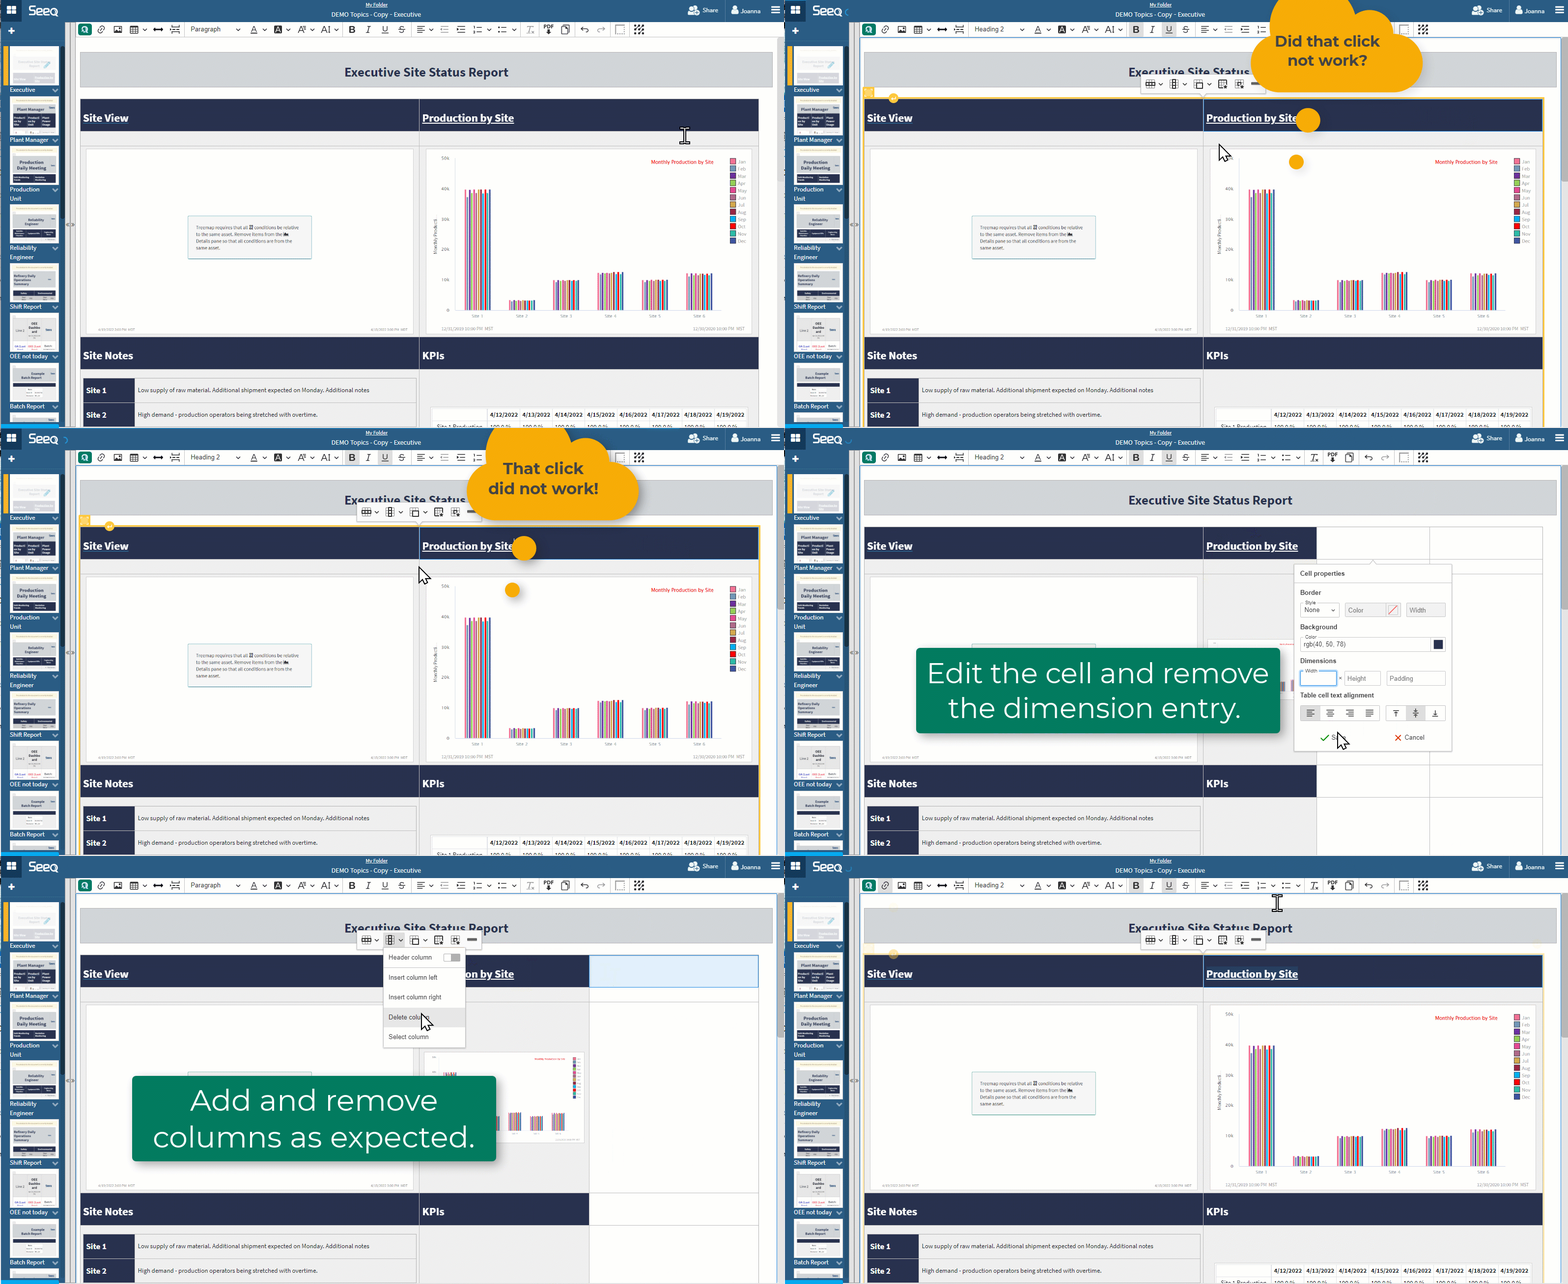
Some users have reported they cannot insert column in Seeq Organizer Topic. If you have a Topic Document that used tables and was created in a prior to R54 and want to add a new column to the table in this new experience, you will find that you likely need to edit the width of a cell before you can see the new column display. See the short video below that walks through the steps if you encounter this issue.

Apologies for this inconvenience if you encounter it. Once you have made this adjustment on a table, you should not have to do it again.


JavaScript errors detected

Please note, these errors can depend on your browser setup.

If this problem persists, please contact our support.