
Overview
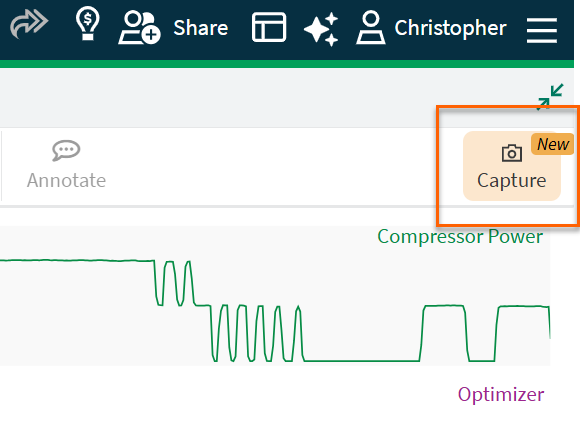
Capture allow you to screenshot your active view, mark it up with information and callouts, then optionally share it via email with your colleagues. It’s accessible in Seeq Workbench, in the top-right corner of the Trend tab:

Creating a Capture
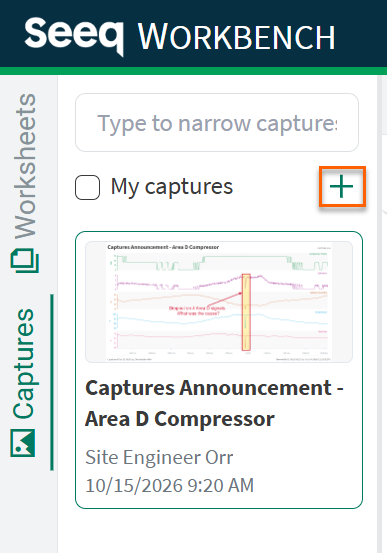
Simply click the Capture button when you are ready to begin marking it up. Alternatively, you can select the “+” icon along the left-hand Captures tab.
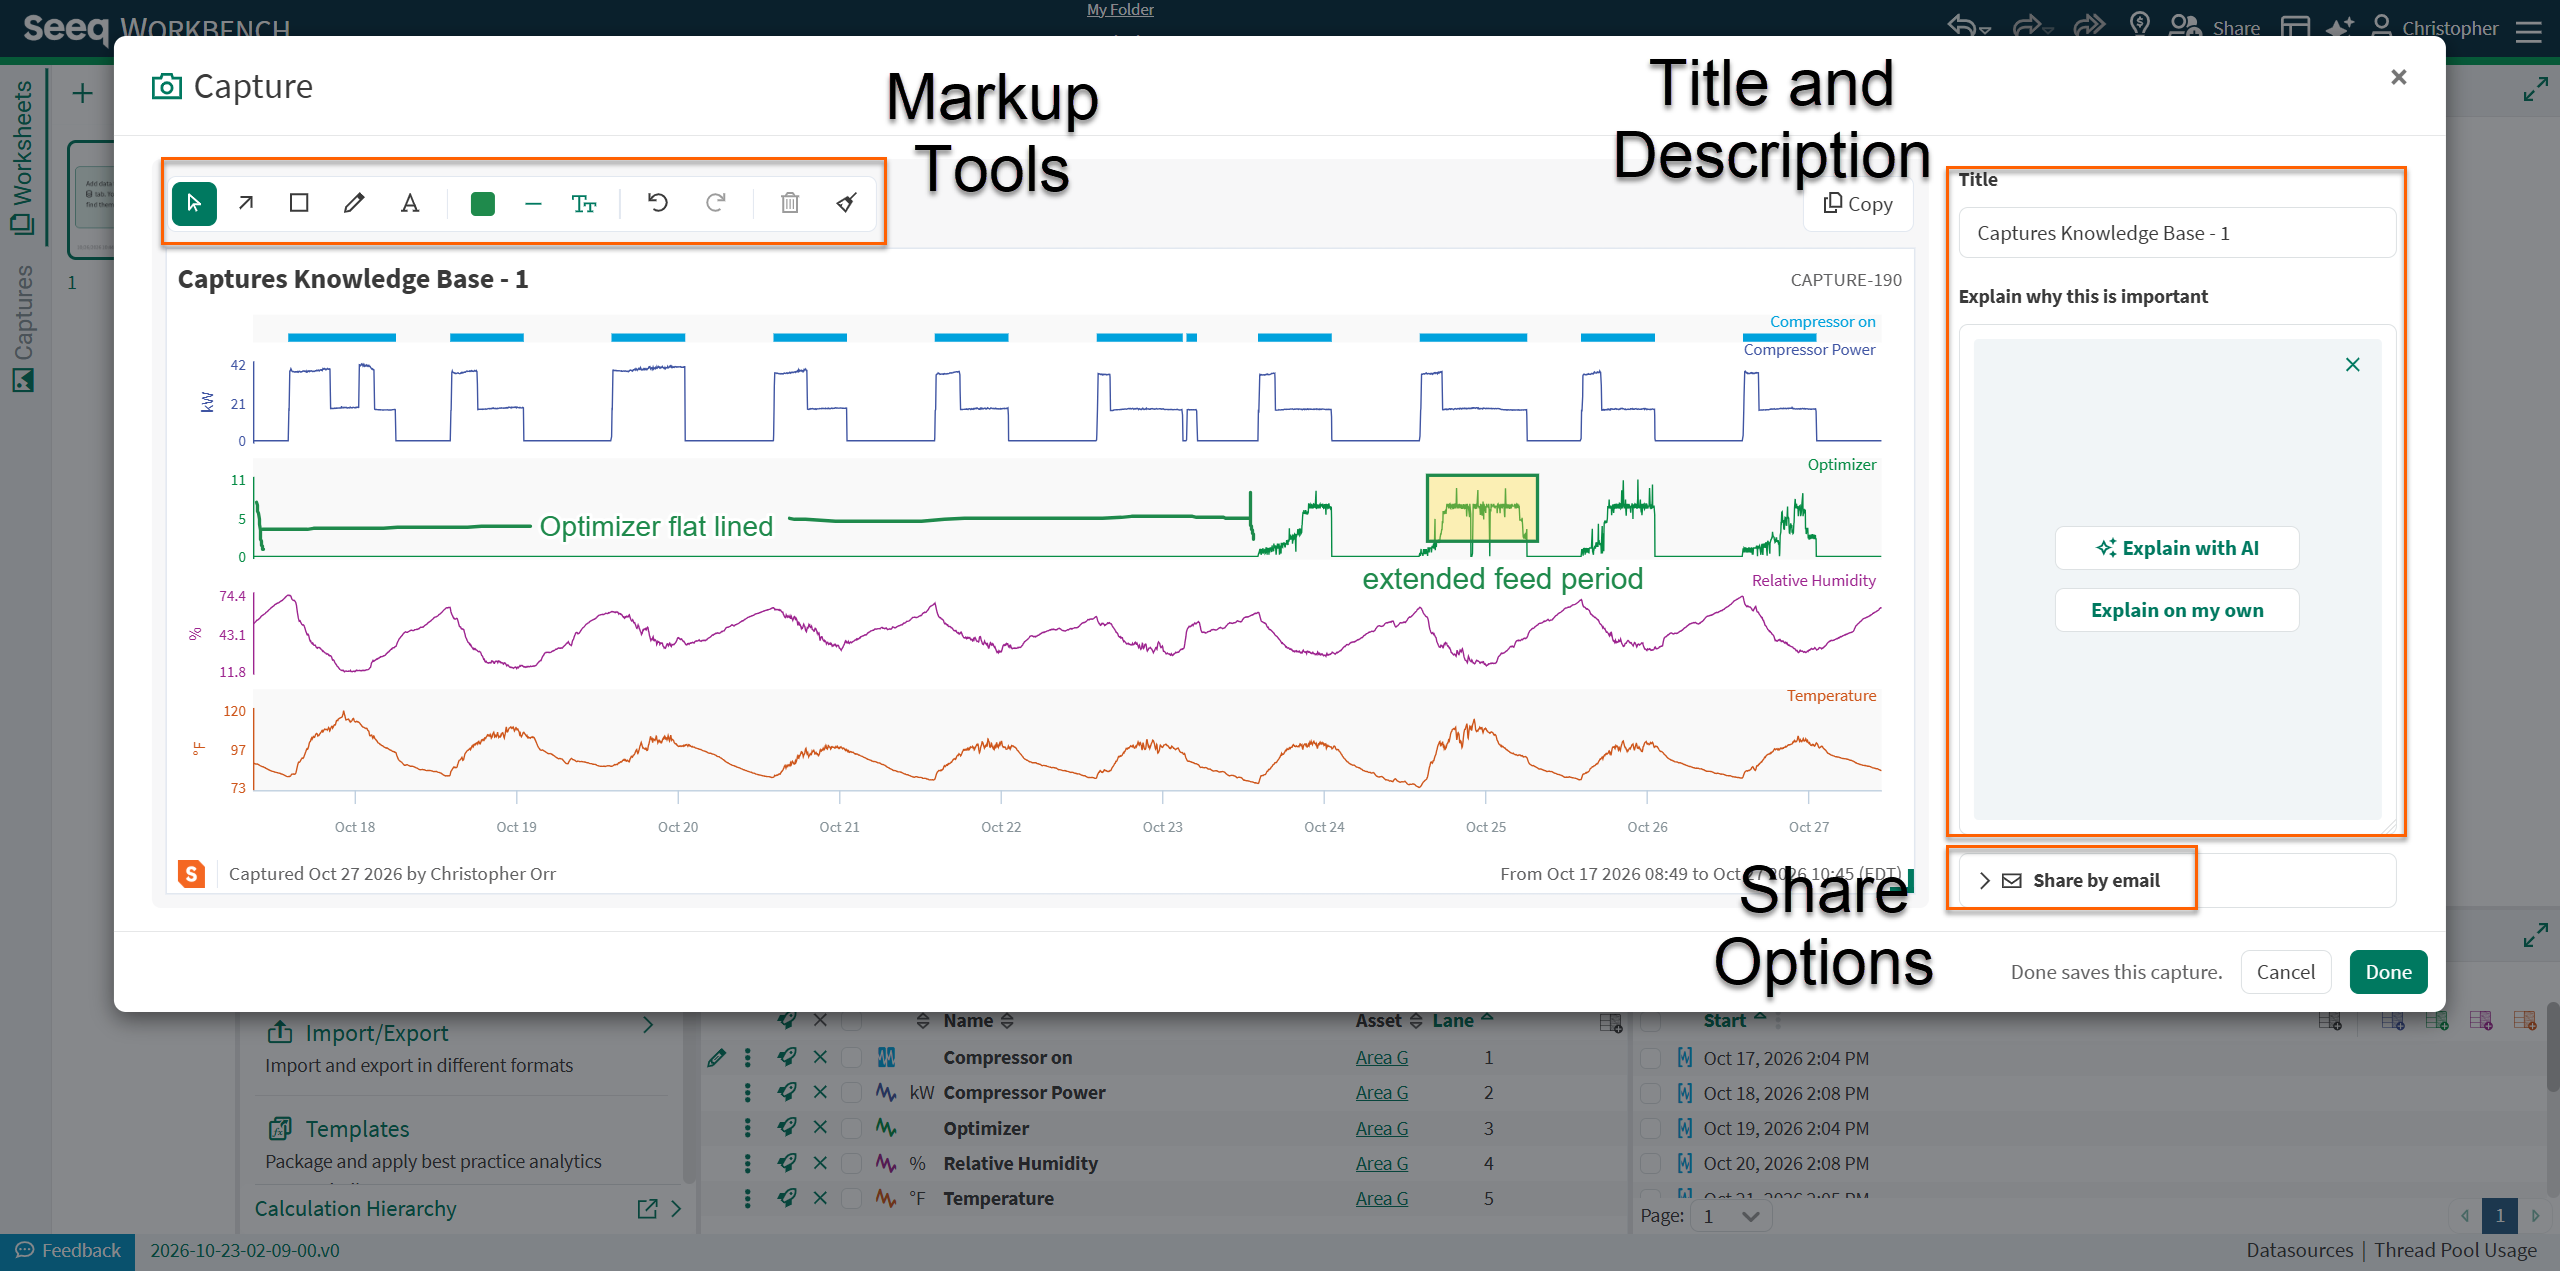
From there, you can easily markup the image with arrows, text, highlights, and a pen. You can type in a Title and Description that will be saved alongside the marked up image. And finally, you can share a message, inclusive of the marked up image with others.
Using Captures
Once you’ve created a Capture, they will be available in the Captures tab on the left-hand side of your Workbench screen. This will show only the Captures created within this Workbench.
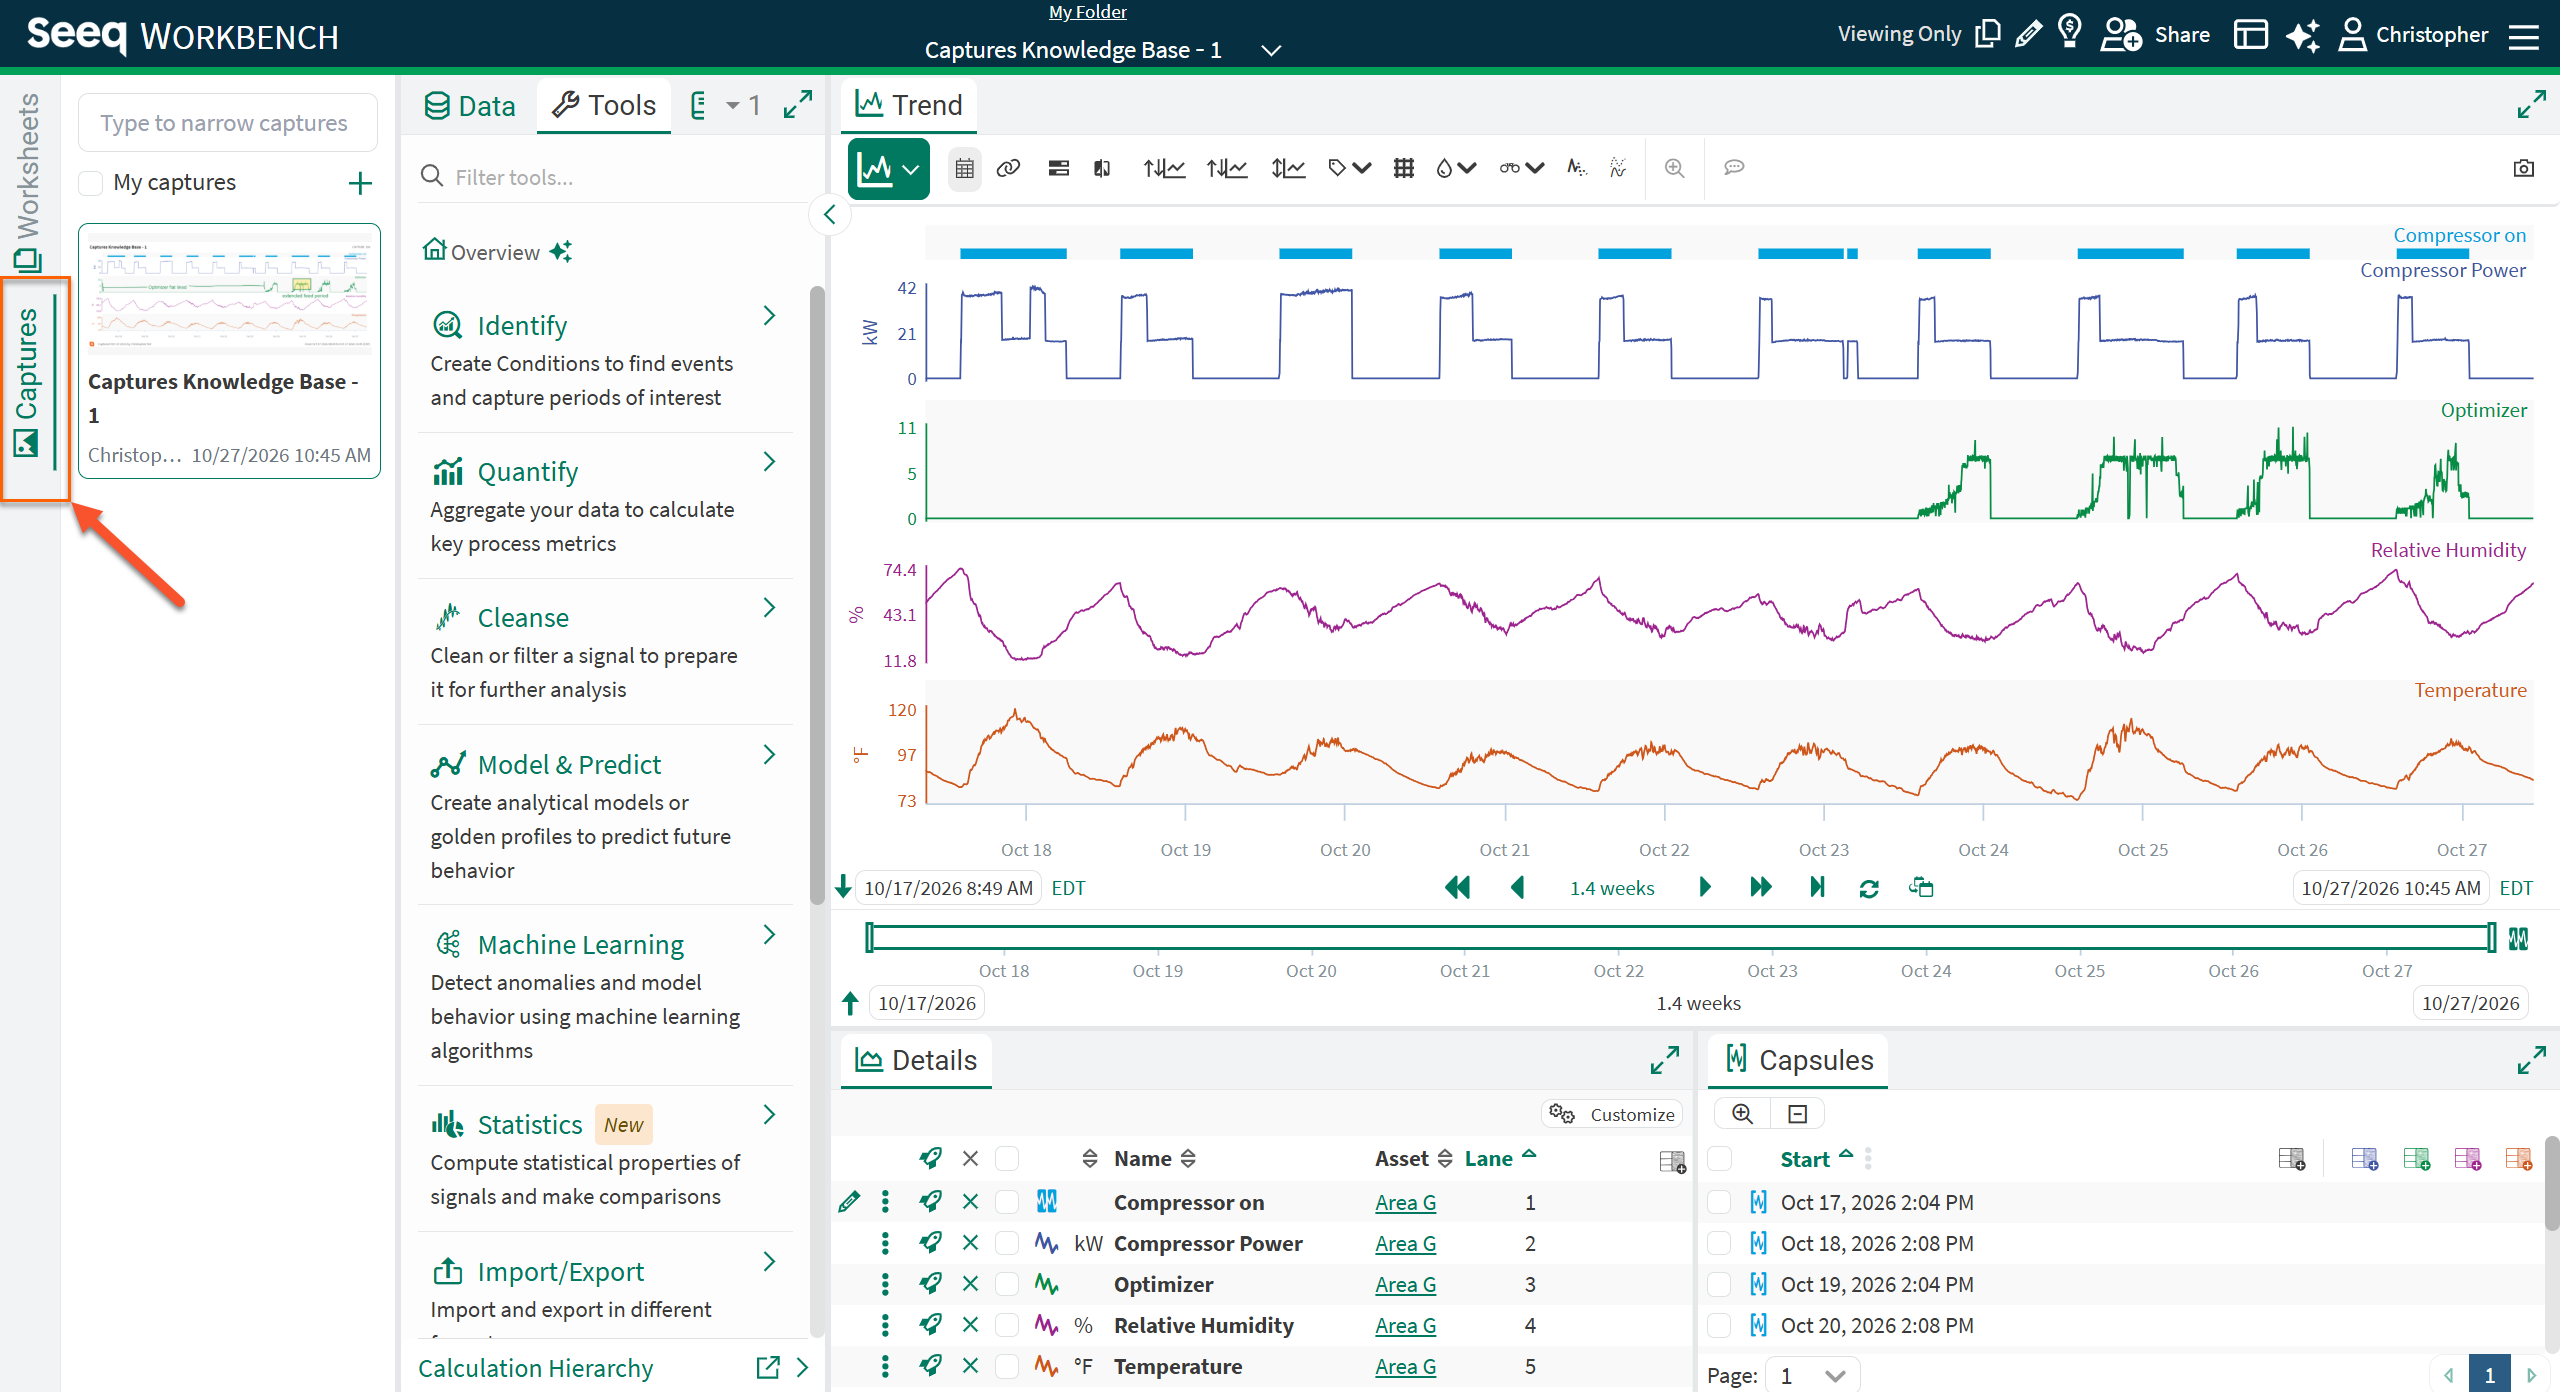
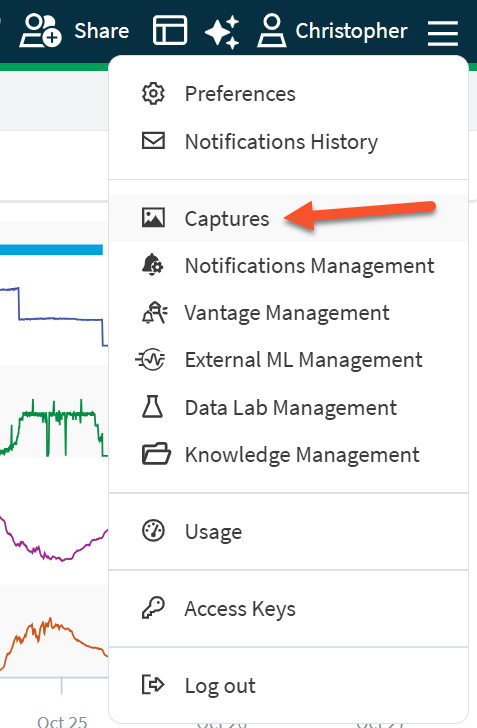
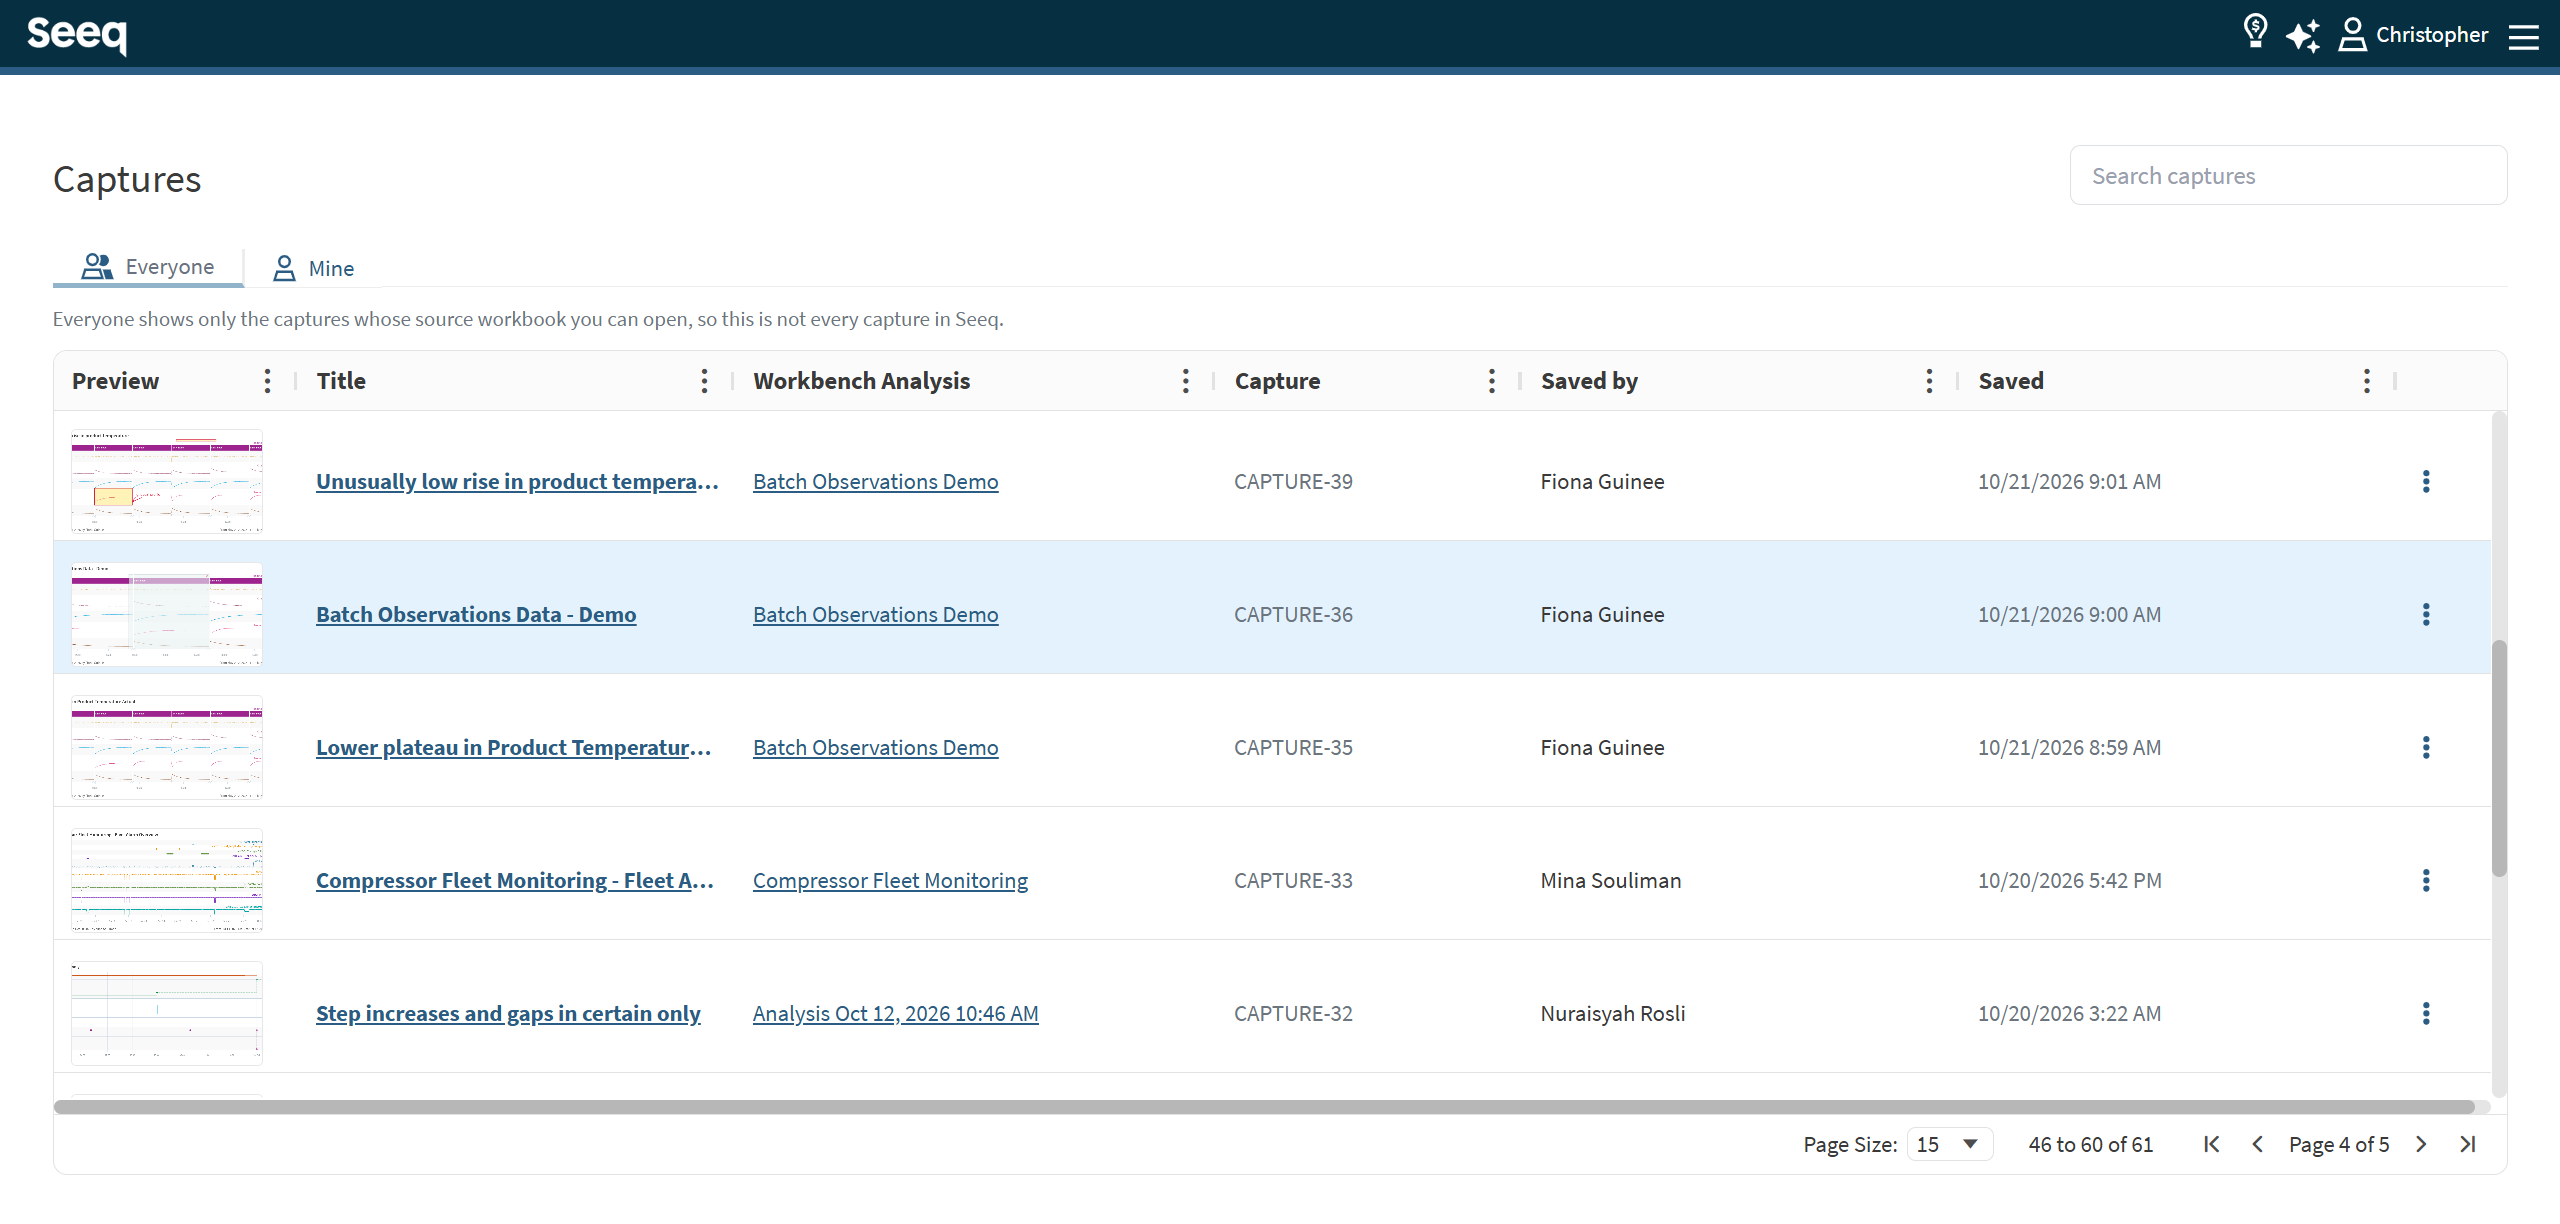
Alternatively, you can browse all Captures that you’ve created, and those you have ‘read’ permissions to, via the Captures Management page, accessible in your user menu in the top-right.
Clicking on an existing Capture from the Capture tab will open the view modal for that Capture. From there, you can review the title, markups and description - as well as transition to Edit mode, copy-to-clipboard, delete, or share via email.
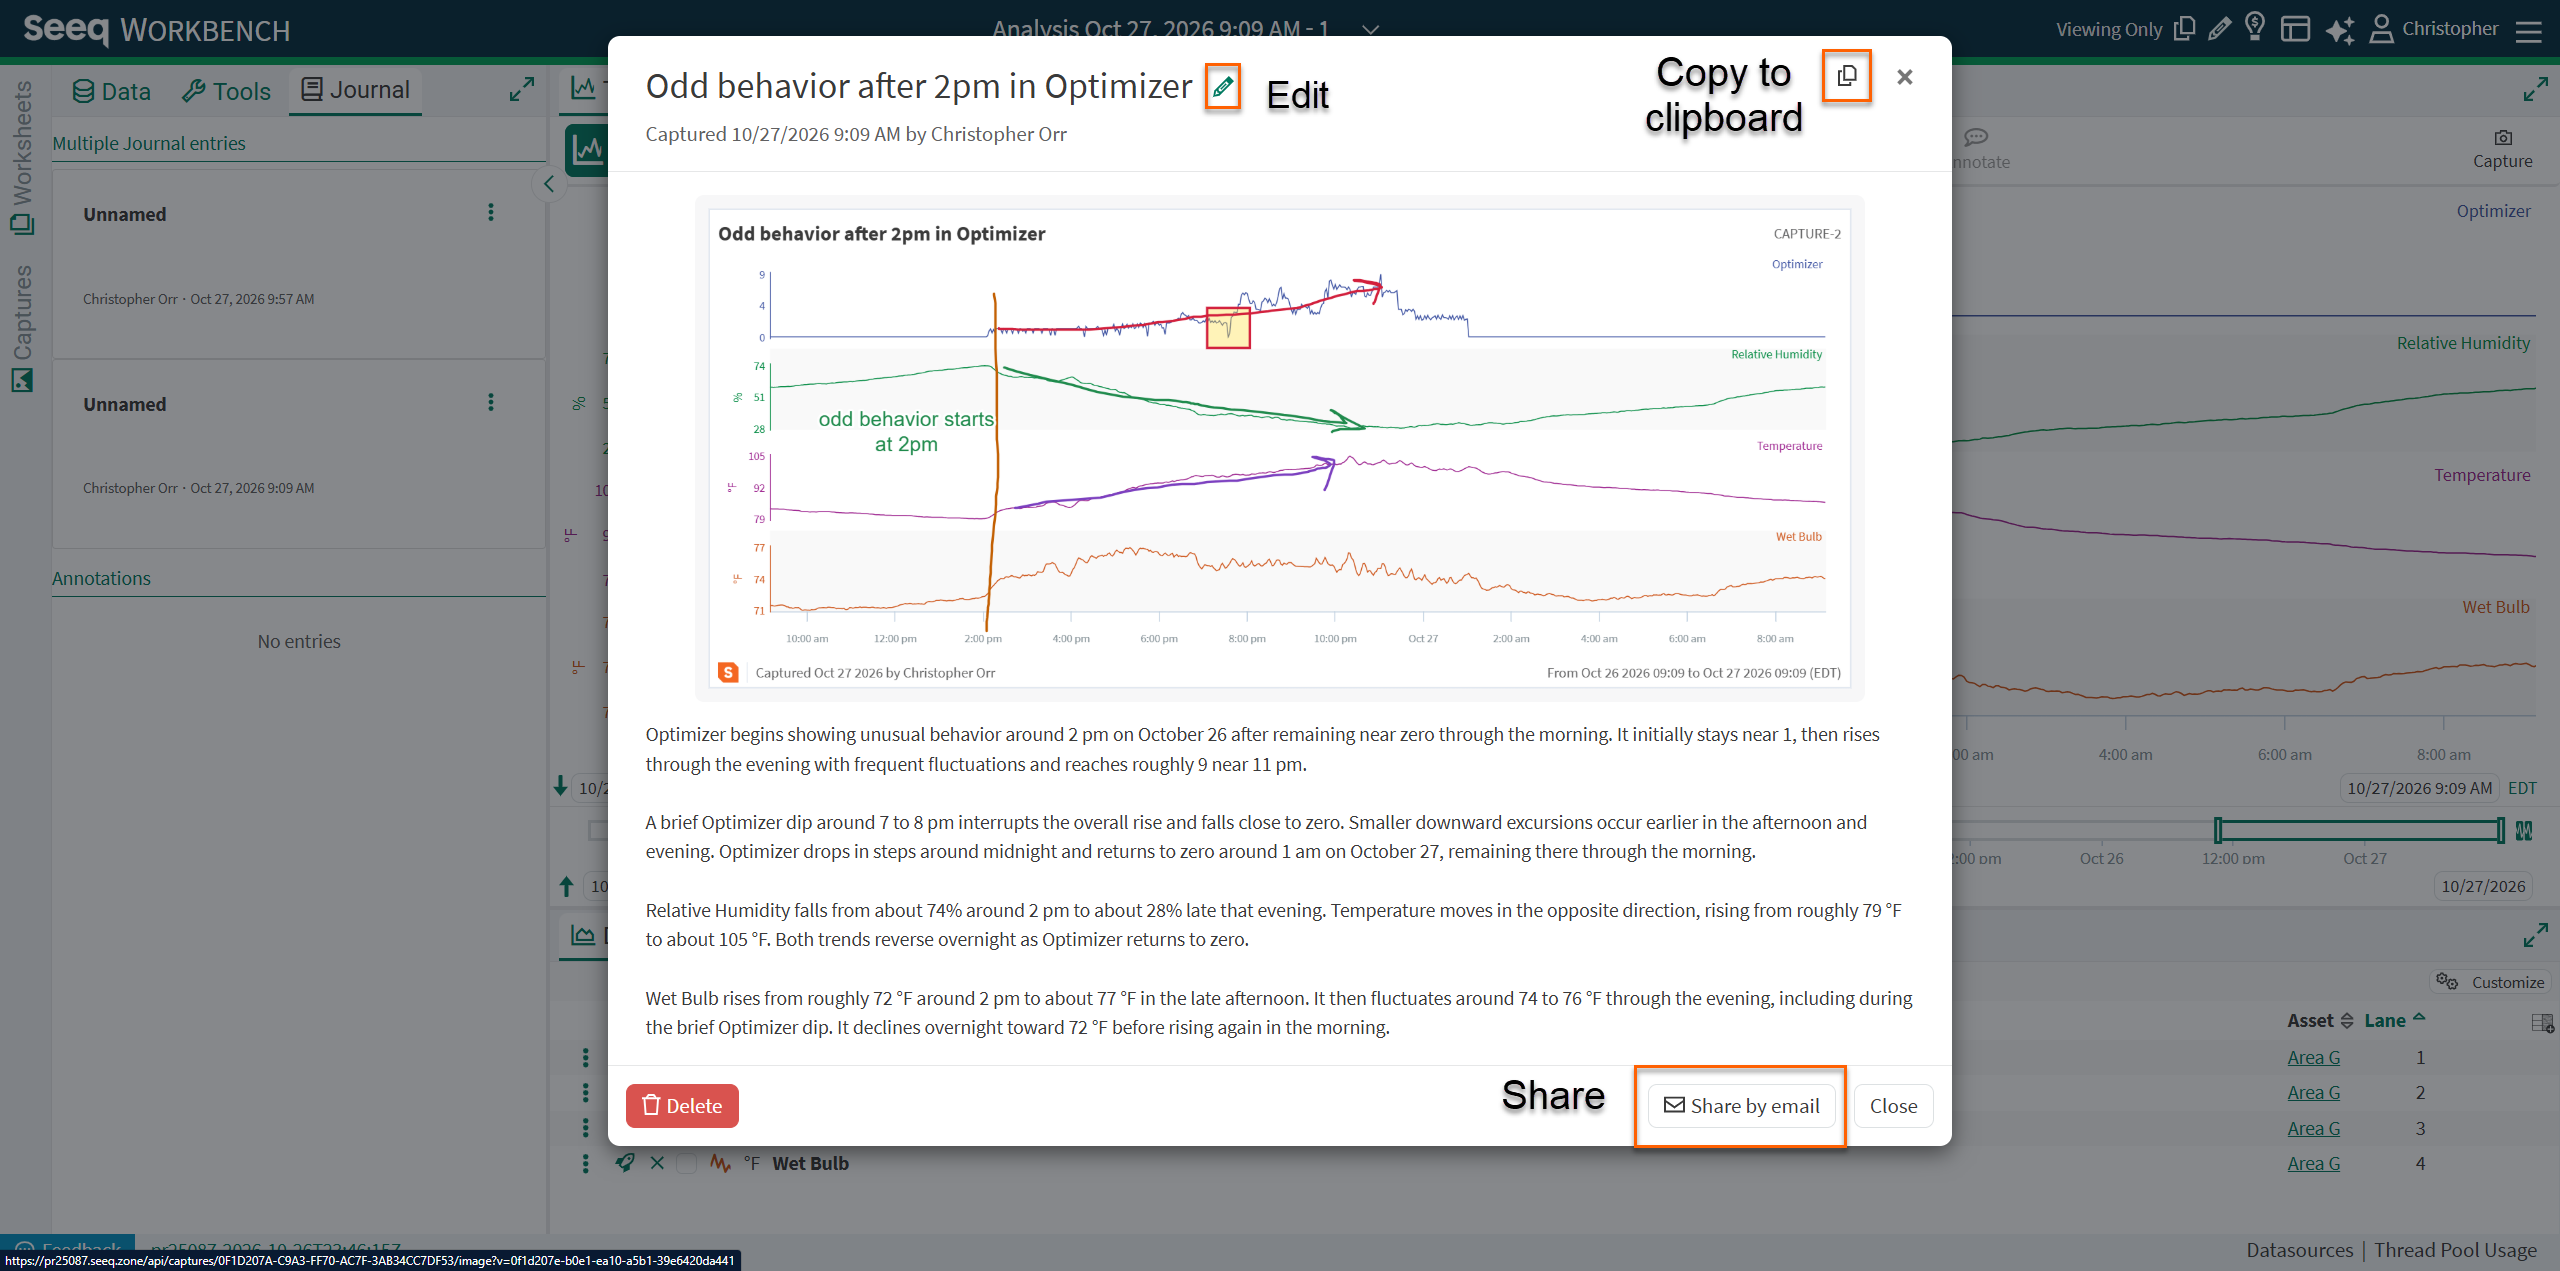
Note that only the author of the Capture can make edits or delete.