Prerequisites
Networking Requirements
The Seeq Remote Agent requires an outbound connection via port 443 to the Seeq server. Once your VM or Physical server is available, you can confirm connectivity using the following steps (ensure you are logged in as the user that is going to be running the remote agent):
-
Open a web browser on the remote agent machine, such as Google Chrome, Firefox or Microsoft Edge.
-
Type your Seeq SaaS URL into the web browser. You should see the Seeq SaaS login screen.
-
Log in using your assigned credentials. You have verified full connectivity once logged in and can access the Seeq home page.
If you cannot access the Seeq SaaS URL from the remote agent machine, you may need to contact your IT team. Both the Seeq User Interface and the Seeq Remote Agent establish outbound HTTPS connections on port 443, utilizing TLS1.3, and establish a secured websocket between the Remote Agent and Seeq SaaS. The IT team may need to place the Seeq SaaS URL on a firewall “allow list” and possibly take other actions to enable the connection. Failure to do this will prevent the agent from connecting and cause the errors SQ-1102 (for the JVM agent) and SQ-1202 (for the .NET agent) to be logged.
Proxies
If using a proxy, there are a couple of items to consider:
-
The proxy must not be authenticated.
-
If the proxy decrypts SSL traffic, the certificates must be added to the JVM agent after installation. See SSL Certificates below.
-
The account that the remote agent is running under must have access to the proxy configuration of the OS.
-
The proxy must allow WebSocket traffic.
Failure to properly configure proxies will prevent the agent from connecting and cause the errors SQ-1101 (for the JVM agent) and SQ-1201 (for the .NET agent) to be logged.
SSL Certificates
JVM Agent
When the JVM Agent attempts to connect to the Seeq SaaS service and it encounters an untrusted certificate, it will write the certificate chain to the <SEEQ_DATA>\keys\untrusted folder as a .pem file. (See Understanding Data Locations for information on the global folder.) You can inspect and then choose to trust the certificate chain by copying file to the <SEEQ_DATA>\keys\trusted folder, where it will be read in after a few seconds and used for validation.
If you don’t see a <SEEQ_DATA>\keys\untrusted folder, you may be using an earlier version of the Seeq Remote Agent (R63 and earlier) that does not yet support this workflow.
.NET Agent
When the .NET Agent attempts to connect to the Seeq SaaS service and it encounters an untrusted certificate, you will see an error in the logs related to SSL. Obtain the appropriate certificate from your IT team (it may have been written to the <SEEQ_DATA>\keys\untrusted folder by the JVM Agent as described above, so you can obtain it there) and add it to the Windows trust store.
VM or Physical Server
A Seeq Remote Agent can initially be installed on a machine with modest resources, scaling up depending on data throughput requirements.
An important thing to consider about the resources necessary for the Remote Agent is the peak amount of data you expect to flow through it during a window of time. Remote Agents do not perform calculations; they are simply a conduit for data to flow from a datasource to the Seeq Server. But they can handle hundreds of simultaneous queries and, therefore, still might need significant hardware resources depending on your use case. For example, querying a datasource for one year of data sampled every 15 seconds means 2.1 million samples flow through. With several signals on a worksheet and with many users potentially making requests at the same time, the Remote Agent can potentially be processing tens of gigabytes of data within its RAM and across its CPUs.
The following table provides high-level guidance on hardware resources for Remote Agents:
|
Datasource Connections |
1-2 |
3+ |
|---|---|---|
|
Simultaneous Queries |
less than 10 |
10+ |
|
Cores |
2 |
8 |
|
RAM |
8 GB |
32 GB |
|
CPU |
64-bit |
|
|
Storage |
More than 15GB free space |
|
|
Operating System |
Microsoft Windows Server 2016+ (recommended) or Windows 10+ |
|
Linux is not a supported Operating System for Remote Agents.
Configuration Information
This article assumes that you have a Seeq SaaS tenant available to you. You should have, at this point, the following information provided to you by Seeq:
-
Your Seeq SaaS URL (for this article, we will be using https://yourcompany.seeq.site as an example)
-
Your Seeq Username. Seeq personnel will assign an initial username - likely your email address - and password and grant that user Seeq Admin privileges.
-
Your Seeq Password (Please change this at your first log-in)
You will also need to have the following information provided by your local IT team:
-
A service account and credentials to run the Seeq Server Service. (Note: if you plan on using OSIsoft PI or AF, this will be the identity that Seeq uses when accessing PI/AF, so this account should have READ permissions in PI/AF.)
-
Seeq recommends installing Google Chrome, Firefox or Microsoft Edge on your remote agent. This will help verify connectivity with Seeq SaaS during remote agent installation.
Seeq Remote Agent Installation
Provisioning
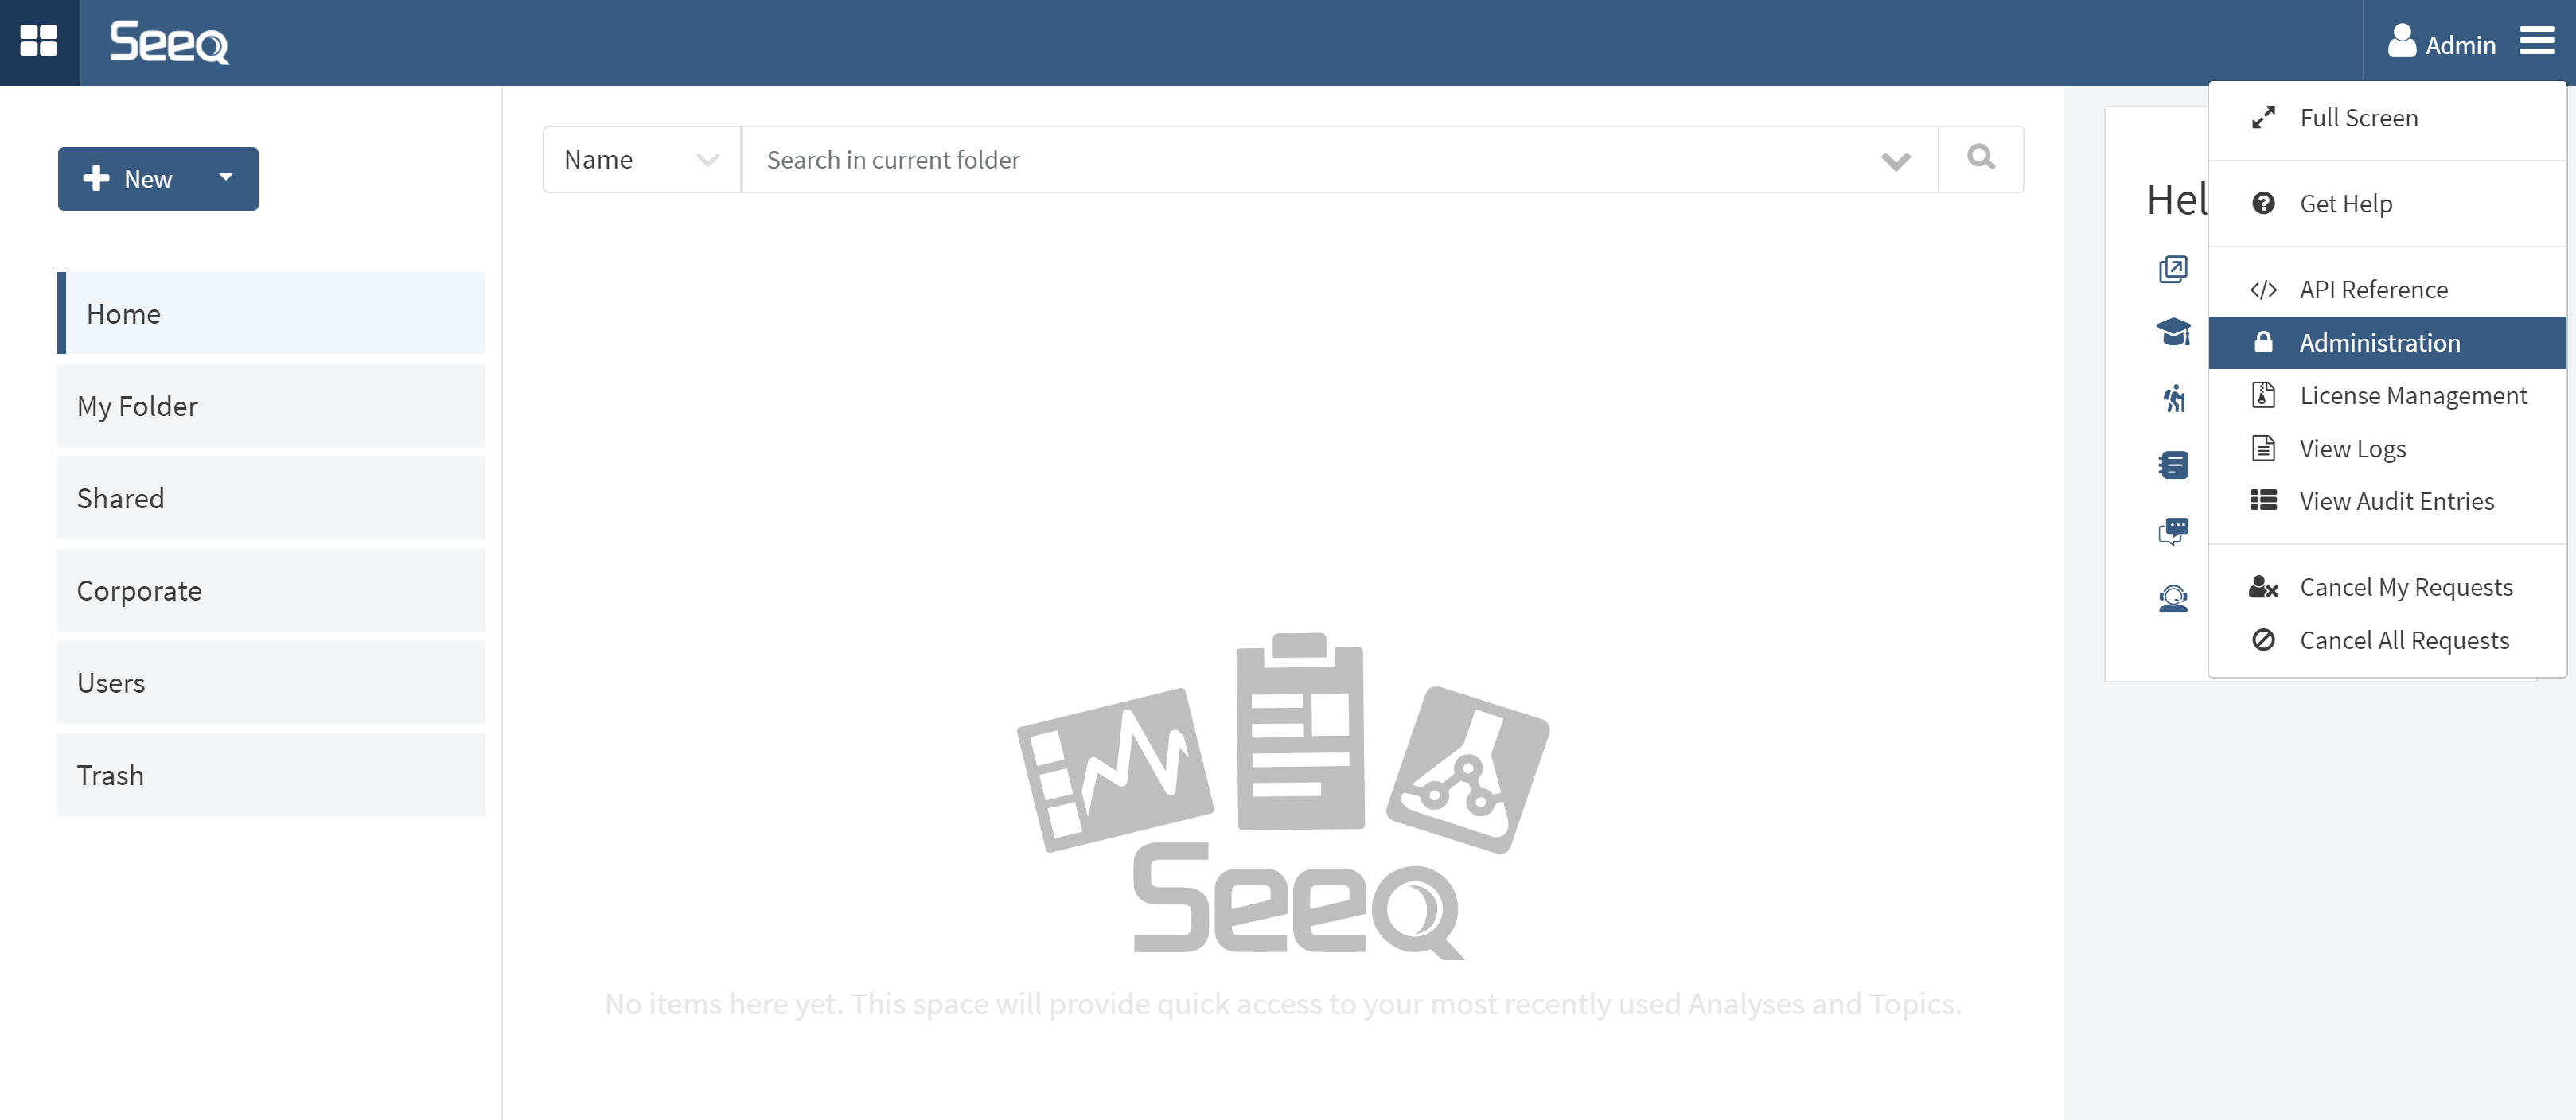
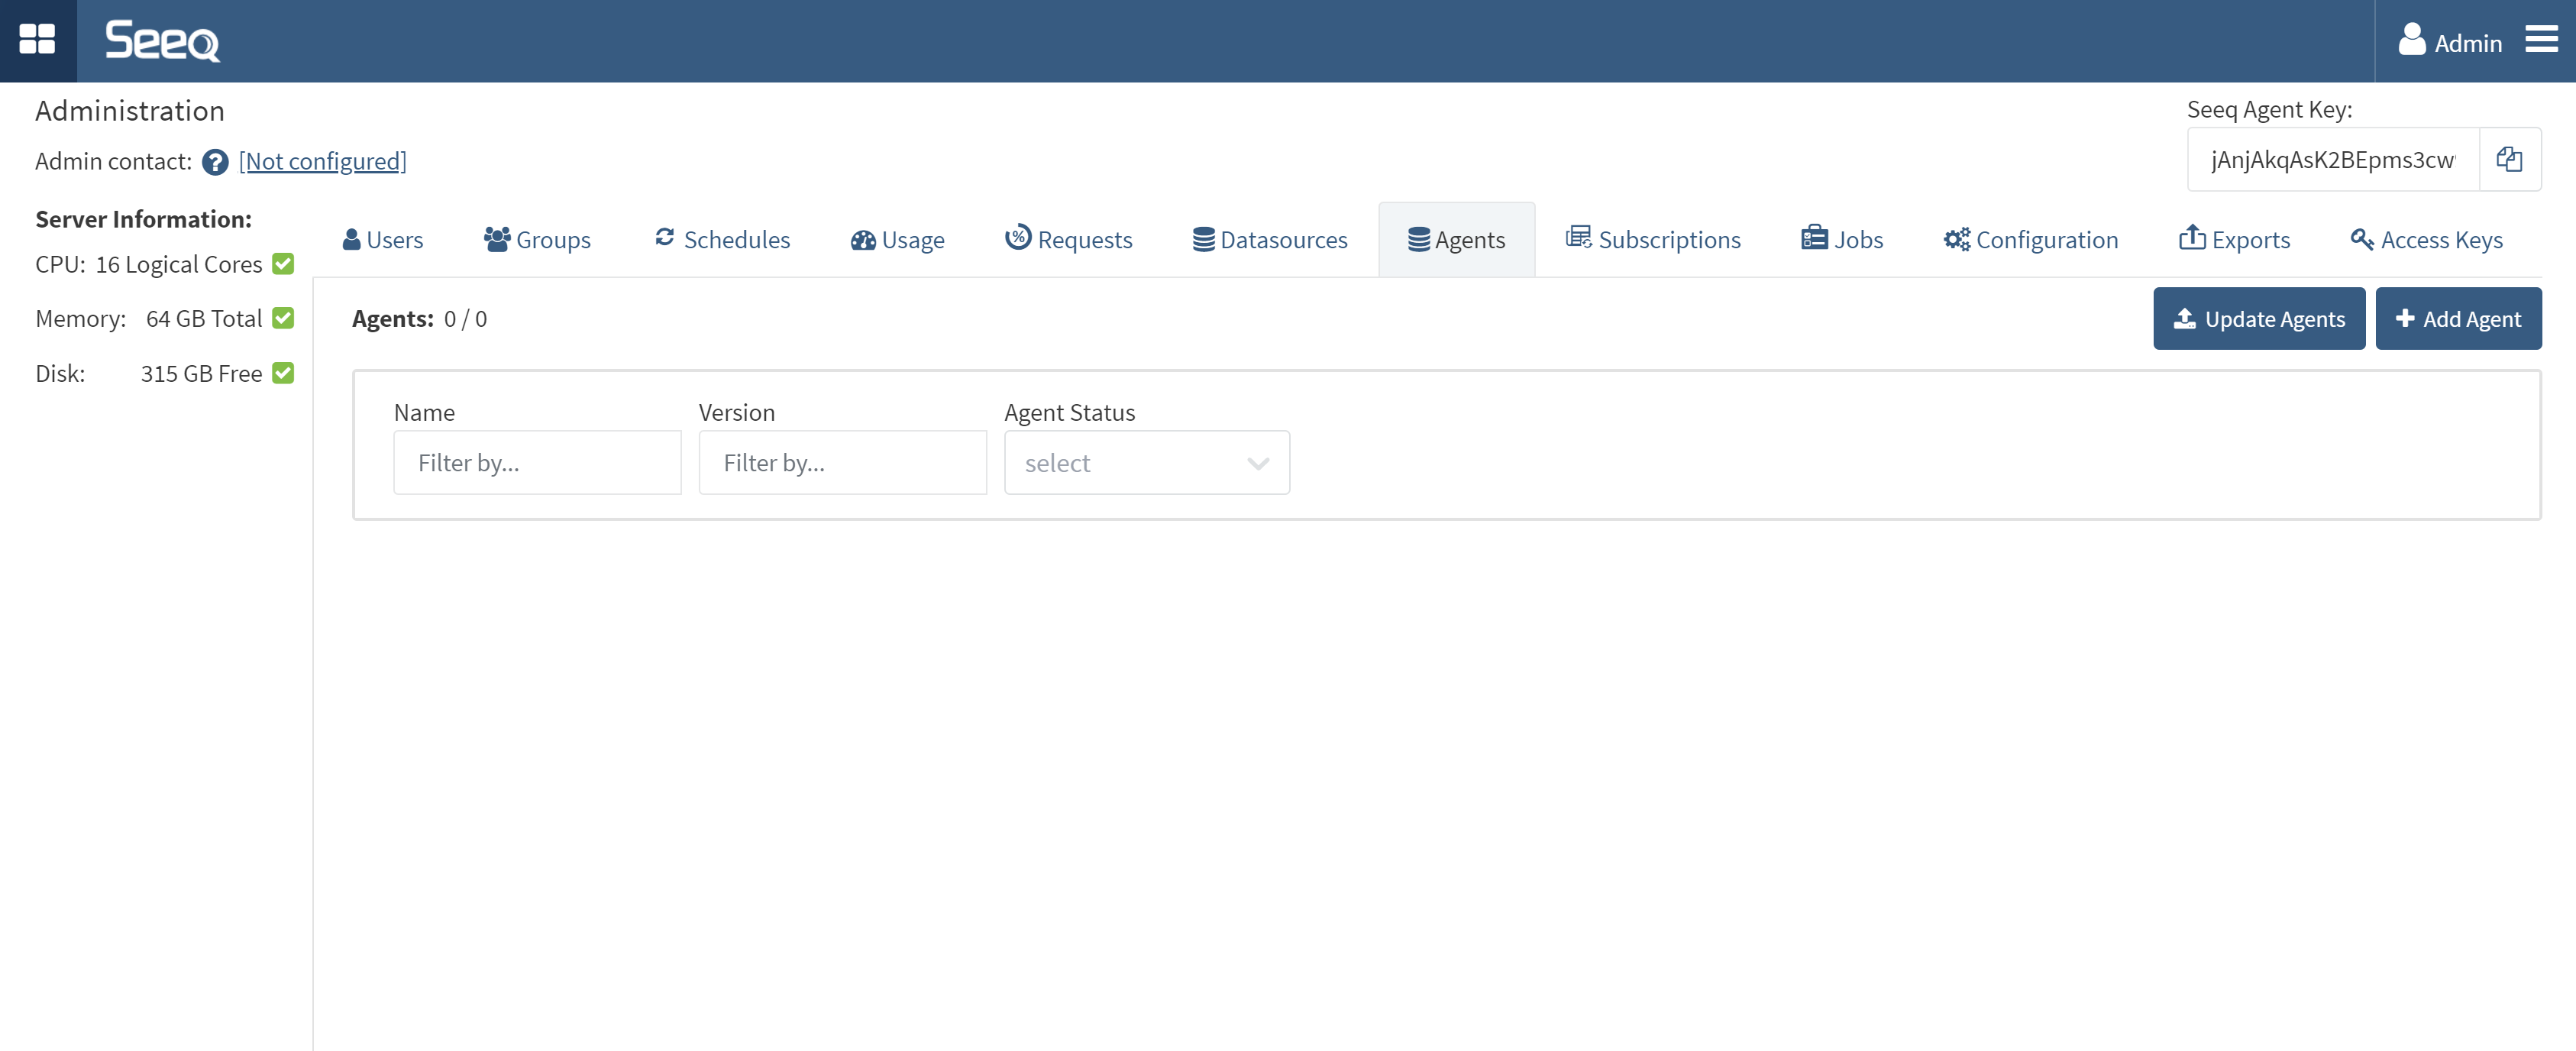
First, access your Seeq SaaS installation, go to the Administration page, and in the Agents tab, click the + Add Agent button:
|
|
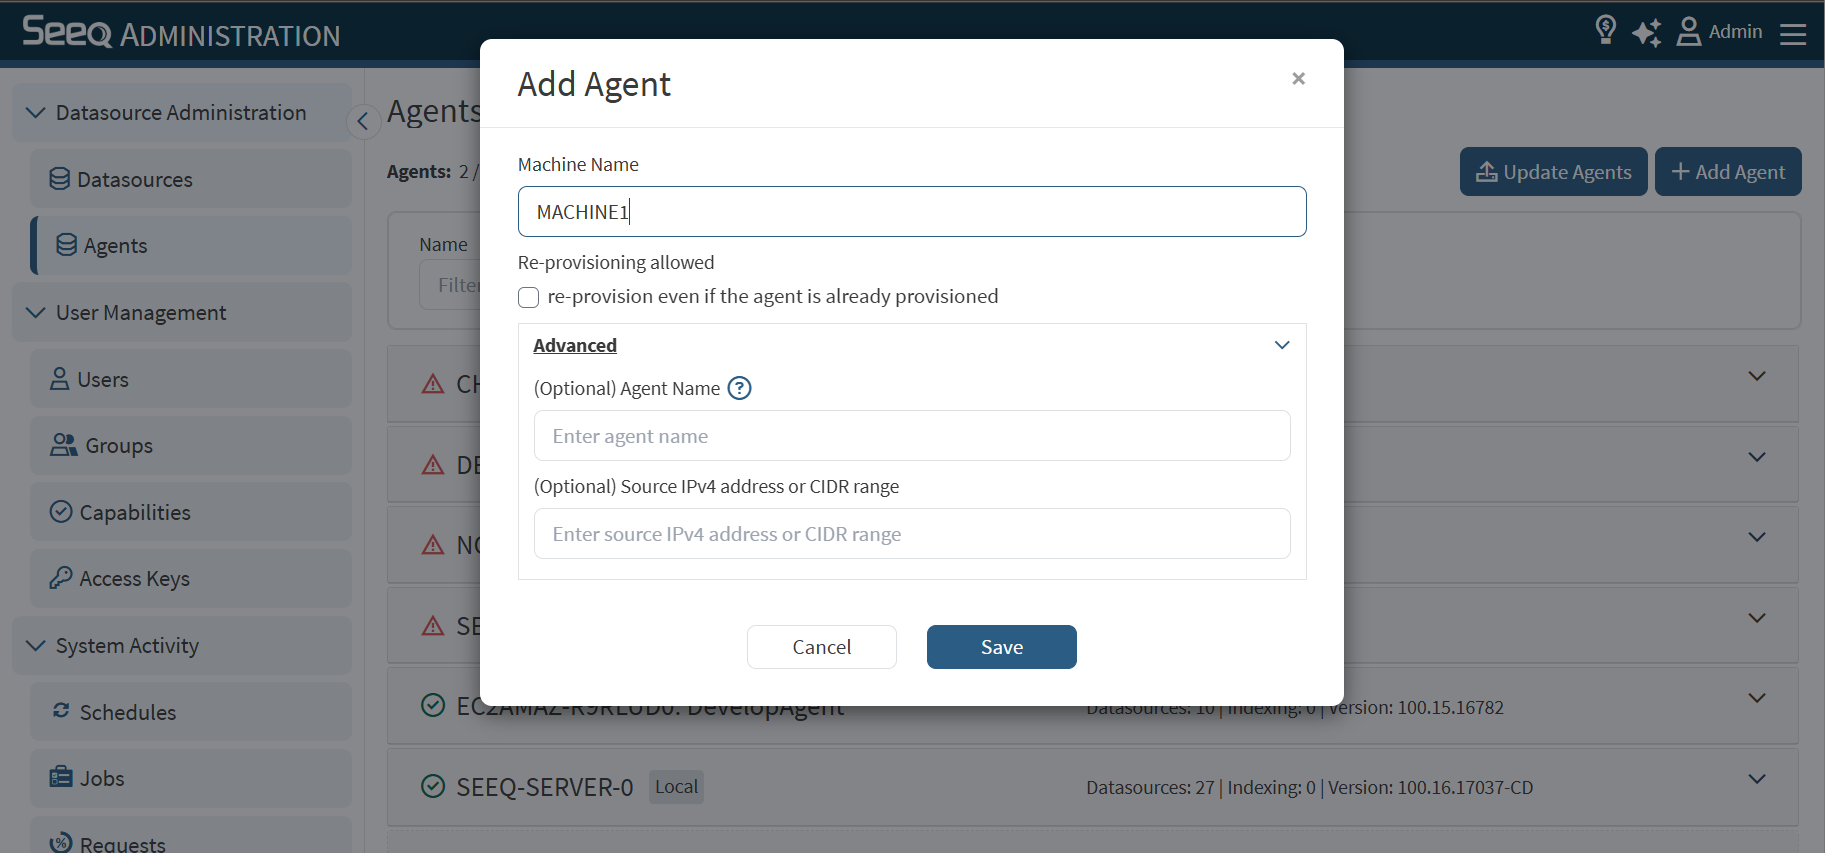
An Add Agent form will be displayed. Fill in the Machine Name with the hostname of the machine where the remote agent will be installed.
The remaining fields can generally be left blank unless specific conditions apply:
-
If the agent was previously provisioned, select Re-provisioning allowed to allow re-provisioning and update its provisioning information.
-
If you are installing multiple agents on the same machine, provide a unique Agent Name in the optional field.
-
If you want source IP validation to be enforced for the agent, enter the Source IPv4 address or a CIDR range of the Remote Agent. The public IP address of the Remote Agent will be used for validation.
-
Use a single IPv4 address (e.g.,
104.18.24.101) to allow only the Remote Agent host. -
Use a CIDR range (e.g.,
104.18.24.0/24) to allow all addresses in the Remote Agent subnet. -
This ensures that only agent requests from the specified source(s) will be accepted by the Seeq Server.
-
Once the fields are completed as needed, click Save to finish.
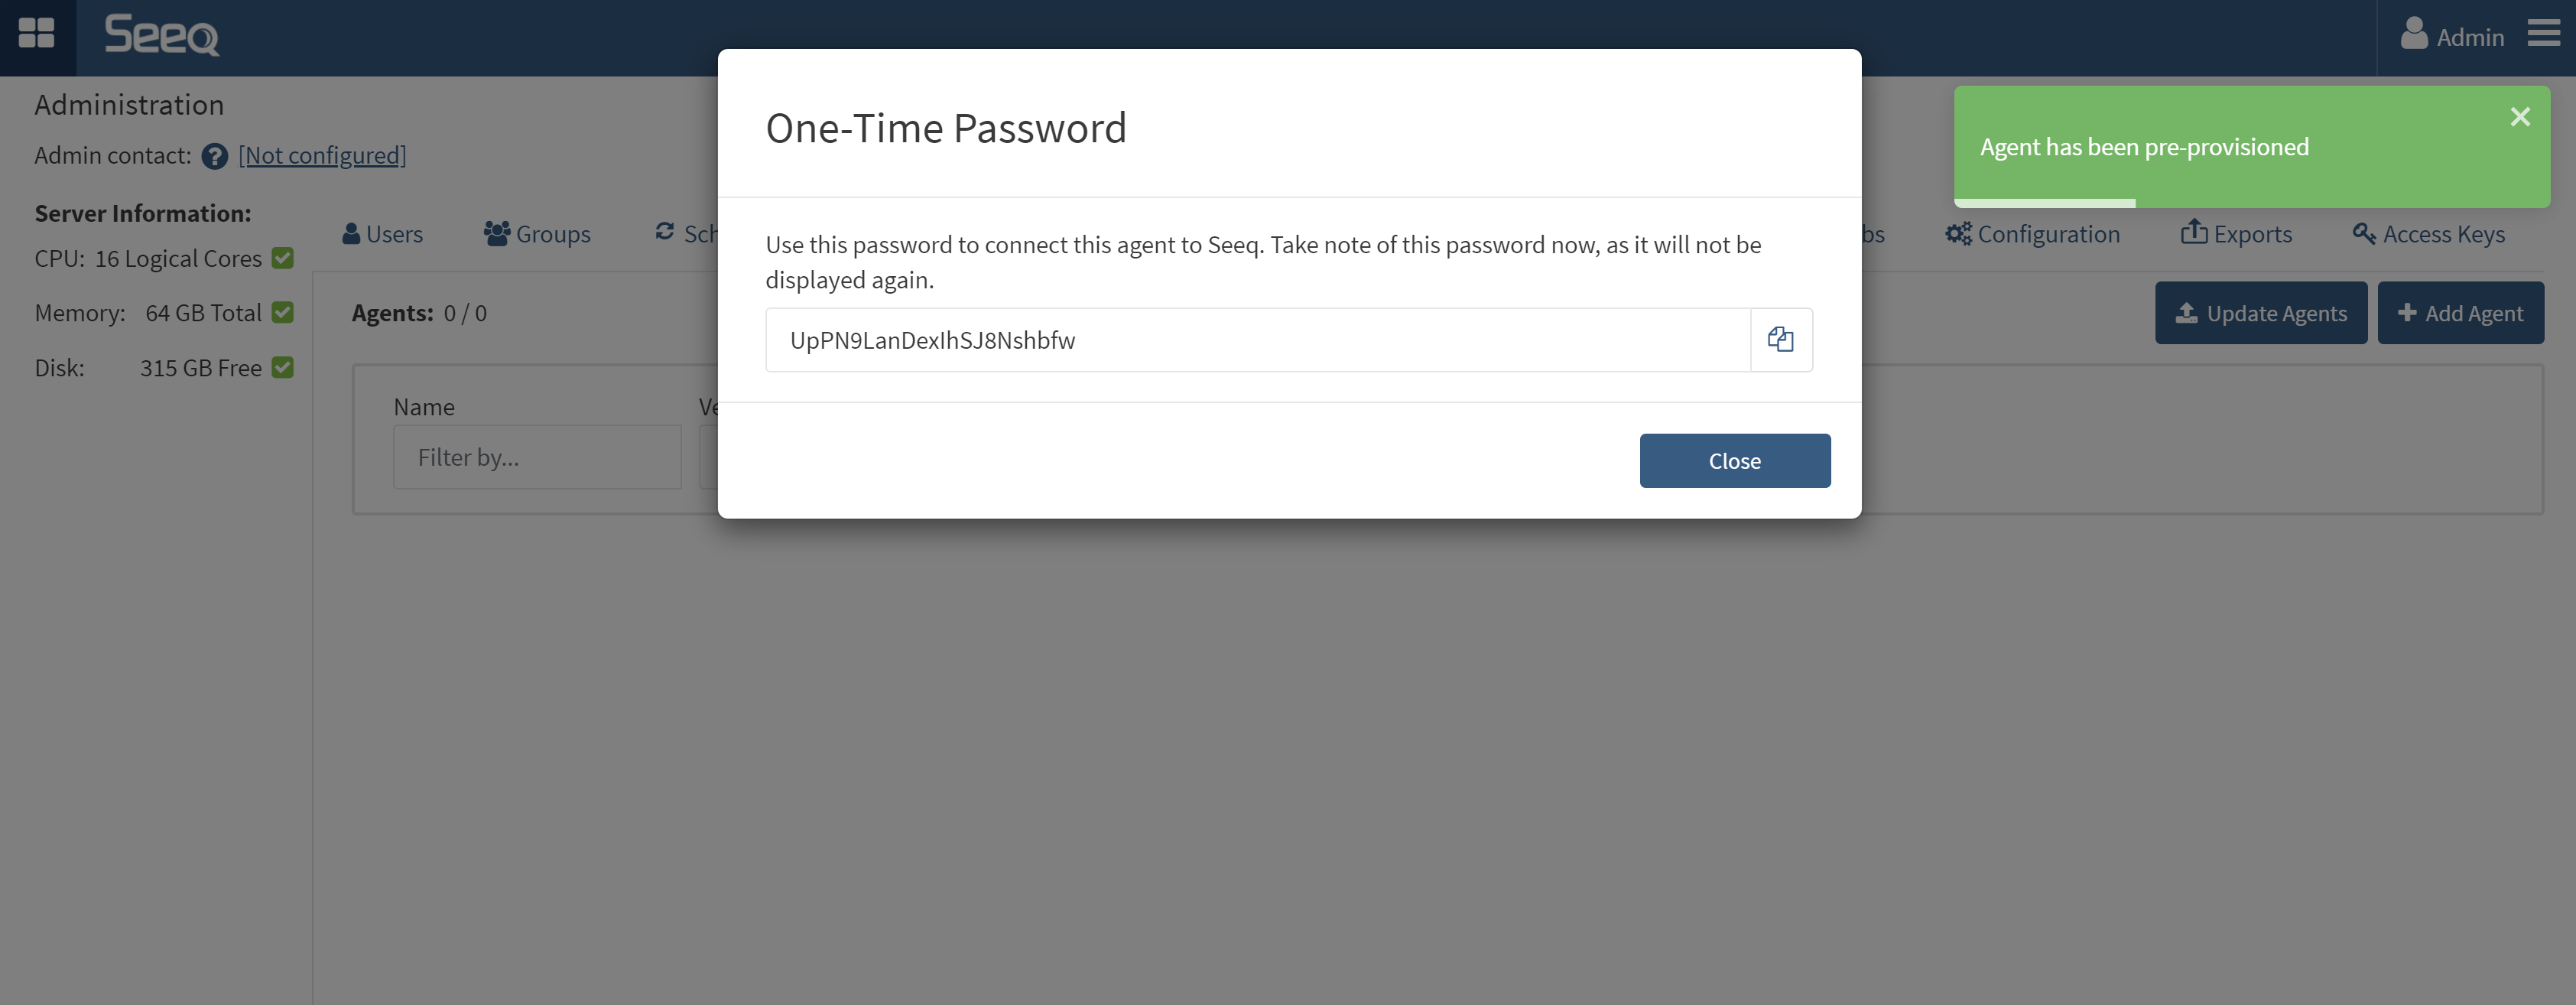
A One-Time Password will be presented. Please copy this password, which will be used to authenticate the remote agent with Seeq in the next step. Note that this password will not be shown or copyable again after closing this window - if you lose access to it before finishing the installation, generate a new one by clicking the “+ Add Agent” button and using the same Machine Name as before.
If the OTP is entered incorrectly during the install you must use the Seeq Command Prompt to correct this error. On the Remote Agent open the Seeq Command Prompt from the Windows Start menu and run the following command where “<new OTP>” is the OTP.
seeq agent provision --otp <new OTP>
Installation
Download the installer on the machine where the remote agent will be installed by visiting this link. Navigate to the “Seeq Agent” section and download a version of the agent that is compatible with your Seeq SaaS tenant. Remote agents are supported for 12 months from its release and are compatible with Seeq releases within that window.
The installer is between 600-700MB in size. If download speeds are constrained on the remote agent machine, you can alternately download it onto another machine on your corporate network and copy it to the remote agent machine.
Locate the installer in the Downloads directory of the remote agent machine:
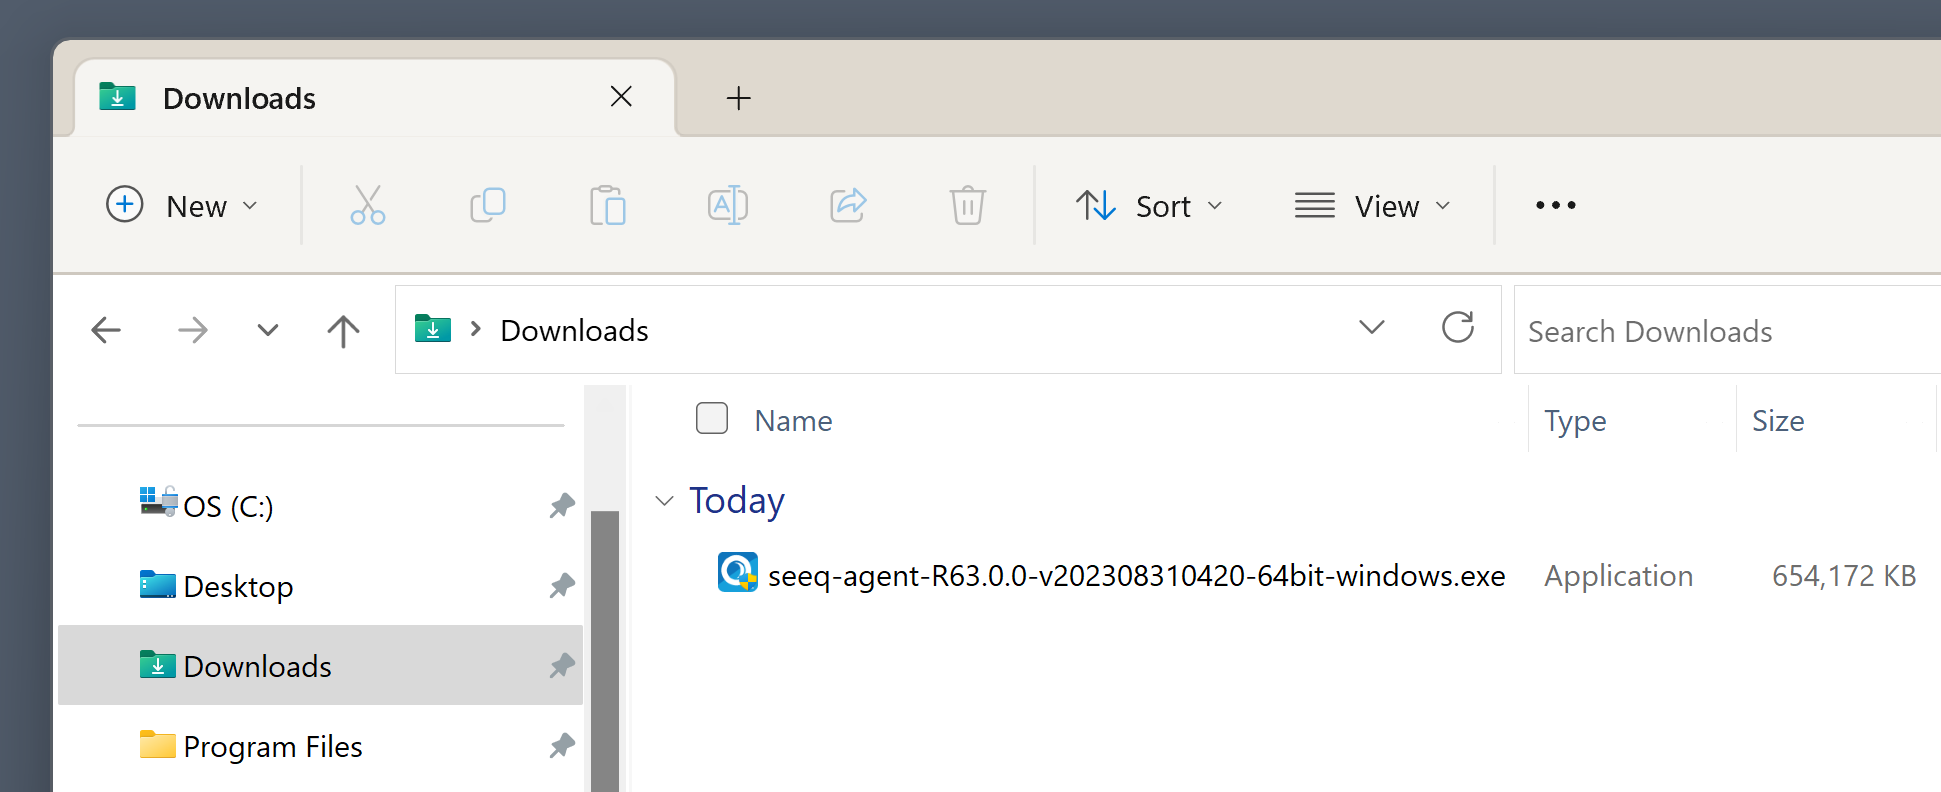
Double-click on the installer to begin the installation process.
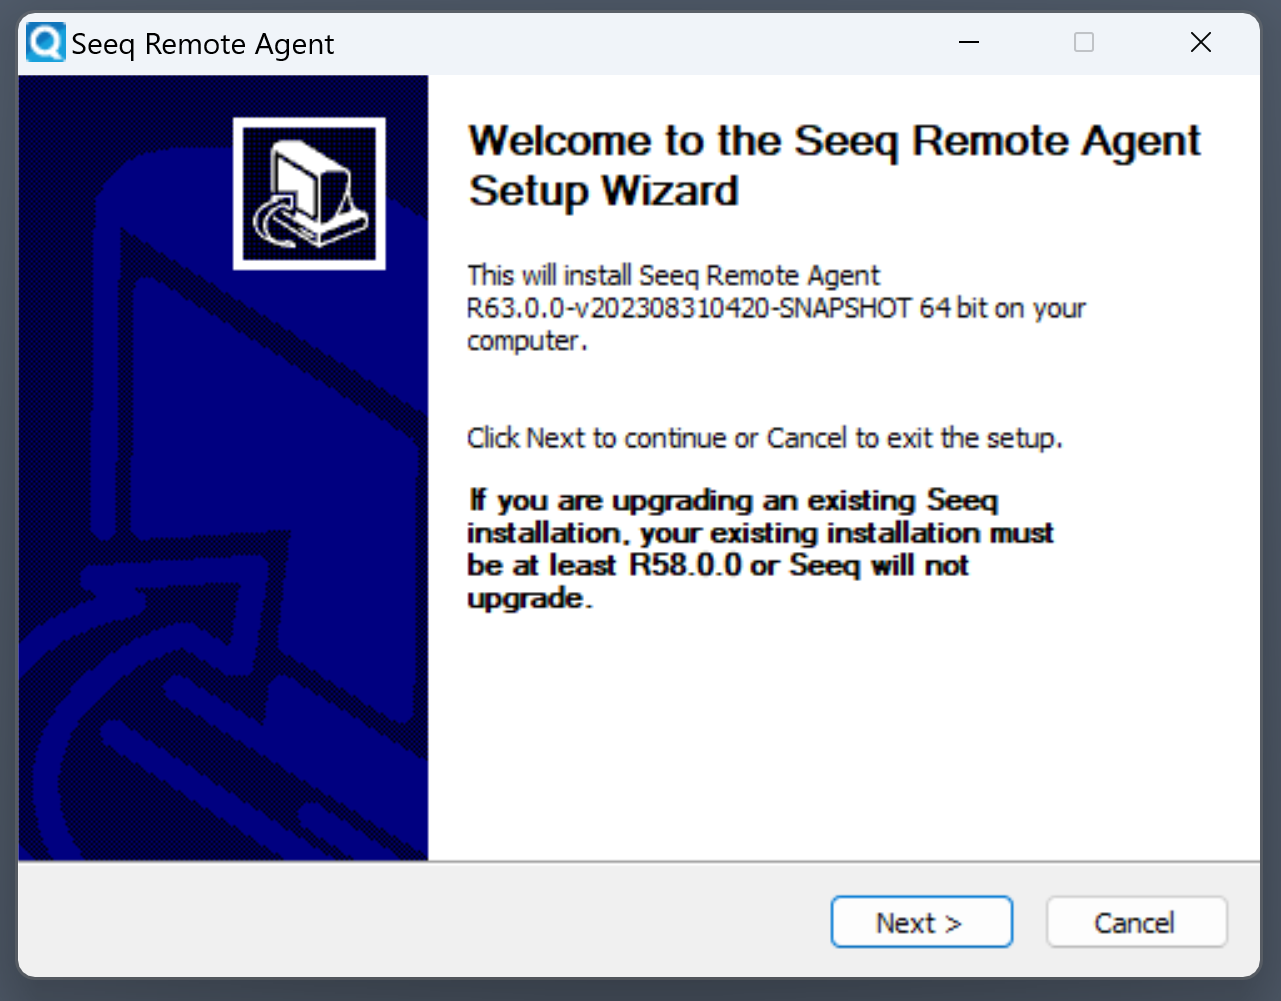
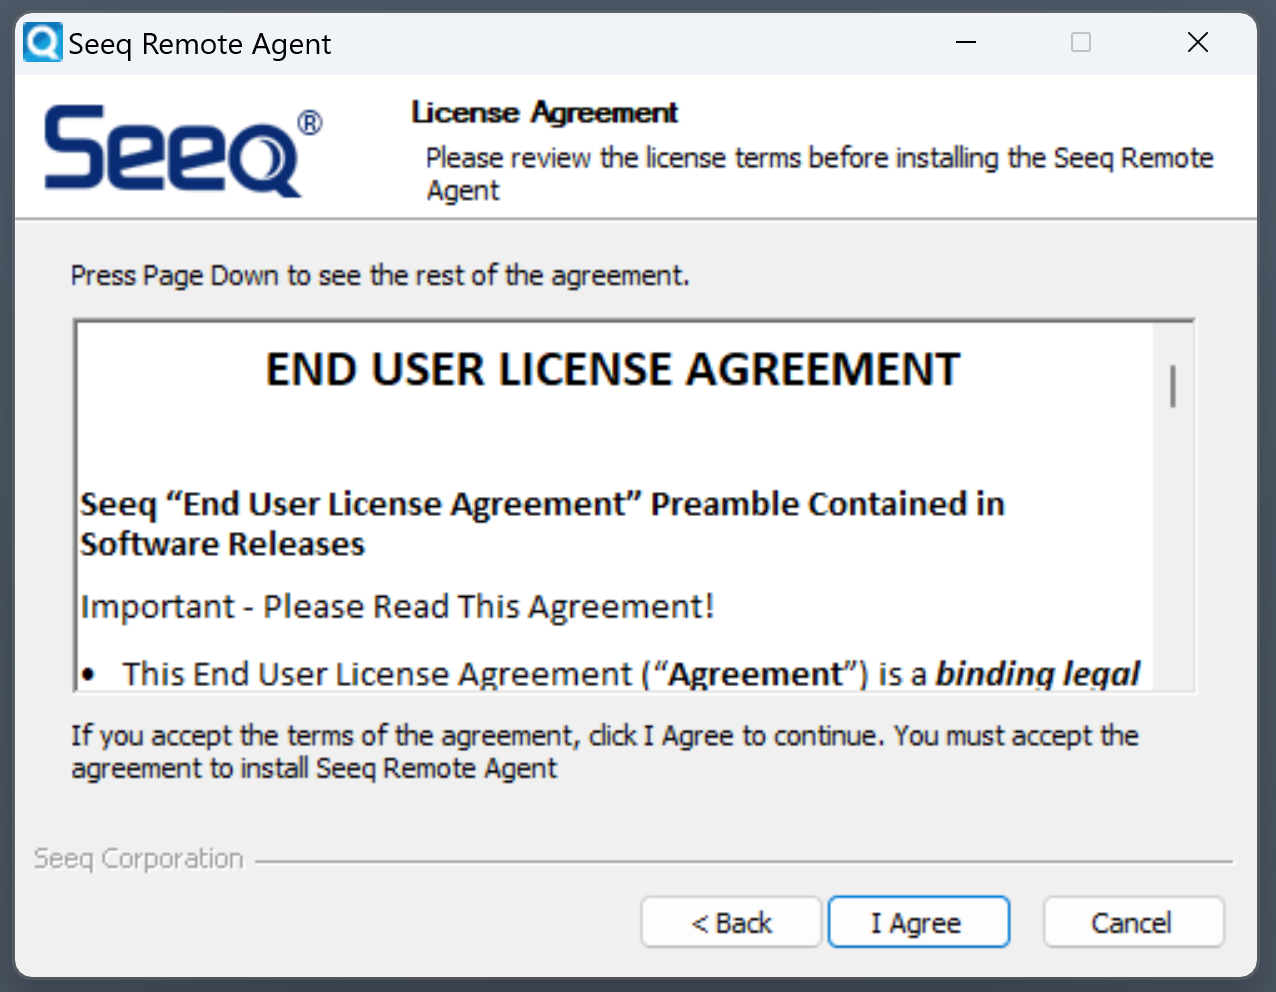
Click “Next” on the first screen and “I Agree” on the second:
|
|
The third screen will ask for the Seeq URL and the One-Time Password generated in the previous step:
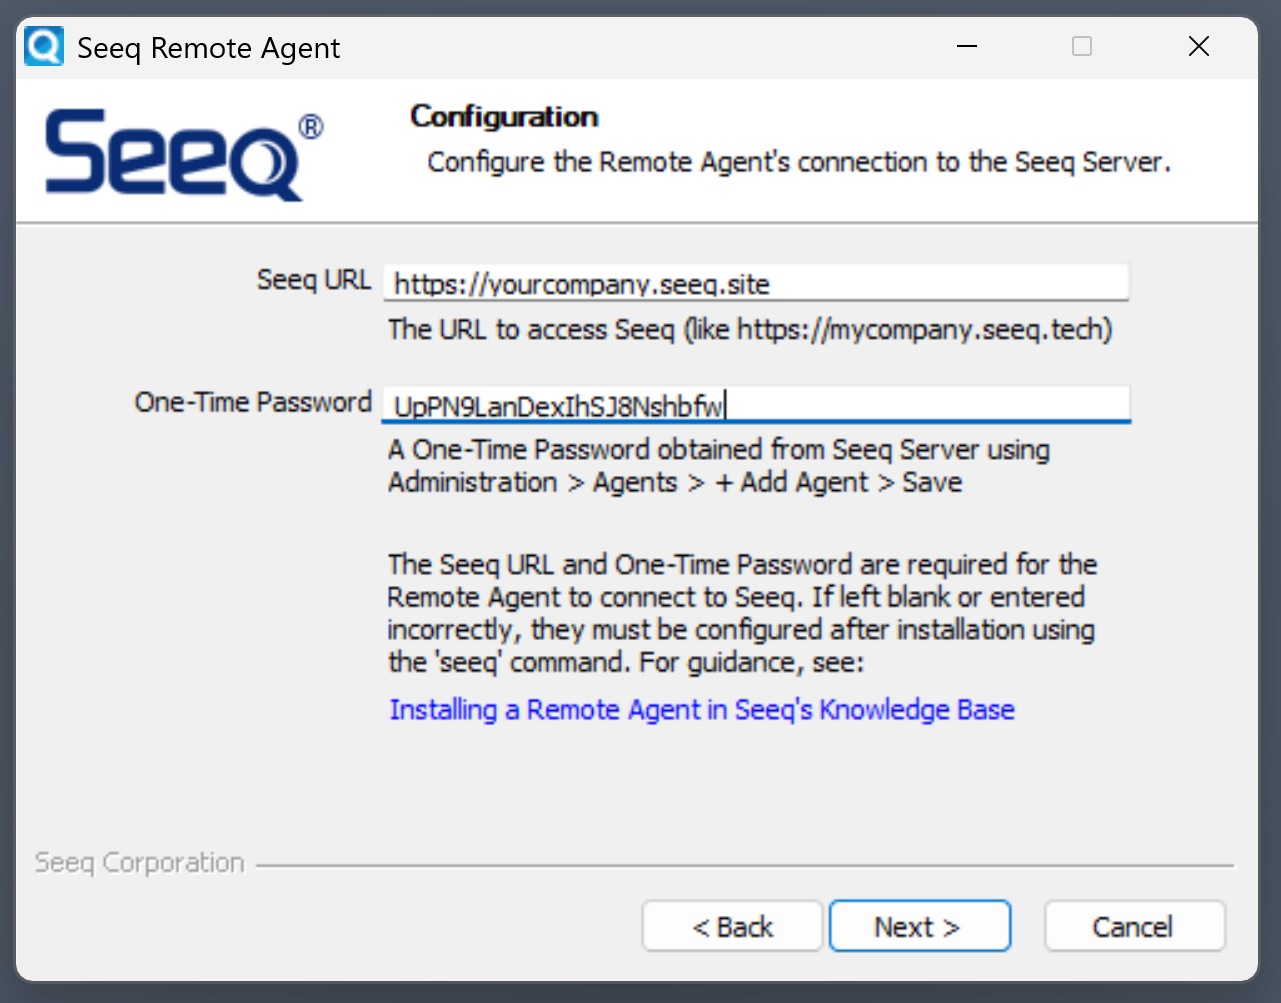
Make sure to fill in both fields; otherwise, the remote agent won’t be able to connect to Seeq. Then click “Next”. On the next screen, click “Install”:
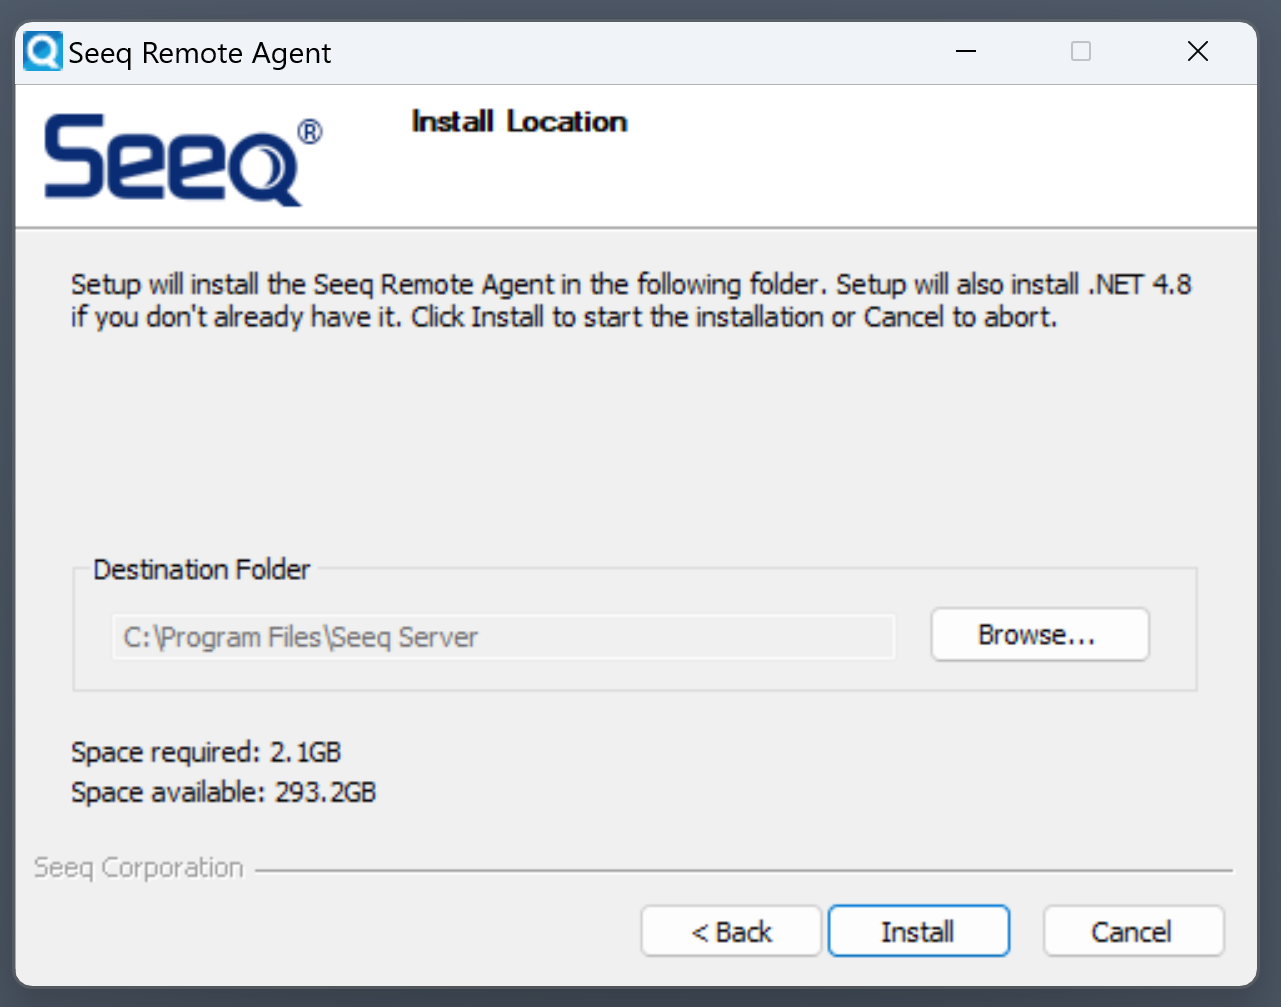
|
|
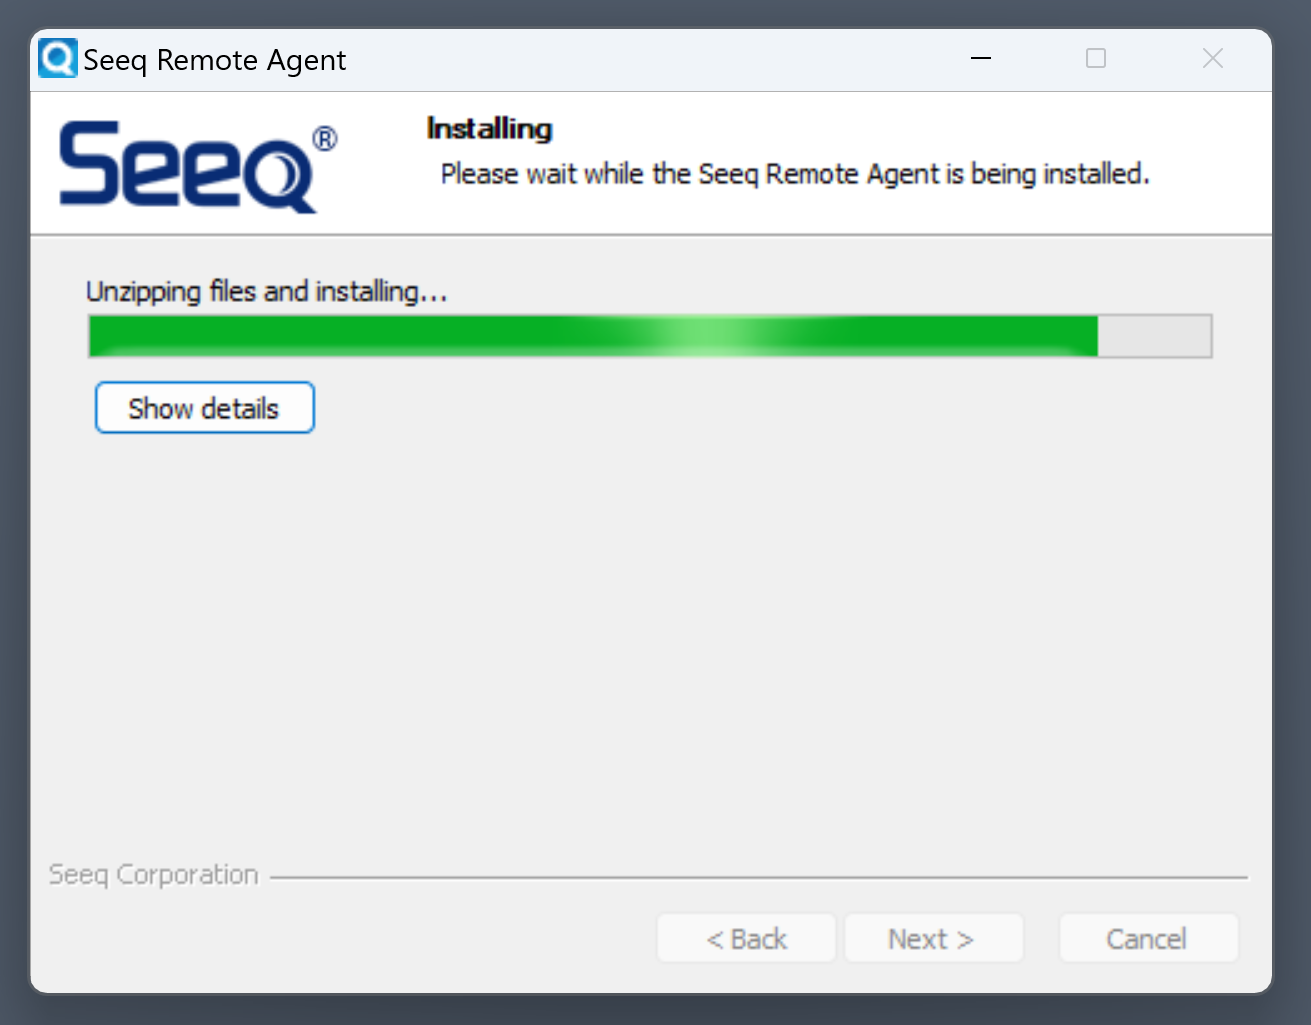
The installation will take between 3 and 10 minutes, depending on the speed of your hard drive and other factors. Once completed, click “Finish”:
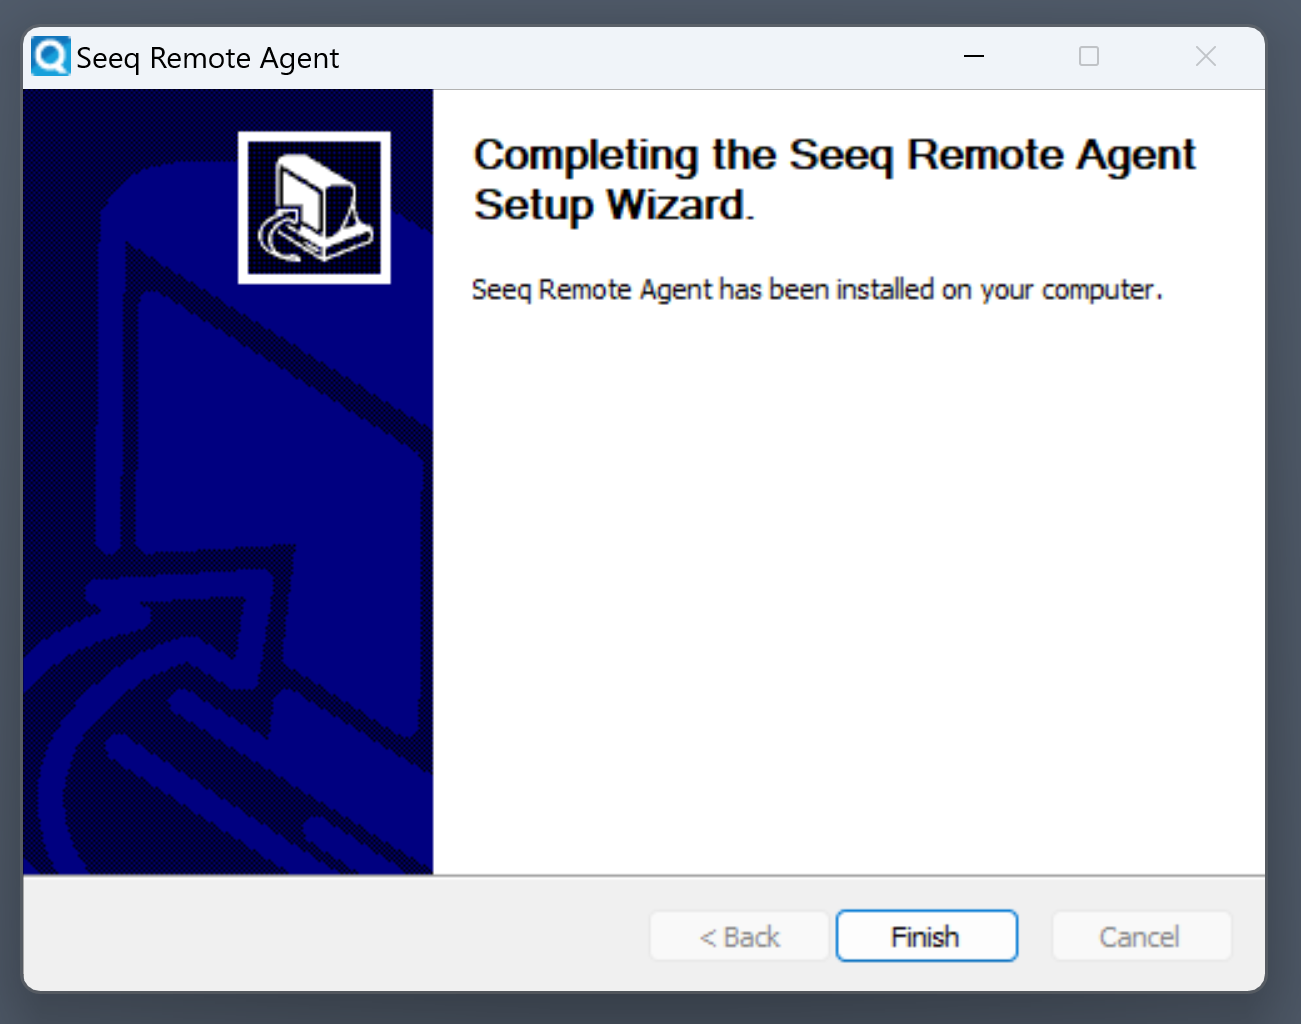
After about a minute, the remote agent should show up in the Agents tab of Seeq SaaS:

If you have already configured a connection on the Seeq Server and are "moving" it to the Remote Agent, then you must copy the JSON configuration file over and then enable/disable the connections appropriately in the two locations. If you don't copy the file over, you may end up with different Id fields in the JSON, which will prevent already-created worksheets from functioning properly because the datasource identifier has changed.
Running the Seeq Remote Agent as a Specific User
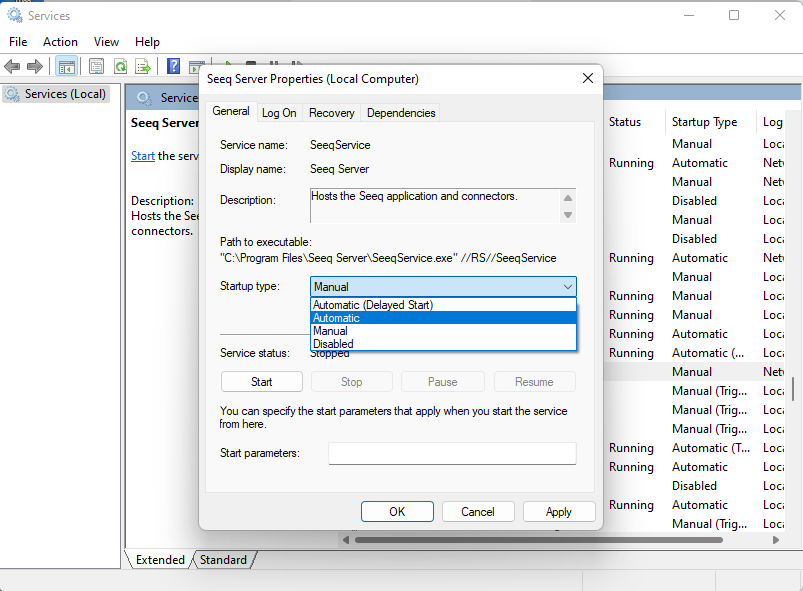
Open the Windows Services control pane app, and locate the Seeq Server service:
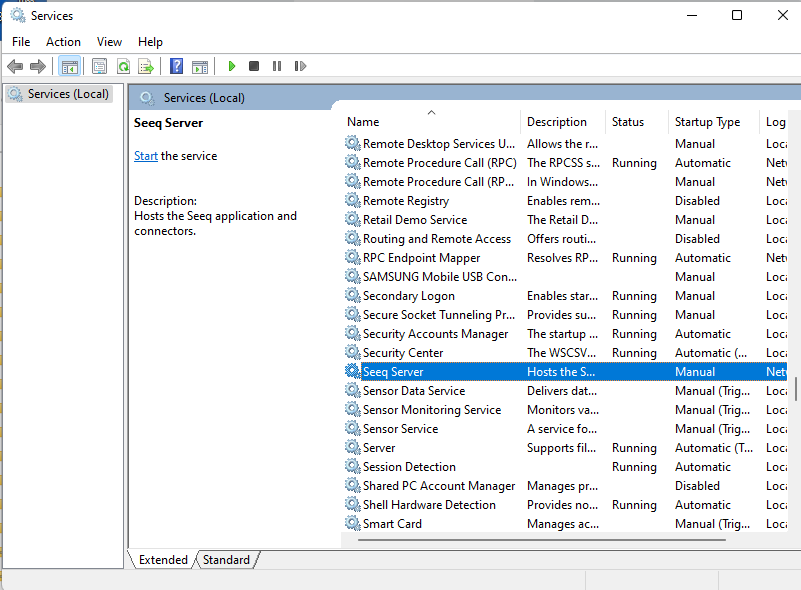
Right-click on the service and select Properties. Set the Startup Type to be “Automatic”:
Select the Log On tab, and set the account credentials to be the domain account that you wish Seeq to run as.
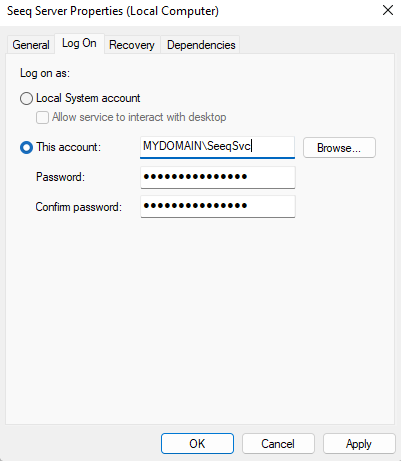
Click Apply.
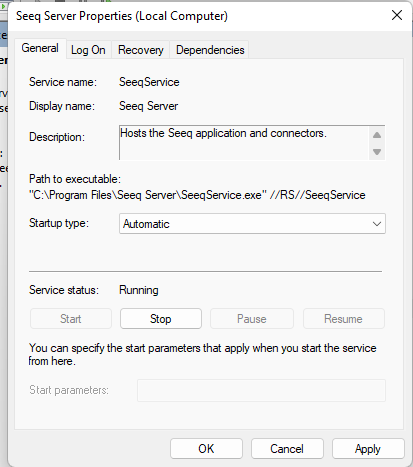
Select the General tab. Click “Start” to launch the Seeq Agent as a service. The service is running when the status is listed as Running.
It is required to grant the user managing the Seeq Server service Full Control permissions for the Seeq directories. By default, these folders are located at C:\Program Files\Seeq Server and C:\ProgramData\Seeq. However, make sure to modify these paths according to your specific installation.
Endpoint Management Software Considerations
Endpoint Privilege Management Software / Privileged Access Management Software
Some companies also employ Endpoint Privilege Management Software (a.k.a. Privileged Access Management Software) - which is typically centrally managed and acts as a tool to manage which software is allowed or disallowed to be installed.
If this software is present, please temporarily disable it during Seeq software installs and upgrades. Otherwise, it may stop the install/upgrade of Seeq partway through the process.
Endpoint Security Software
Some Endpoint Security Software products, like Carbon Black or TitaniumCX, can cause difficulties when installing, updating, and starting the Seeq application. They seek administrative permission to execute certain scripts and binaries. They can also dramatically impact performance as they attempt to scan the application at runtime.
To avoid these types of issues, it is recommended that the Seeq Remote Agent installation folder and the Seeq data directory both be allowed to execute binaries.
Excluding Seeq Data Folders from Endpoint Monitoring
The Seeq runtime and data folders must be added to your Endpoint Monitoring exclusions. For more information on the Data Folder location, see Understanding Data Locations.
Troubleshooting
I lost the one-time password generated during provisioning
Don’t worry! If the one-time password was lost before finishing the remote agent installation you’ll just need to generate a new one. Just follow the Provisioning steps again using the same Machine Name and a new one-time password will be generated and displayed (and the old one will be automatically invalidated).
If you lost the one-time password after entering it in the remote agent installer, that’s ok! It won’t be used again and it’s good practice to discard it.
I made a mistake when provisioning an agent (like entering the wrong Machine Name), how do I delete it?
Provisioned agents that don’t get successfully connected will be automatically deleted by Seeq after a few days for security reasons, so you don’t need to do anything. Just provision a new agent with the correct information and proceed with installation.
I entered the wrong one-time password during installation (or left it blank) and now the remote agent won’t connect to Seeq, how can I correct it?
You can enter the one-time password again by opening a terminal/console in the remote agent machine, changing directory to the remote agent installation and using the following command (replacing NEW_OTP with the correct one-time password):
seeq agent provision --otp NEW_OTP
The remote agent should pick up the change after a few seconds (no restart is required).
I entered the wrong Seeq URL during installation (or left it blank) and now the remote agent won’t connect to Seeq, how can I correct it?
You can enter the Seeq URL again by opening a terminal/console in the remote agent machine, changing directory to the remote agent installation and using the following command (replacing NEW_URL with the correct Seeq URL):
seeq config set Network/Webserver/Url NEW_URL
After running the command restart the remote agent for the change to take effect.
How can I see the one-time password I entered in the installer? Where is it stored?
The one-time password is stored in the encrypted file agent-keys/agent.keys in the agent’s data directory and can’t be decrypted for security reasons, but doing so should never be necessary. For increased security, after using the one-time password to log in the agent will automatically change it to a new randomly-generated password that is not displayed to users (and is also stored in the encrypted file agent-keys/agent.keys).
How can I see the Seeq URL I entered in the installer?
You can run the command seeq config get Network/Webserver/Url in the agent’s installation directory do see the current Seeq URL.
Installation finished but the remote agent can’t connect to Seeq, how do I investigate it?
In the agent’s data directory check the files jvm-link.log and net-link.log and look for messages containing LoginAuthManager for a detailed explanation of what the agent is doing and what might be going wrong.
You can also execute the command seeq agent info in the remote agent’s installation directory for extra details, for example:
$ pilot agent info
    Machine name: machine1
    Agent name suffix:
    Has agent.key? True
    Has pre-provisioned one-time password? False
    Has provisioned password? False
In the output above:
-
Machine nameis the machine’s hostname and must be identical to the Machine Name entered in the Add Agent form -
Agent name suffixmust be identical to the Agent Name entered in the Add Agent form -
Has pre-provisioned one-time password?indicates whether the remote agent was provided a one-time password during installation or afterwards byseeq agent provision --otp OTP. -
Has provisioned password?indicates whether the remote agent was able to use the one-time password to log in to Seeq and generate a new password.
Do I need to provision an existing remote agent that was installed using the old agent.key?
No, existing remote agents will automatically self-provision when they detect it is possible to do so (that is, when both them and the Seeq server have been updated to a version supporting provisioning and all necessary automatic permission migrations have been completed).
How do I provision local agents or Ignition agents?
Currently local and Ignition agents don’t support provisioning, so they will continue to use the agent.key.
I’m seeing a certificate error in the logs when the remote agent is attempting to connect to Seeq Server.
Read the SSL Certificates section near the top of this article.
"Host not found" error persists even after correctly configuring the proxy in Internet Options.
-
Open the Group Policy Editor:
-
Navigate to Local Computer Policy > Computer Configuration > Administrative Templates > Windows Components > Internet Explorer.
-
-
Change the setting for "Make proxy settings per machine" from Disabled to Enabled.
-
Once the policy has been changed, follow these steps:
-
Go to Internet Options and reconfigure the proxy settings. Enabling "Make proxy settings per machine" may reset the configuration.
-
-
Restart the Seeq Service on the Remote Agent after completing the proxy configuration changes.
How can I increase the log retention on a remote agent for .NET Agent
To adjust the log retention settings for a .NET remote agent, follow these steps:
-
Locate the Configuration File:
-
If remote upgrades are not in use, the configuration file is located at:
C:\Program Files\Seeq Server\net-link\image\x64\Seeq.Link.Agent.exe.config -
If remote upgrades are in use, find the configuration file at:
c:\programdata\Seeq\data \installations\<correctVersion>\net-link\image\x64\Seeq.Link.Agent.exe.config
-
-
Update the Log Retention Setting:
-
Open the configuration file and locate the MaxNumberOfBackups parameter.
-
Change its value to the desired number of backups. For example:
<param name="MaxNumberOfBackups" value="5"/>
-
Save the file and restart the Remote Agent after making the changes.