Editor Basics
The main areas
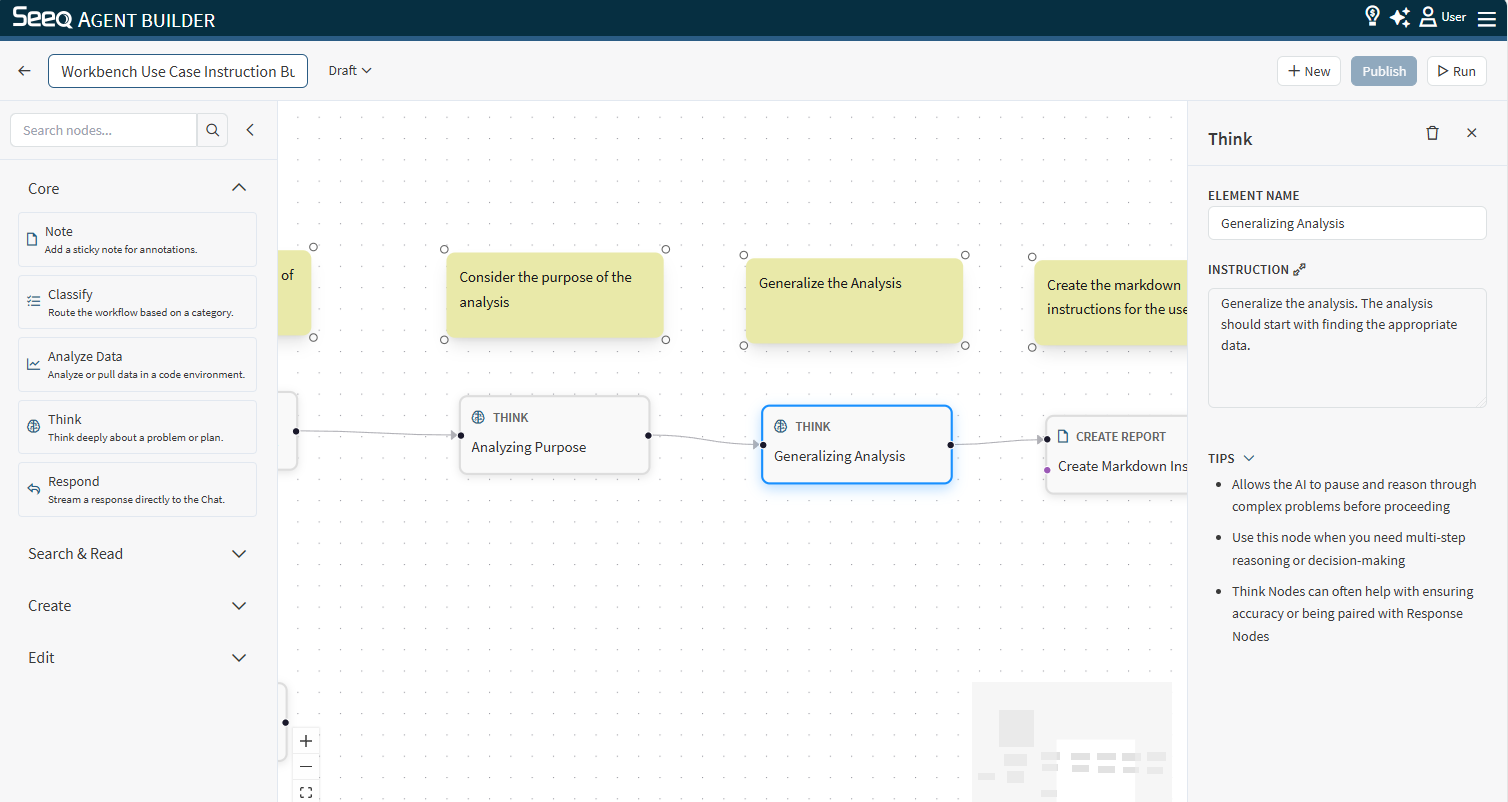
Title: Each custom agent should have its own clear name so others using it can know what to expect.
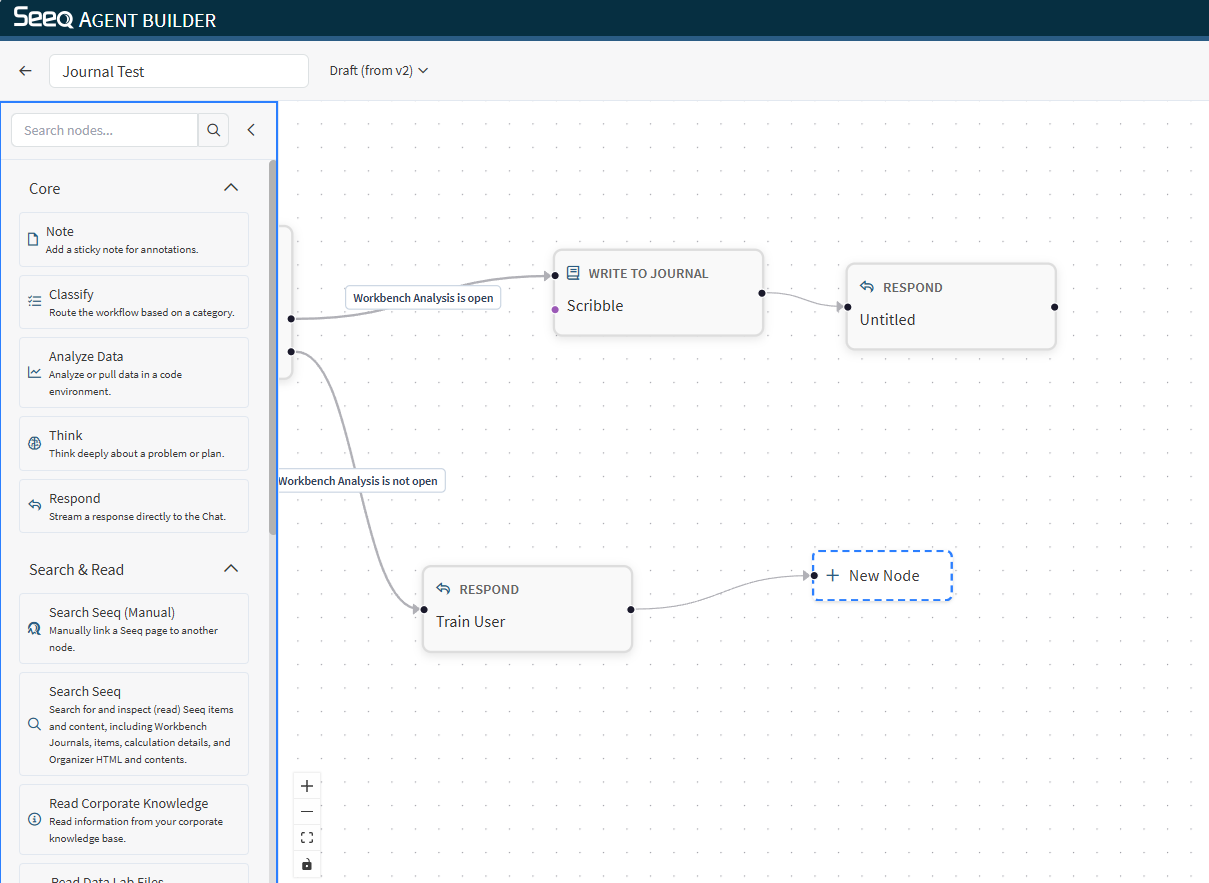
Canvas: Where you lay out and connect nodes.
Nodes palette: The catalog of available node types, grouped by category.
Inspector: Configure the selected node (name, instruction, context, etc.).
Run/Publish: Publish versions and run the workflow.
Adding nodes
You can add nodes in a few ways:
Drag-and-drop from the palette onto the canvas.
Click a palette item to add it near the center of your view.
Drag a connection to empty canvas to create a “New Node” placeholder, then select a node type from the palette while the nodes palette is actively highlighted in blue to assign that node type to the new node placeholder.
Selecting and editing nodes
Click a node to open its inspector.
Use the inspector to set:
Element name (a human-friendly title)
Instruction (what the node should do)
Context (for nodes that support it)
Memory settings (for Agent, Action, and Classify nodes)
Notes and organization
Use the Note node to add non-executing annotations to the canvas. This can be helpful for documenting intent to minimize the need to open individual nodes, but these notes will need to be manually updated as you make changes to the nodes.
Use the mini map and zoom controls to navigate larger workflows.
Keyboard shortcuts
Delete / Backspace: Delete the selected node (Start cannot be deleted).
Cmd/Ctrl + C: Copy selected node(s).
Cmd/Ctrl + V: Paste node(s).
Cmd/Ctrl + Z: Undo.