Getting Support
Viewing log files is often the first step in troubleshooting issues with Seeq.
Viewing Logs
Server logs can be viewed in the Seeq application
If you are troubleshooting connectors, consider reading Troubleshooting a Datasource Connection article.
Log into the Seeq application.
Click on the three horizontal bars in the upper right corner of Seeq.
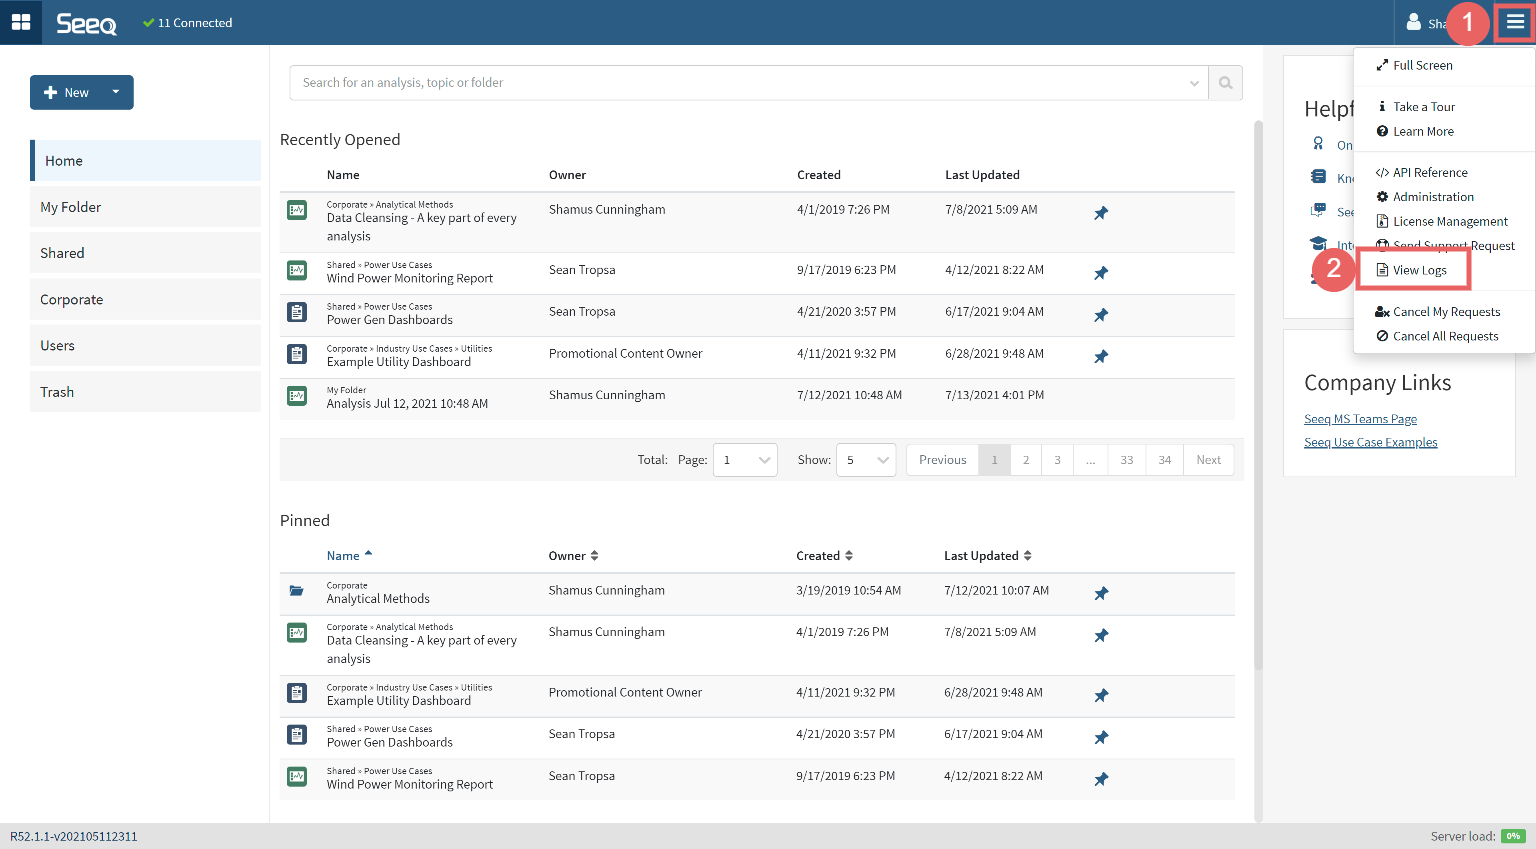
Select View Logs.
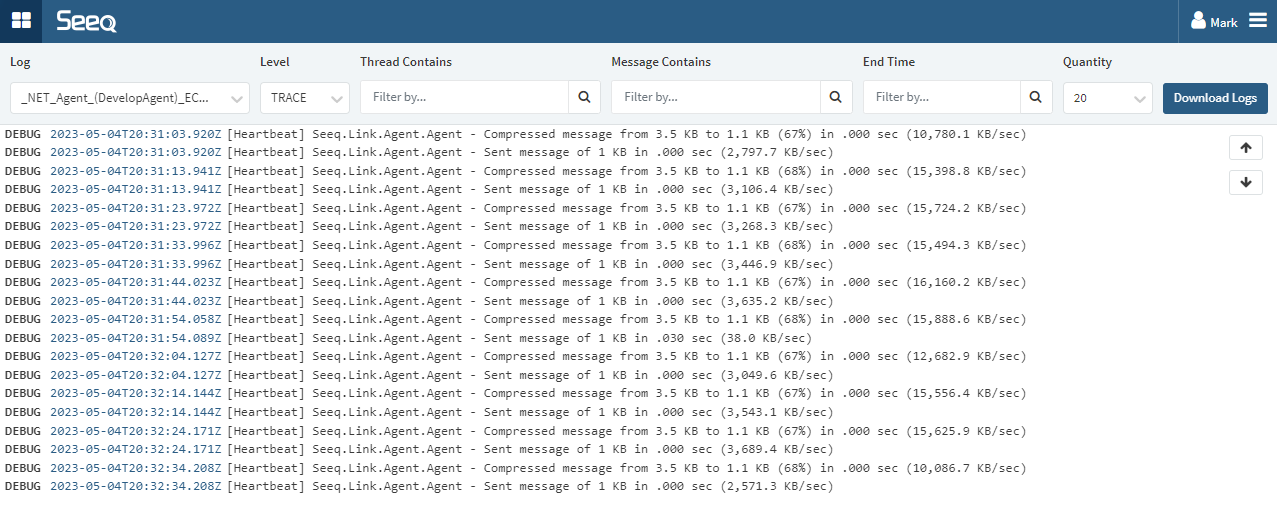
From this interface, you can select a particular component from the Log dropdown in the top left. Most commonly, you will want to look at logs for a NET Agent or JVM Agent. Remote Agent logs are included in this user interface and differentiated by the machine name hosting the Remote Agent.
Contacting Your Seeq Administrator
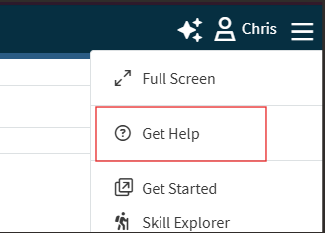
In many cases your Seeq Administrator might be able to assist you in troubleshooting your issue. If you are not certain how to contact them, you can click Get Help from the menu in the upper right corner of the Seeq page:
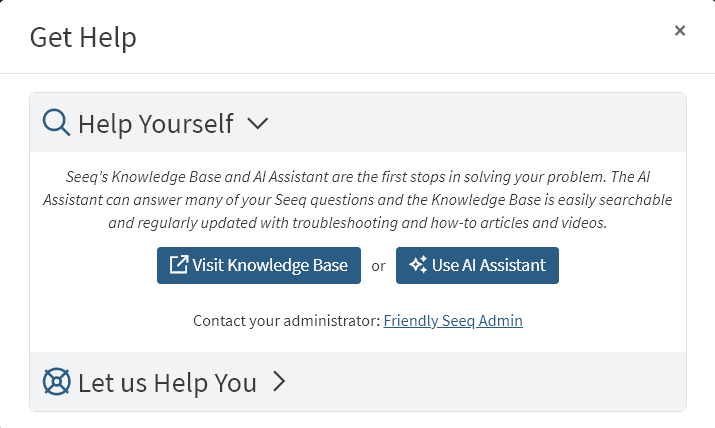
Your Seeq Administrator contact should be shown under the “Help Yourself” section (Note: the link will open your default email client with your Seeq Server Administrators email in the to: field):
Registering on the Seeq Support Portal
Creating an account on the Seeq Support Portal allows you the convenience of being able to access your support cases from one location. You can view the status of your cases, add updates and attachments to existing cases, and open new cases. You also have the ability to view cases that have been opened by others in your company.
To create an account, do the following from the Seeq Support Portal:
Click Log in in the upper right corner.

2. Select Sign up
3. Enter your email address
You will receive an email. Click the Sign up link in the email to complete your registration.