AI Assistant - Image upload
Bringing visuals into the AI Assistant can help you get richer, faster answers. Any AI Agent can benefit from including optional images in a conversation.
The AI Assistant now understands visual context. Add screenshots, photos, dashboards, or whiteboard sketches alongside your question so the AI Assistant can inspect what you are seeing and tailor its guidance. Images travel with the chat and are provided to underlying LLM providers for response. Their presence in the chat makes it easy to revisit evidence or share outcomes with teammates.
Examples
In this example, the Actions agent is directed to find signals to add to the trend from a drawing. Highlighted colors paired with instructions in text provides further guidance on what analytics to perform.
.png?inst-v=bf126705-7eff-4ca3-aa78-7151b57a9189)
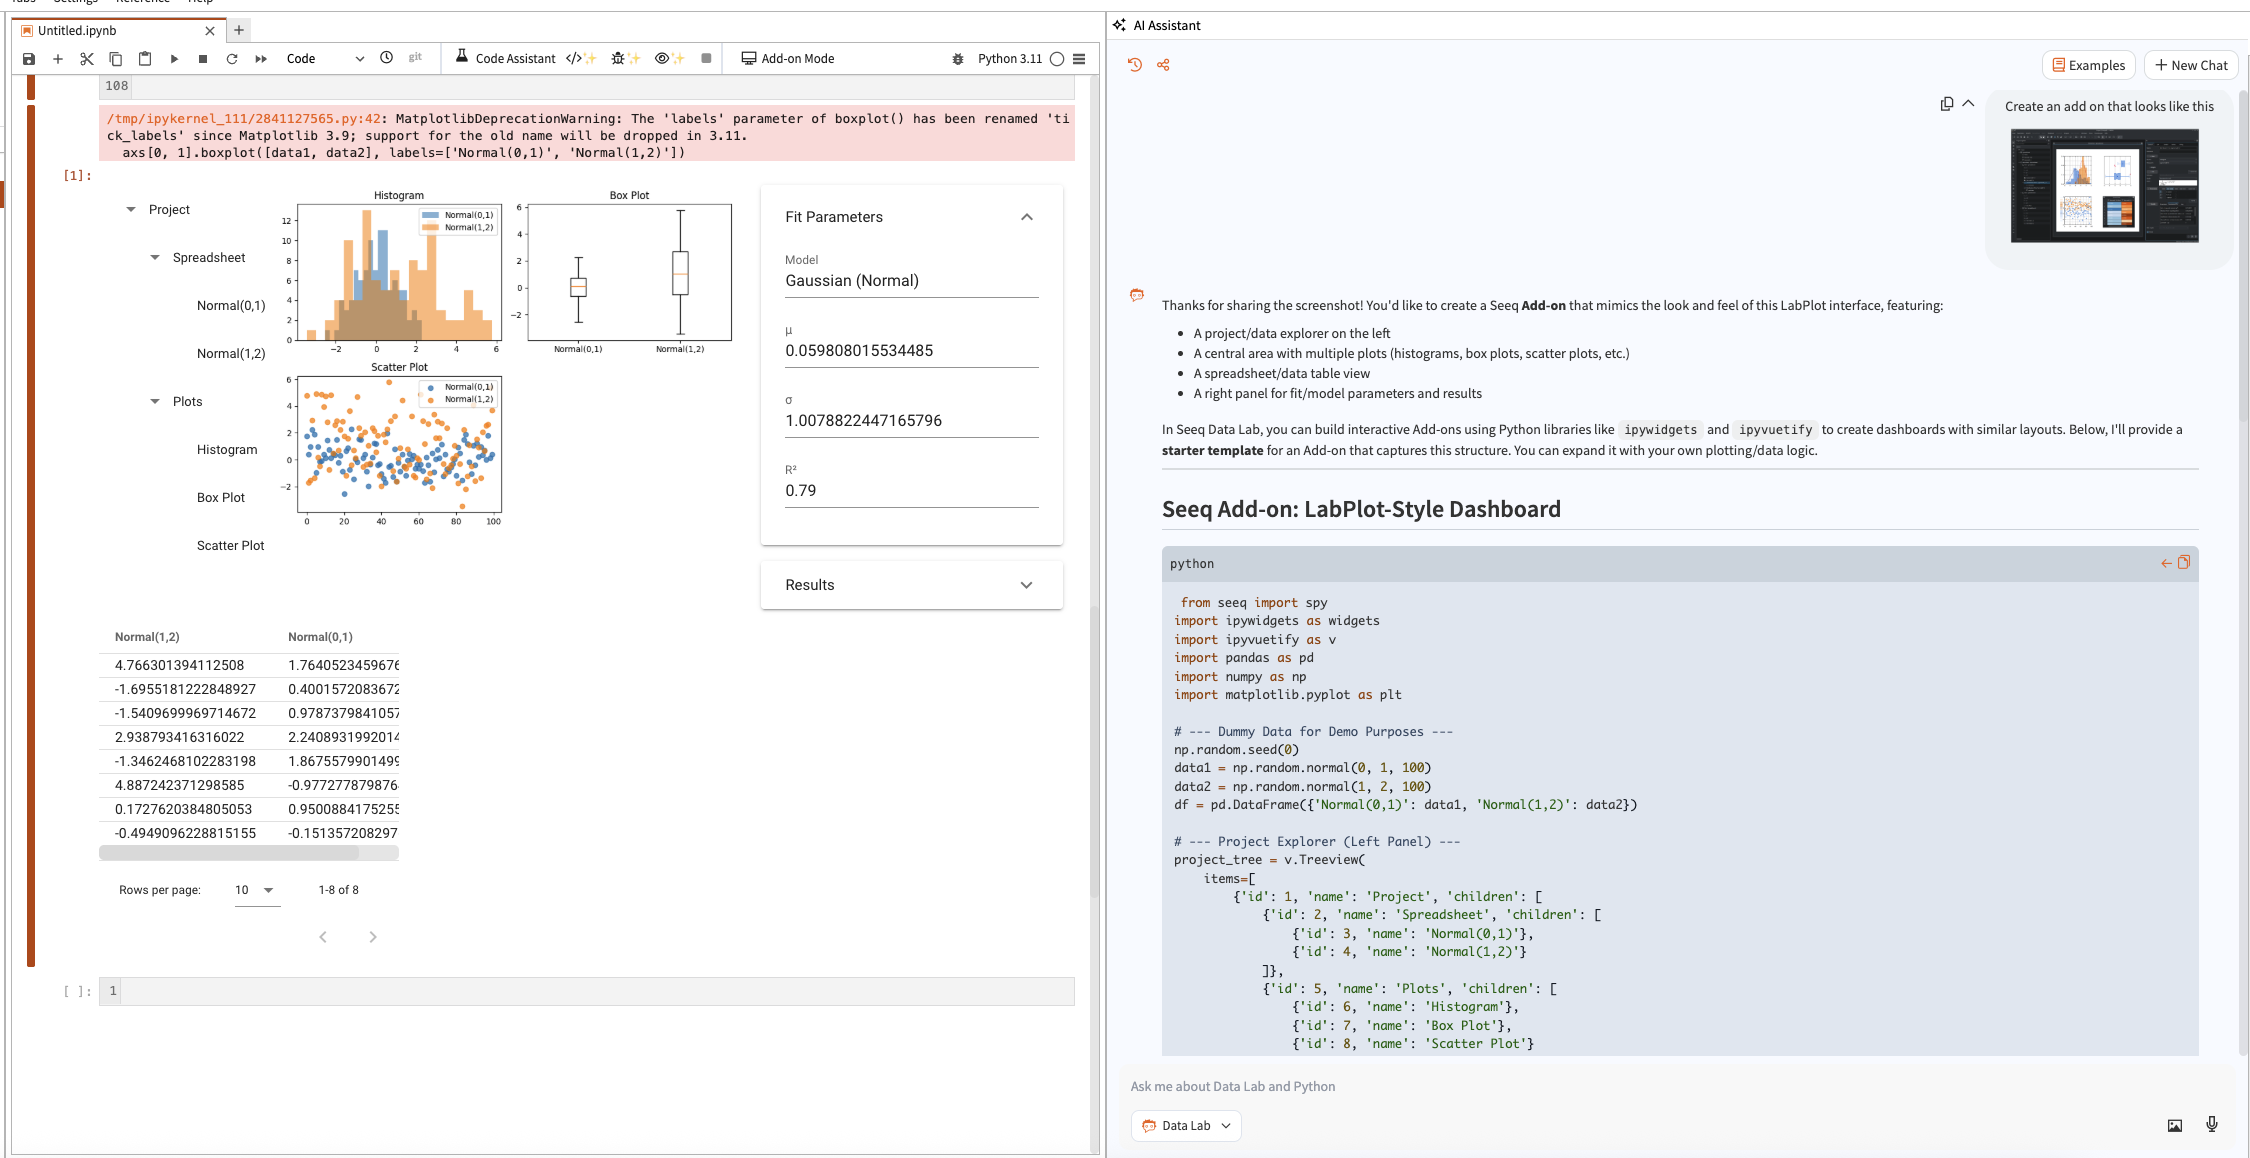
In the following example, an image provides inspiration for the Data Lab Agent create an Add-on without copious text describing the layout.
Best Practices
Highlight key regions in your screenshot before uploading when possible; annotations make it easier for both the assistant and your teammates to understand the focus.
Pair the image with a short caption in your prompt (for example, "Attached: compressor trend that spikes at 08:00") so the assistant knows exactly what to look for.
If you have multiple visuals, order them from most to least important.
How Image Context Works
Attach one or more images to any prompt. A thumbnail preview appears above the input while you draft your question so you can confirm the right visuals are included. Only the first image uploaded is used by the AI assistant.
Image thumbnails remain accessible in the chat histories. Select any thumbnail to open a full-size preview without leaving the conversation.
PNG, JPEG or JPG, and WEBP file types are supported at up to 10 MB per image.
Ways to Upload Images
Upload button - Choose the picture icon next to Send and select a file from your device.
Drag and drop - Drop image files directly onto the prompt area to queue them instantly.
Clipboard paste - Copy a screenshot or image (Ctrl+C, Command+C, or a snipping tool) and paste it into the prompt (Ctrl+V or Command+V).
Copy with attachments - Copying a previous chat message that already includes images brings along both the text and the visuals so you can reuse the full context.
After each upload you can remove an image with the x control on its thumbnail. Clearing the prompt or sending the message also resets the draft area.

Managing Attachments During the Conversation
Draft images stay available until you send the message or remove them. You can keep working on your prompt, switch agents, or paste additional images at any time.
Once sent, images display under the message body for both you and anyone else viewing the chat. Use the full-screen preview to zoom in on fine details.
Copying a sent message copies the embedded images as well, letting you paste the full response (including visuals) into email, documents, or other chats.
Administrative Controls
If your organization does not want to utilize image uploads to the AI Assistant, an administrator can disable Features/GenAI/ImageUploadsEnabled from the Configuration Tab on the Administration pane.