Installing a Remote Agent
Prerequisites
Networking Requirements
The Seeq Remote Agent requires an outbound connection via port 443 to the Seeq server. Once your VM or Physical server is provisioned you can confirm connectivity using the following steps (ensure you are logged in as the user that is going to be running the remote agent):
On the remote agent machine open a web browser such as Google Chrome, Firefox or Microsoft Edge. Seeq does not support Internet Explorer.
Type your Seeq SaaS URL into the web browser (i.e. https://yourcompany.seeq.site). You should see the Seeq SaaS login screen.
Log in using your assigned credentials. Once you have logged in and can access the Seeq home page, you have verified full connectivity.
If you cannot access the Seeq SaaS URL from the remote agent machine, you may need to contact your IT team. Both the Seeq User Interface and the Seeq Remote Agent establish outbound HTTPS connections on port 443, utilizing TLS1.3, and establish a secured websocket between the Remote Agent and Seeq SaaS. The IT team may need to place the Seeq SaaS URL on a firewall “allow list” and possibly take other actions to enable the connection.
Proxies
If using a proxy, there are a couple of items to consider:
The proxy must not be authenticated.
If the proxy is decrypting SSL traffic, the certificates must be added to the JVM agent after installation
The account that the remote agent is running under must have access to the proxy configuration of the OS
VM or Physical Server
A Seeq Remote Agent can initially be installed on a machine with modest resources, scaling up depending on data throughput requirements.
The important thing to consider about the resources necessary on the Remote Agent is the peak amount of data you expect to flow through it during a window of time. Remote Agents do not perform calculations, they are simply a conduit for data to flow from a datasource to the Seeq Server. But they can handle hundreds of simultaneous queries and therefore still can require significant hardware resources. For example, querying a datasource for 1 year of data sampled every 15 seconds means 2.1 million samples flow through. ("Samples" are synonymous with "Events" in OSIsoft PI.) With several signals on a worksheet, and with many users potentially making requests at the same time, the Remote Agent can easily be processing tens of gigabytes of data within its RAM and across its CPUs.
The following table provides high level guidance on hardware resources for Remote Agents:
Datasource Connections | 1-2 | 3+ |
|---|---|---|
Simultaneous Queries | less than 10 | 10+ |
Cores | 2 | 8 |
RAM | 8 GB | 32 GB |
CPU | 64-bit | |
Storage | More than 10GB free space | |
Operating System | Microsoft Windows Server 2016+ (recommended) or Windows 10+ or Ubuntu 20.04+ LTS | |
Installing on Ubuntu will not run the .NET Agent. Use a Windows machine if you need connectors using the .NET Agent.
Linux remote agents do not support remote upgrades.
Configuration Information
This article makes the assumption that Seeq SaaS has been deployed for you and it is available. You should have, at this point, the following information provided to you by Seeq:
Your Seeq SaaS URL (for this article, we will be using https://yourcompany.seeq.site as an example)
Your Seeq Username. Seeq personnel will assign an initial username - likely your email address - and password and grant that user Seeq Admin privileges.
Your Seeq Password (Please change this at your first log-in)
You will also need to have the following information provided by your local IT team:
A service account, and credentials, to run the Seeq Server Service. (Note, if you plan on using OSIsoft PI or AF this will be the identity that Seeq uses when accessing PI/AF, so this account should have READ permissions in PI/AF)
Seeq recommends that you have Google Chrome, FireFox or Microsoft Edge installed on your remote agent. This will be helpful in verifying connectivity with Seeq SaaS during remote agent installation.
If you plan on connecting to OSIsoft PI or AF, you will also need to install PI AF Client 2012 SP2 (Version 2.5.2.5396 Release Date: 6/4/2013) or later installed on the remote agent machine.
Seeq Remote Agent Installation
Download the remote agent installer by visiting this link. First, select the Seeq Version that corresponds to your Seeq site (can be found in the bottom left corner of any Seeq Workbench page). Then, select Product “Seeq Agent.” Download the Windows installer.
The installer is between 700-800MB in size. If download speeds are constrained on the remote agent machine, you can alternately download it onto another machine on your corporate network and copy it to the remote agent machine.
Locate the installer in the Downloads directory of the remote agent machine.

Double click on the installer to begin the installation process.
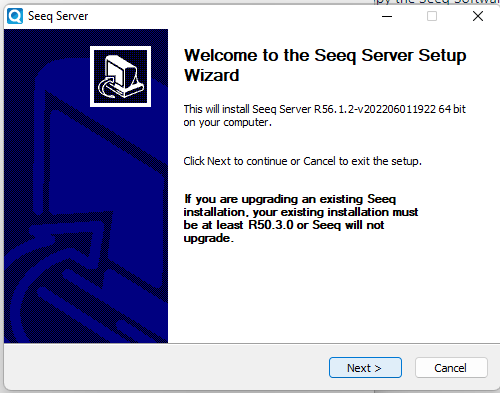
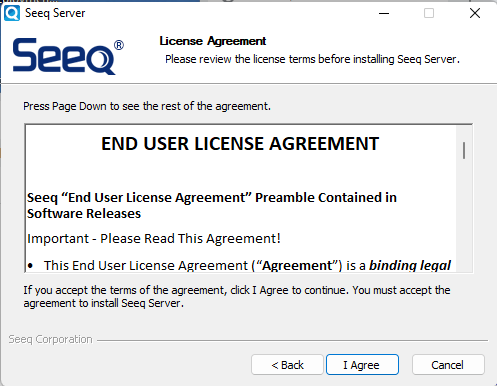
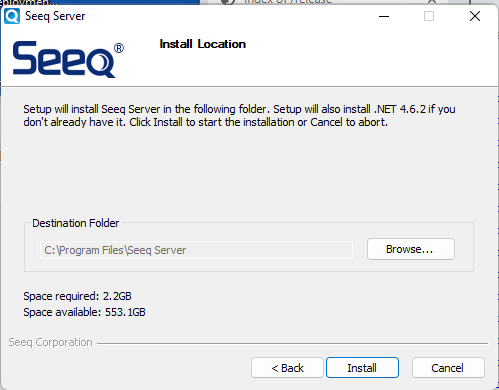
You will be presented with 3 screens. Click “Next” on the first screen, “Agree” on the next screen, and “Install” on the third.
 |  |  | 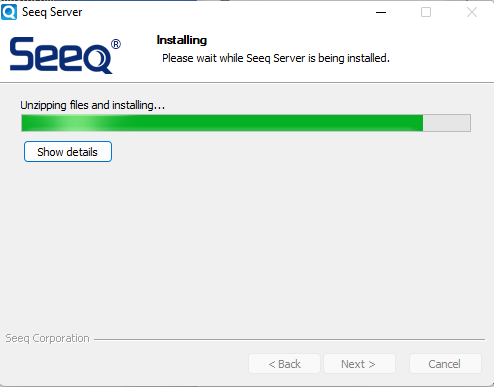 |
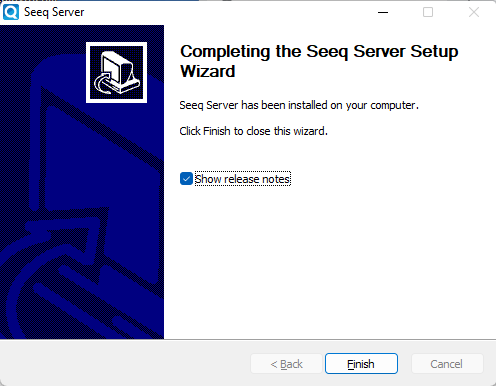
The installation will take between 3 and 10 minutes, depending on the speed of your hard drive and other factors. Once completed, click “Finish.
Seeq Remote Agent Configuration
On the Remote Agent machine, configure the agent by updating the following configuration options using the Seeq Command Prompt:
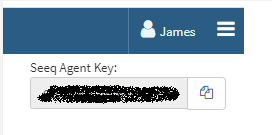
CODEseeq stop seeq config set Installation/ServerType Agent seeq config set Installation/RunAsService True seeq config set Features/RemoteAgentUpdates/Enabled True seeq config set Network/Webserver/Url https://seeq.companyname.com seeq startThe agent authentication key is located in the upper right corner of the screen. You can click the small icon to the right to Copy this key value.
In a text editor, such as Notepad or Notepad++, open the following file:
C:\ProgramData\Seeq\data\keys\agent.key
Replace the second line with the key value you copied from the Seeq SaaS administration page. Note that the file should only be 2 lines long, do not add a Carriage Return or NewLine to the end of line 2.
Save the file and close Notepad.
CODEagent_api_key YYYYYY3ZZZZZZY0-X-XxxxYou will likely want to run the Seeq Service on the Remote Agent machine as a Windows Service. If you are using connectors that leverage Windows authentication, you will want to make sure that the Seeq Service is running with credentials that allow the connector to authenticate with the datasource. You can follow the instructions on running the Seeq Remote Agent as a Specific User below, to facilitate this.
Warning: When running Seeq as a service, make sure the account that is running the service has the appropriate permission/configuration to communicate to the data source as well as the Seeq Server. For testing purposes, if you do not have a service account set up yet, you may consider running interactively if the account you are logging in to the Remote Agent server has the necessary access.
Confirm the connection in Seeq by navigating to the Administration Page, clicking the agents tab, and seeing that the agent appears as
CONNECTED
If you have already configured a connection on the Seeq Server and are "moving" it to the Remote Agent, then you must copy the JSON configuration file over and then enable/disable the connections appropriately in the two locations. If you don't copy the file over, you may end up with different Id fields in the JSON, which will prevent already-created worksheets from functioning properly because the datasource identifier has changed.
Running the Seeq Remote Agent as a Specific User
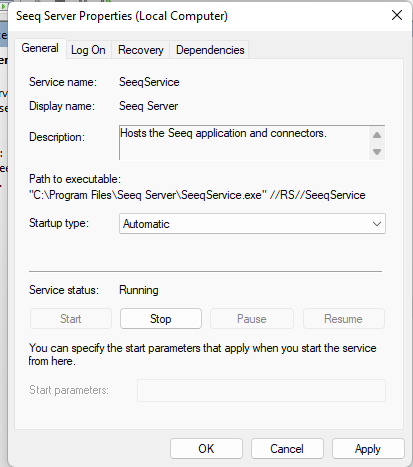
Open the Windows Services control pane app, and locate the Seeq Server service:
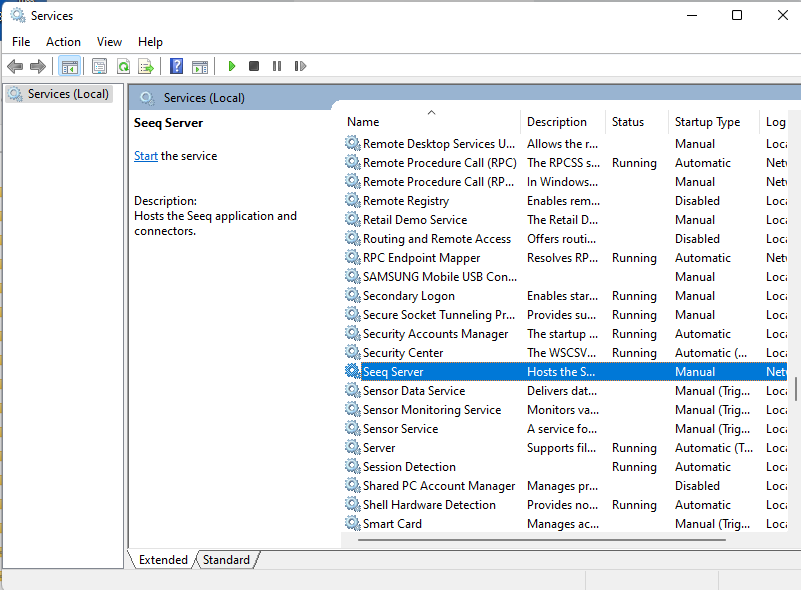
Right-click on the service and select Properties. Set the Startup Type to be “Automatic”:
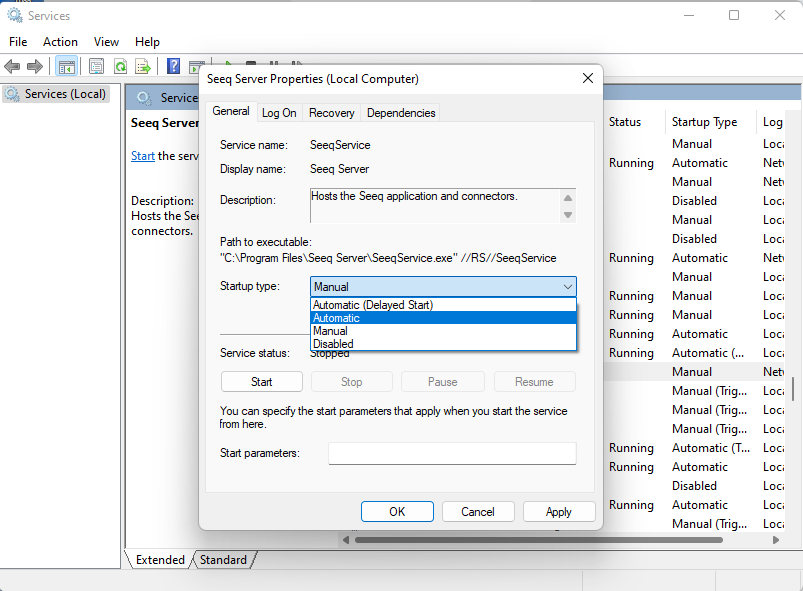
Select the Log On tab, and set the account credentials to be the domain account that you wish Seeq to run as.
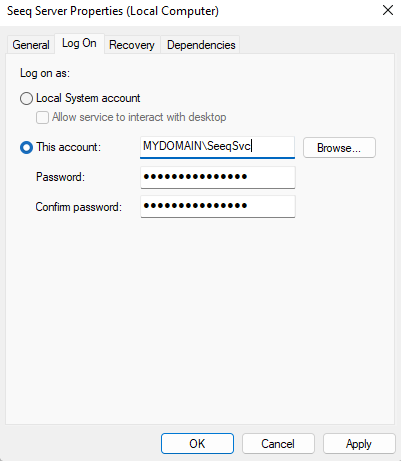
Click Apply.
Select the General tab. Click “Start” to launch the Seeq Agent as a service. The service is running when the status is listed as Running.
