Windows Authentication
Administrators can configure automatic login via the Windows Auth connector. (Requires connector to run on the Windows platform.)
Overview
Seeq has supported authentication and authorization via the LDAP connector for several releases, where a user can provide their username and password to be checked against a central LDAP database, typically Microsoft Active Directory. The benefit of LDAP authentication is that users and group membership are managed centrally, so there is no duplication of that information. When a new hire joins a company, in order to have access to Seeq they only need an Active Directory login and to be assigned to the appropriate group. No Seeq-specific configuration is needed. And, if an existing employee leaves the group or is terminated, their access to Seeq will be revoked similarly.
Windows Authentication has all of the same benefits of LDAP, plus the ability to log in to Seeq without providing a username and password. A user simply has to be logged in to their domain account, and their web browser will provide an encrypted token proving their identity. This allow for "one click" access to Seeq: just click the "Log in" button to get access.
For security reasons, NT AUTHORITY accounts and guest accounts cannot be used to login to Seeq.
While Seeq can run equally well on Windows or Linux, the Windows Authentication connector must run on a Windows server which is connected to the desired Active Directory domain. If your Seeq Server is running on Linux, consider the Windows Authentication via the LDAP Connector, or alternatively, you can run a remote agent with the Windows Authentication Connector on Windows.
Simple Configuration: NTLM
The simplest possible way to configure the Windows Auth connector is to use NTLM. We recommend testing NTLM first, and then when it works, moving on to the more advanced configuration options.
If the follow are true, you can use Windows Authentication via NTLM:
The Seeq server is running on Windows
Your company's Seeq users are running on Windows, and when they log into Windows, they log into a domain account. These accounts typically have usernames that look like DOMAIN\username.
Seeq is running on an intranet site OR is trusted by user's browsers.
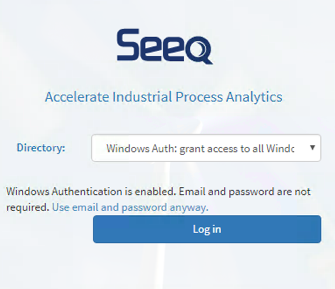
To set up NTLM, open the Windows Auth Connector.json configuration file in a text editor, and change the value after the first instance of "Enabled" from false to true, then save the file. Seeq will automatically detect changes in the file within a few seconds, and when you open the Seeq login page there will be a new entry in the Directory dropdown. Choose it and click "Log in". If everything is set up correctly, you should be taken to the main Seeq page.
NTLM will sometimes show a pop-up prompt requiring the user to enter their Windows credentials. This is expected and will happen the first time that a user logs into Seeq on a browser session after a period of inactivity. To avoid this extra prompt for credentials, you will need to enable the Kerberos mode described below.
Recommended Configuration: Kerberos
The recommended way to configure the Windows Auth connector is using Kerberos. Kerberos is a newer protocol which is more secure and reliable than NTLM.
If the follow are true, you can use Windows Authentication via Kerberos:
The Seeq server is running on Windows
Your company's Seeq users are running on Windows, and when they log into Windows, they log into a domain account. These accounts typically have usernames that look like DOMAIN\username.
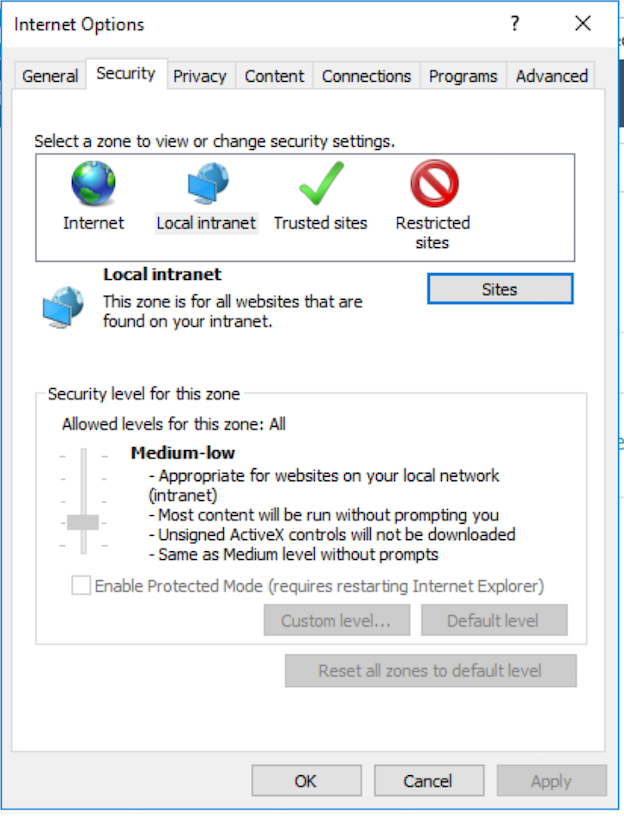
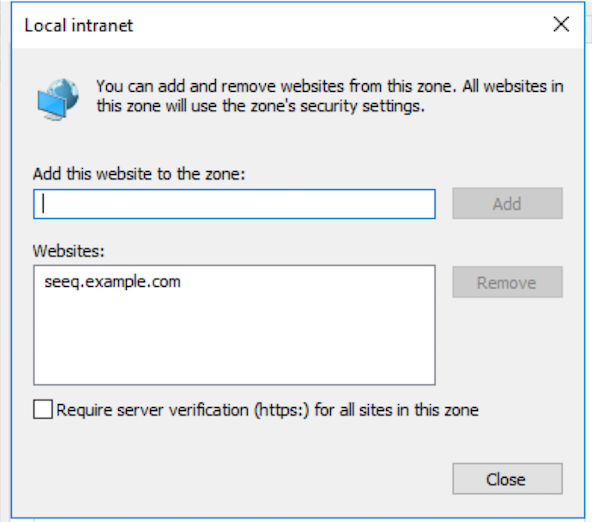
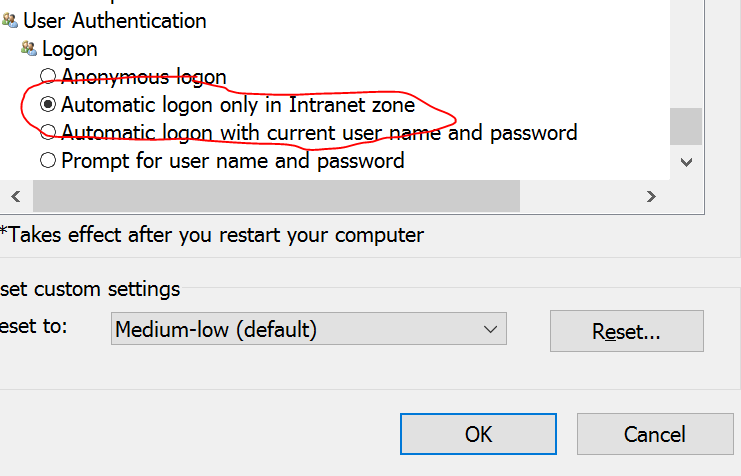
Seeq is running on an intranet site OR the URL for the Seeq site has been configured to be in the Intranet zone via IE's security settings.
This is essential if the Windows Auth connector is a remote agent and the main Seeq server is running as an off-site SaaS. In this case the URL for the main Seeq server will need to be configured as an intranet site in IE's security settings because Window's default settings are to only allow automatic logon for the Intranet zone:
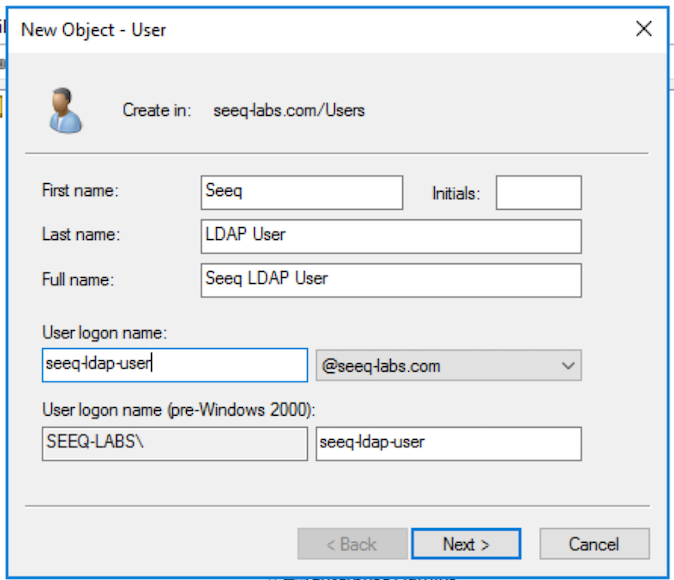
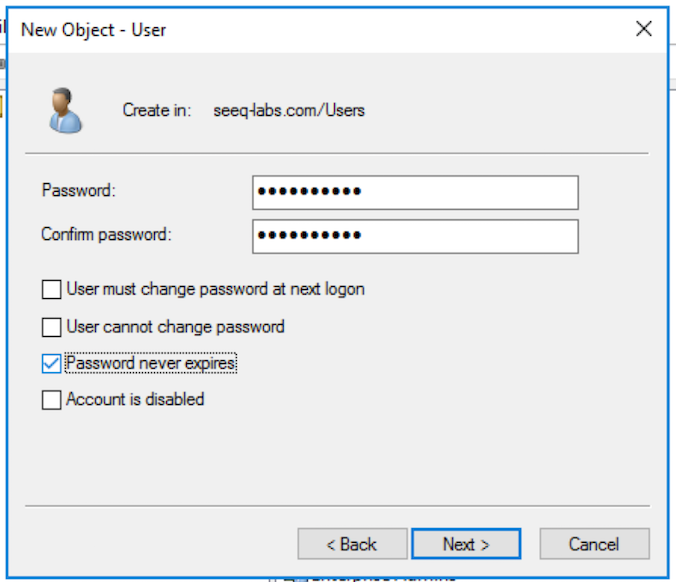
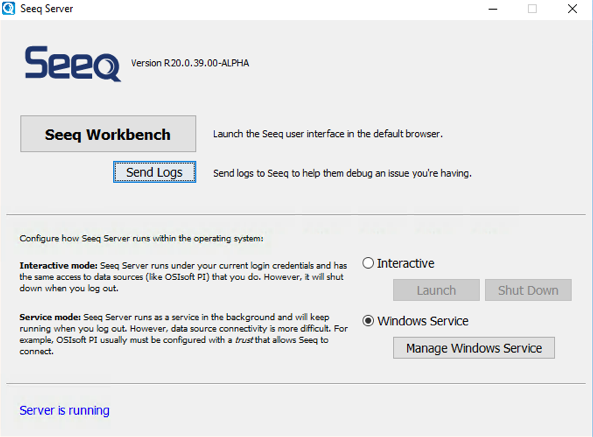
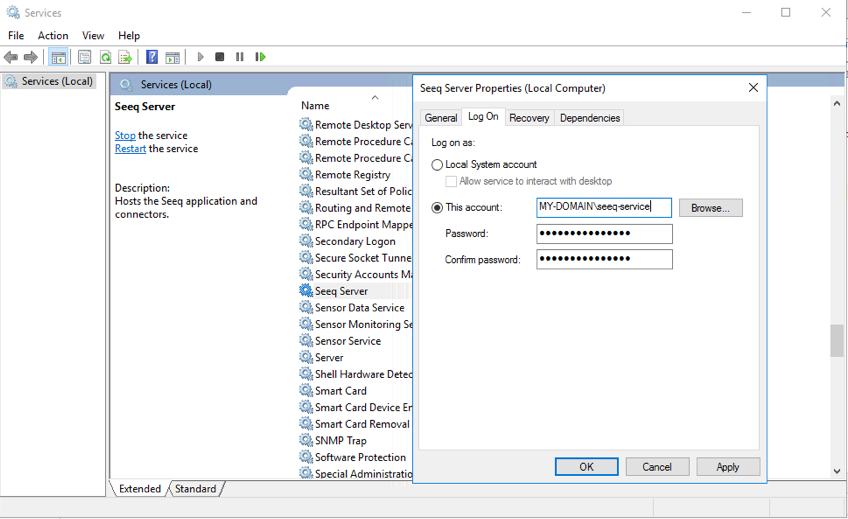
Seeq is running as a Windows Service, where the "run as user" is an Active Directory domain user.
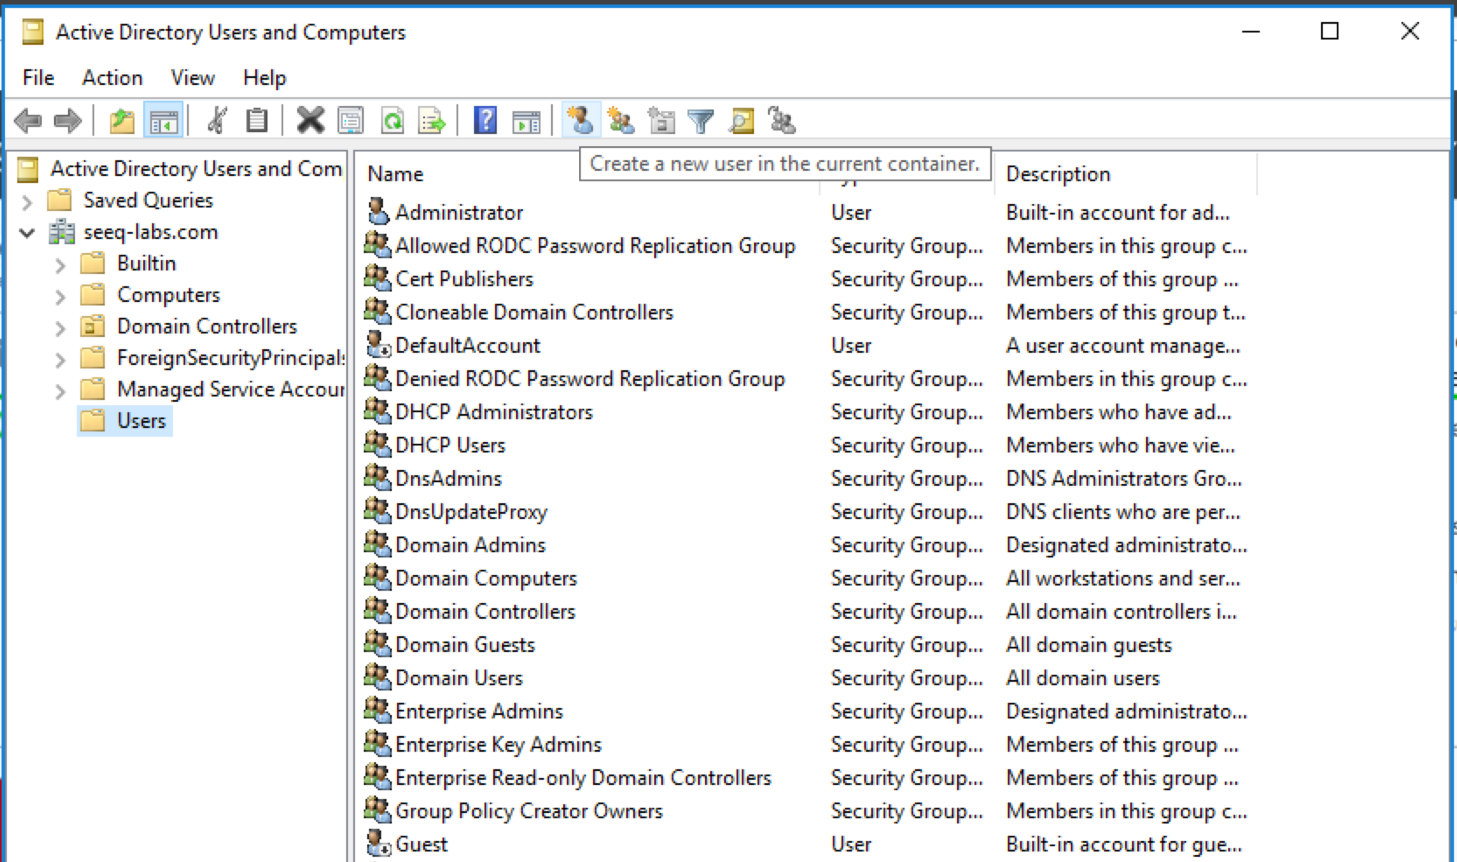
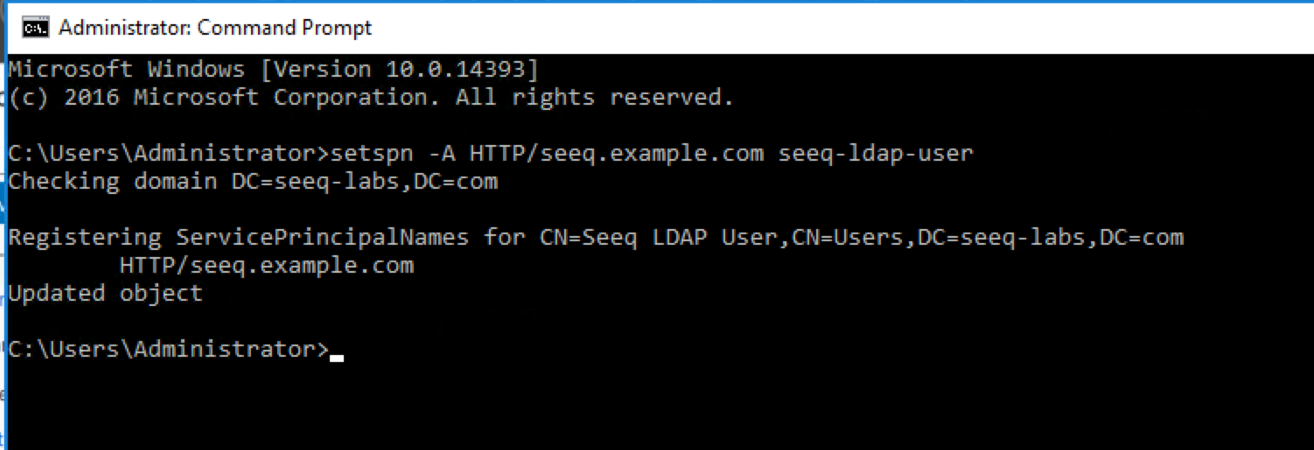
A ServicePrincipal name has been created in Seeq, which links the Seeq URL (such as seeq.company.com) to the Seeq "run as user".
To set up Kerberos, use the same steps as setting up NTLM (we recommend trying out NTLM first!), and then make sure all of the prerequisites above are satisfied.
Allowed Users & Groups
You must configure the groups (or individual users) that are allowed access to Seeq. In the example configuration below, the only Windows users who will be allowed to access Seeq are the members of the groups "Seeq Users" and "Seeq Administrators" along with the users "ajones", "bsmith", and "cjohnson".
{
  "Version" : "com.seeq.link.connectors.windowsauth.config.WindowsAuthConnectorConfigV1",
  "Connections" : [ {
    "Name" : "Windows Auth: grant access to all Windows users",
    "Id" : "35834a6d-f443-46e6-ad62-ad6ad139bf35",
    "Enabled" : true,
    "VerboseLogging" : false,
    "AllowGroups" : [ "DOMAIN\\Seeq Users", "DOMAIN\\Seeq Administrators" ],
    "AllowUsers" : [ "DOMAIN\\ajones", "DOMAIN\\bsmith", "DOMAIN\\cjohnson" ]
  } ]
}
Prerequisites
Auto Log-in
You can configure the Seeq login screen so that it automatically logs in without users having to hit the Log in button at all, see Configuring the Default Login Directory and Configuring Auto-Login.
Troubleshooting
As a general recommendation, when you are setting up Windows Auth, start with the simplest possible configuration, and add layers of complexity as you go. Then if something doesn't work, you'll know which piece is broken.
Browser configuration - if the browser does not trust Seeq, you will see an error like this:
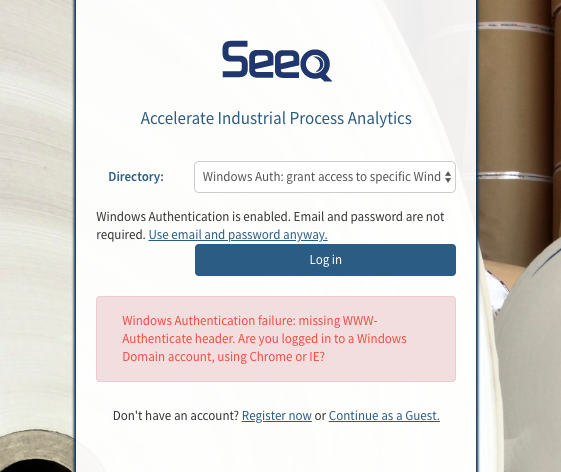
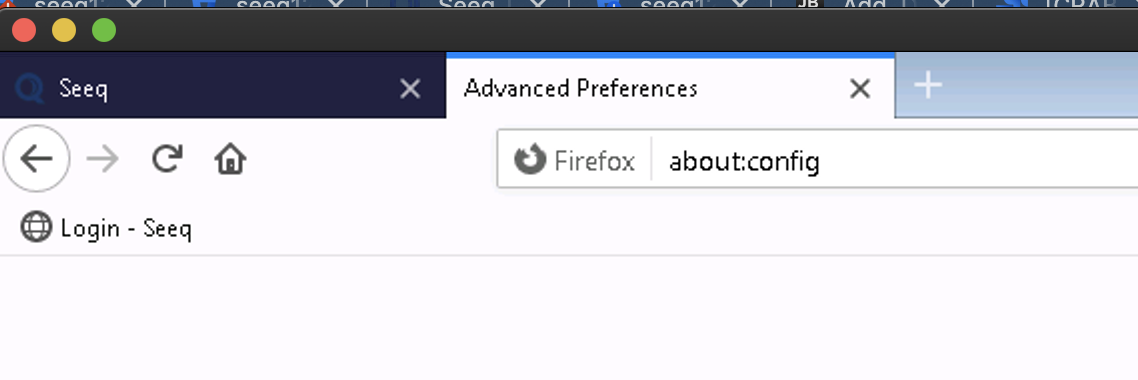
Remedy: Check that your browser considers the Seeq site to be an intranet site, as described above in the prerequisites section. Google Chrome, Microsoft Edge, and Microsoft Internet Explorer should "just work". But other browsers like Firefox or Safari need extra configuration.If you see an error message that says "Too many failed login attempts. Please try again later.", wait about a minute before attempting to log in again.
If you see an error message that says "Windows Authentication failed!", this is typically a server-side misconfiguration. Above the "Log in" button there is a link that lets you choose to log in with a username and password. Try that. If it fails, then that indicates a fundamental problem with the configuration. Is the Seeq server on a different Active Directory domain from the client? If passwordless login fails but username-and-password login works, then the domain is correct, but there is probably a misconfiguration of the SPN, either that it does not match the Seeq domain name or the Windows service user.
The Windows Authentication connector only supports security groups, not distribution groups. Distribution groups can be converted into security groups relatively easily: https://docs.microsoft.com/en-us/previous-versions/windows/it-pro/windows-server-2003/cc782613%28v%3dws.10%29
If you see an error in Jvm-Link log a message that says "The user has not been granted the requested logon type at this computer" for some of the users, go to Seeq server in Windows Administrative Tools -> Local Security Policy -> Security Settings -> User Rights Assignment -> Access this computer from the network properties and add the group / groups of users that will access Seeq.
Network security: If you have configured a policy for the encryption type allowed for Kerberos, for Internet Explorer and Microsoft Edge, you need to select the encryption type to be allowed. In this case, Microsoft has documented the security policy in this article. On the service account that is running the Seeq Server and has the SPN’s assigned, set the following Account options: “This account supports Kerberos AES 128bit encryption” and “This account supports Kerberos AES 256bit encryption”. In Windows RUN-->secpol.msc → local policies → Security Options → Network Security: Configure encryption types allowed for Kerberos. Only check the 2 AES encryption types.

