Configuring Provisioning in Azure Active Directory (Entra)
Overview
Once you have configured SCIM in your Authentication Provider in Seeq you can then configure the integration in Azure Active Directory (Entra).
You must have the Cloud Application Administrator role in Microsoft Entra ID to create the enterprise application as described below.
Creating and Configuring the Enterprise Application
In your Azure portal, go to Microsoft Entra ID > Enterprise Applications.
Click + New Application
Click + Create your own application in the upper left
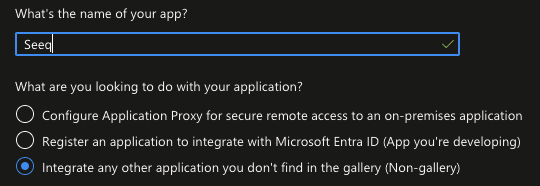
Enter the name of your App (For example, Seeq), and leave the radio button as the default Non-gallery.

Once the application has been created Click Provision User Accounts > Get started
Change the Provisioning Mode to Automatic
Expand the Admin Credentials and enter the Base URL copied from Seeq into the Tenant URL field
Enter the Auth Token copied from Seeq into the Secret Token field
Click Test Connection
Click Save
