Understanding Google BigQuery
Overview
The BigQuery connector uses a configuration pattern for connecting to a BigQuery data warehouse. It requires the name of a project, a dataset, and a table or a view; it also requires the name of the column that represents time and the names of the columns that contain values.
This article shows how to create a dataset, upload CSV files, create a view, create a BigQuery connection in Seeq, and trend a signal.
BigQuery
Sign in to your Google Cloud Platform (GCP) and select a project, or create an account and a project will be created for you.
Create a dataset
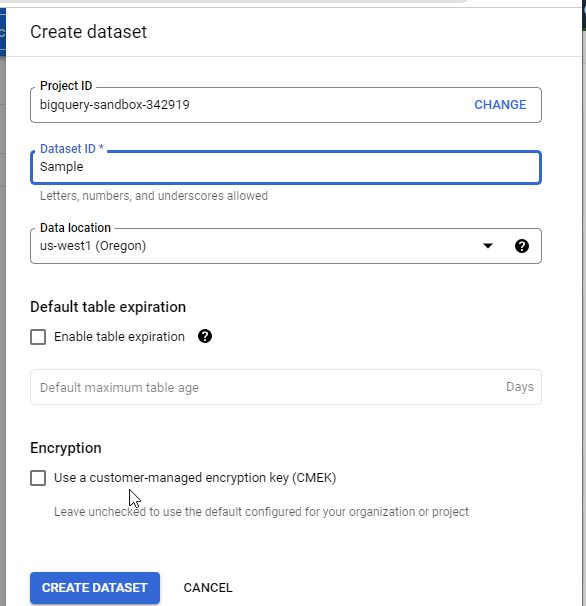
To create a dataset, click the options icon and choose Create dataset.

A Create dataset dialog displays. Provide a Dataset ID, choose a Data location, and click CREATE DATASET.
Upload some CSV files
We are going to use two tables : one table for tag names and another for tag data. The tag_table.csv file has the following columns:
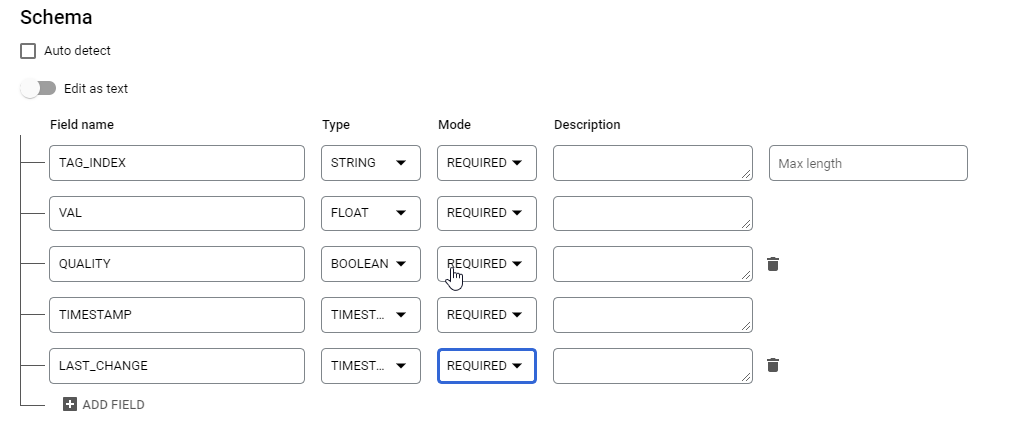
TAG_NAME- the name of the tagTAG_INDEX- the ID of the tag, which is used to join to the data tableLAST_CHANGE- when the tag was last modified
The raw_data.csv file has the following columns:
TAG_INDEX- the ID of the tag, which is used to join to the tag tableVAL- the sampleQUALITY- true means the sample has passed a quality checkTIMESTAMP- when the sample was collectedLAST_CHANGE- when the sample was last modified
Download the following files:
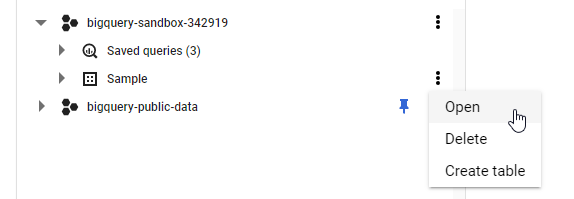
Open the Dataset. Click the options icon and select Open.
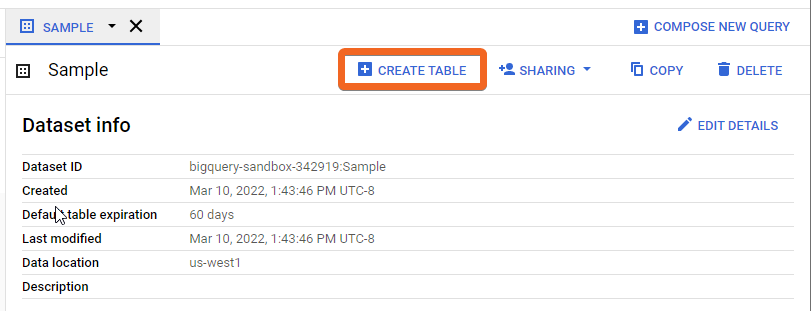
The Dataset is opened in a tab. Click the CREATE TABLE button. The Create table dialog displays.
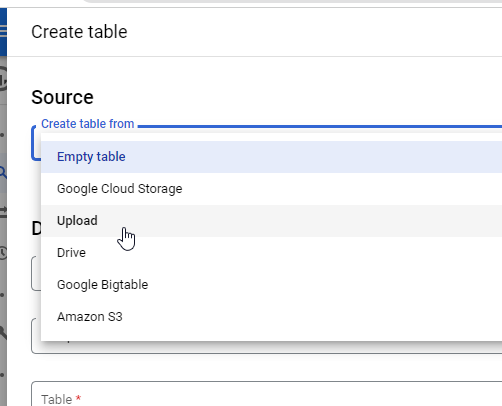
For Create table from, select Upload and then browse for the tag_table.csv that you downloaded.
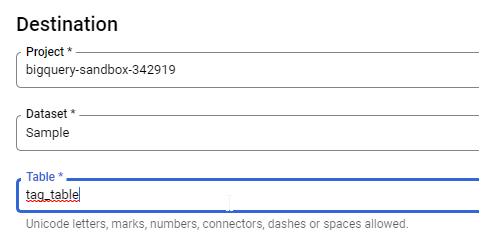
For Table enter tag_table.
Under Schema, click the + button three times and then enter the Field names as shown:

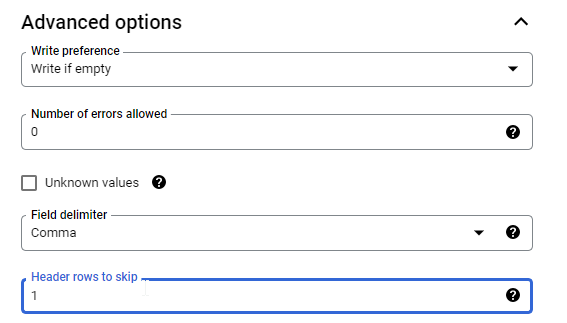
Expand Advanced options, and change Header rows to skip to 1.
Click CREATE TABLE. The tag_table table is created.
Repeat the process to upload the raw_data.csv file, name the Table raw_data , and use the following schema definition:
Remember to change Header rows to skip to 1.
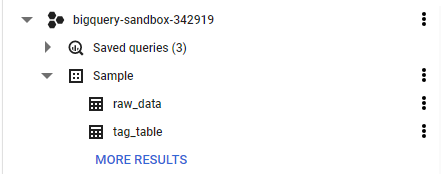
Your Sample dataset should now have two tables:
Create a view
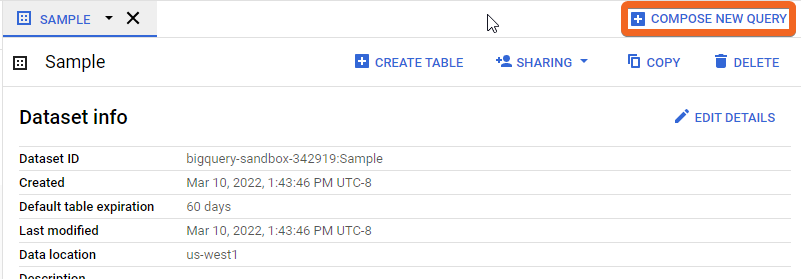
Open the Sample dataset and click COMPOSE NEW QUERY.
A query editor opens in a new tab. Copy the following query into the editor:
SELECT
  rd.TIMESTAMP,
  tt.TAG_NAME,
  rd.VAL,
  rd.QUALITY
FROM
  `bigquery-sandbox-342919.Sample.raw_data` rd
LEFT JOIN
  `bigquery-sandbox-342919.Sample.tag_table` tt
ON
  rd.TAG_INDEX = tt.TAG_INDEX
WHERE
  rd.QUALITY = TRUE
ORDER BY
  rd.TIMESTAMP,
  tt.TAG_NAME
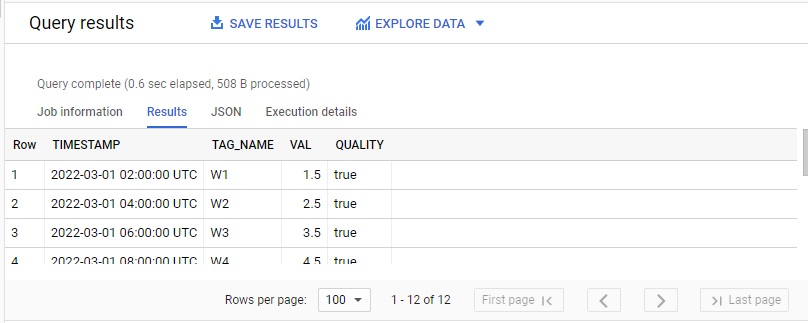
Replace bigquery-sandbox-342919 with our project ID. Click RUN and verify the results, it should look something like this:
To create a view, click SAVE and chose Save View.
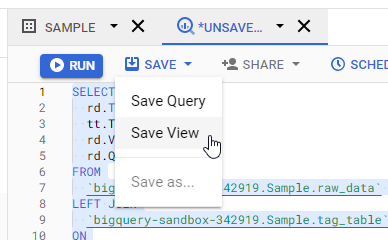
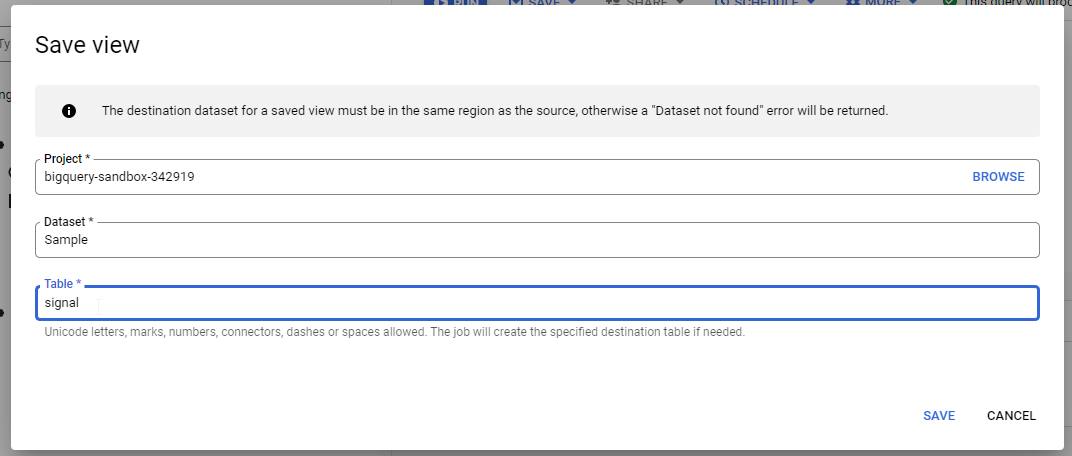
The Save view dialog displays. Select the Sample Dataset, specify signal for Table, and click SAVE.
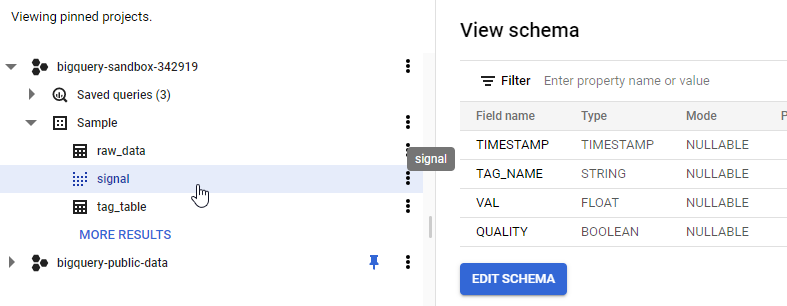
The signal view is created within the Sample dataset, and has the following schema:
Generate an access key
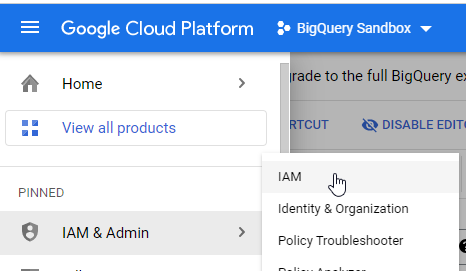
The Seeq configuration for BigQuery requires an access key. Use the following steps to create one. From the menu choose IAM & Admin > IAM
In the left panel, select Service Accounts.
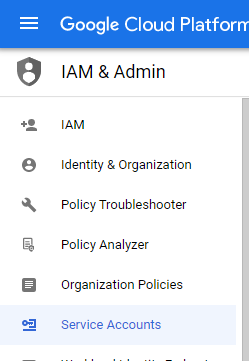
The Service accounts page is displayed. Click CREATE SERVICE ACCOUNT. The Create service account dialog displays.
For Service account name, specify something like seeq-connector. A Service account id will be created for you. Provide a Service account description.
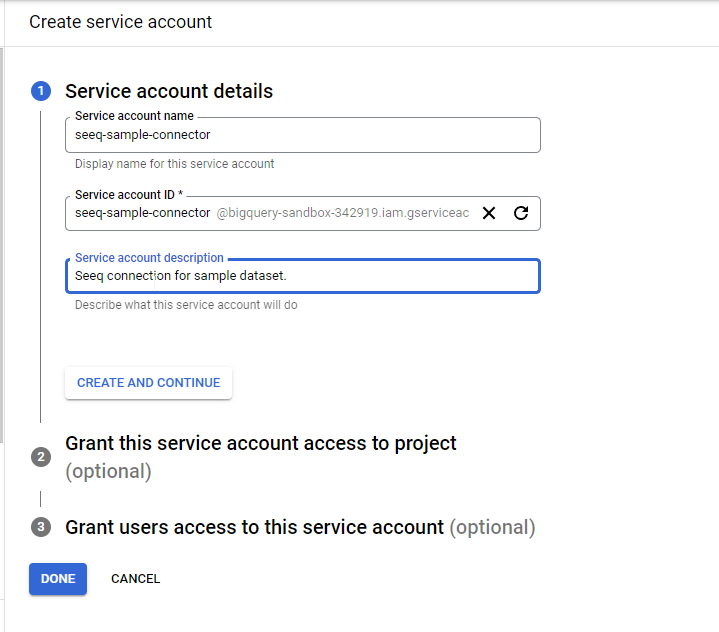
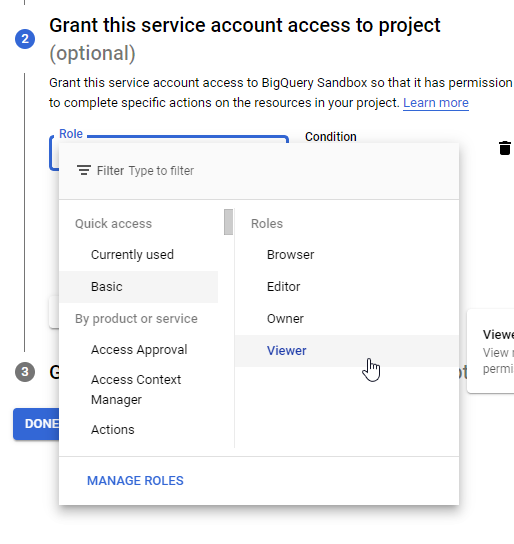
Click CREATE AND CONTINUE. For project access, set the Role to Viewer.
Click CONTINUE.
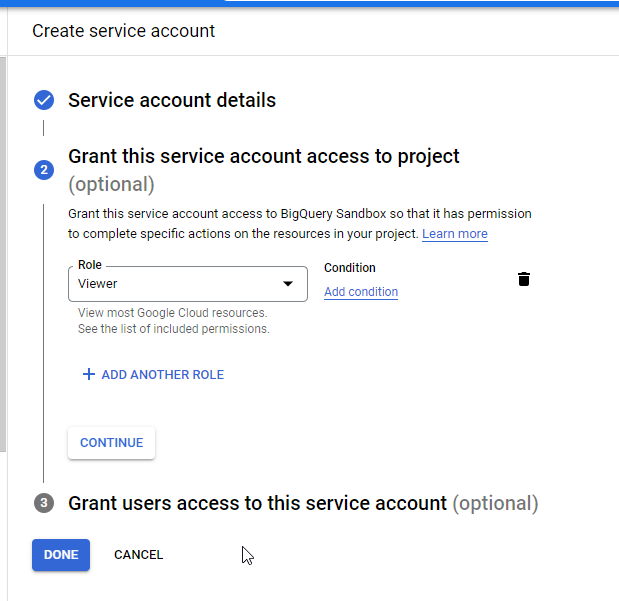
Click DONE. The service account is displayed. Click the options icon and select Manage keys.
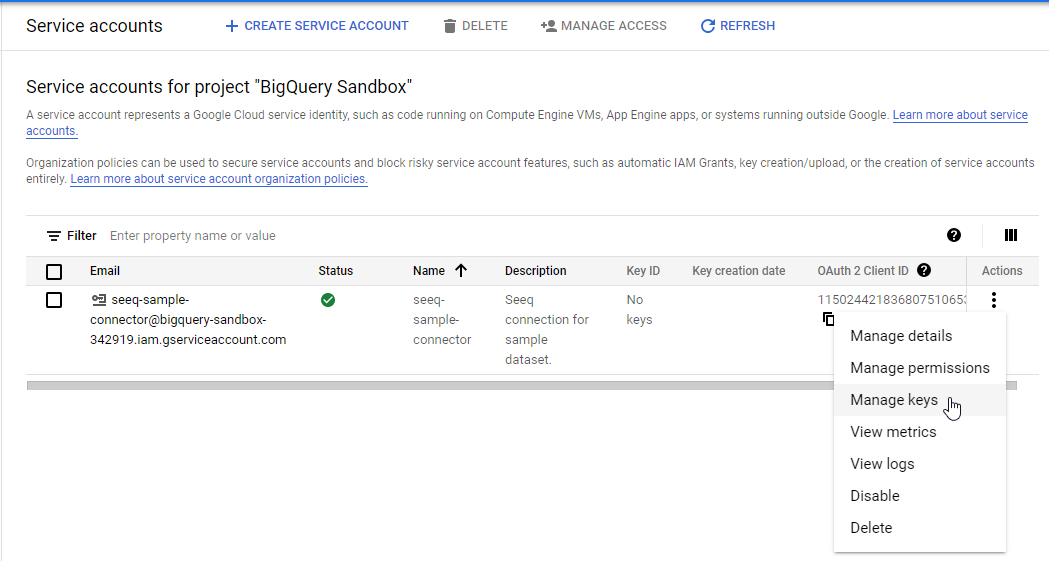
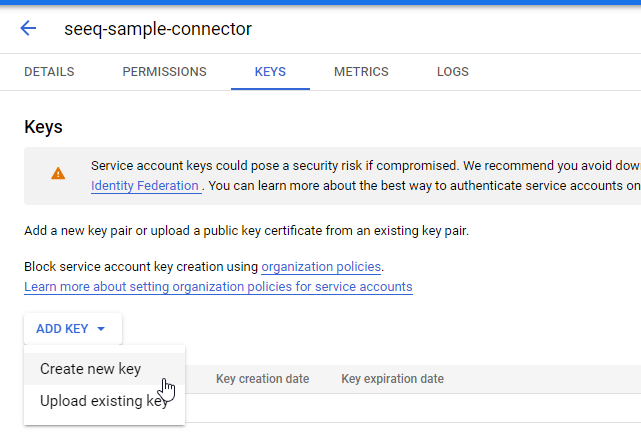
The KEYS tab displays. Click ADD KEY and select Create new key.
The Create private key dialog displays. Choose JSON and click CREATE.
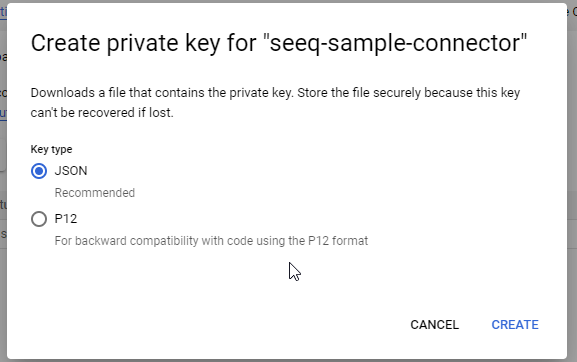
A JSON file is downloaded in your browser. You will need this in the next step.
Seeq
To connect to our Sample dataset, we need an access key and connection.
Upload the access key
Find the JSON file that was downloaded in the previous step and copy it to the remote agent. For the example, the file has been copied to the configuration/link directory within the data folder, but this is not required. Just make sure that the Seeq service runs with an account that can read the key file in the location where you copied it to.
Create a BigQuery connection
Navigate to the Administration | Datasources page, and click Add connection. The Create new connection dialog displays.
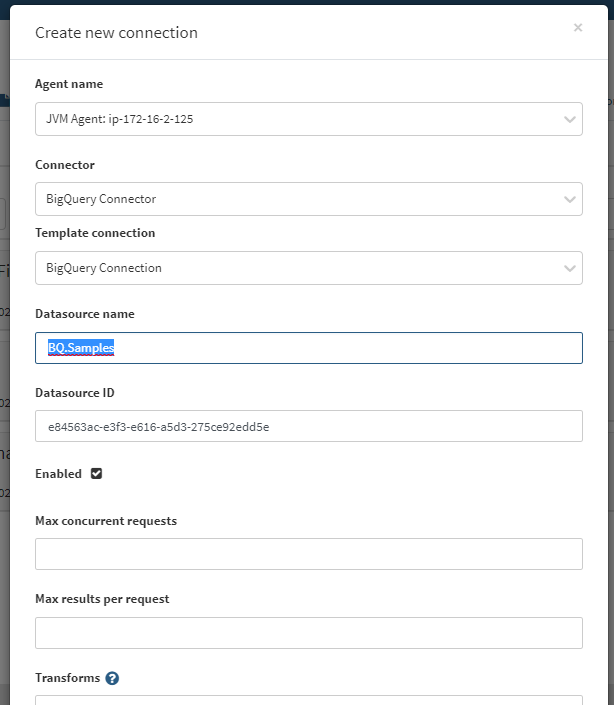
Select the desired Agent name, select the BigQuery Connector, and select the BigQuery Connection Template Connection. Provide a Datasource name and accept the default value for Datasource ID and ignore Max concurrent requests, Max results per request, and Transforms.
For the Additional configuration, specify the TimeZone, TimeColumn, GroupBy (notice the array), DataSet, DataColumns (notice the array), ProjectId, Name, and AccessKeyFile.
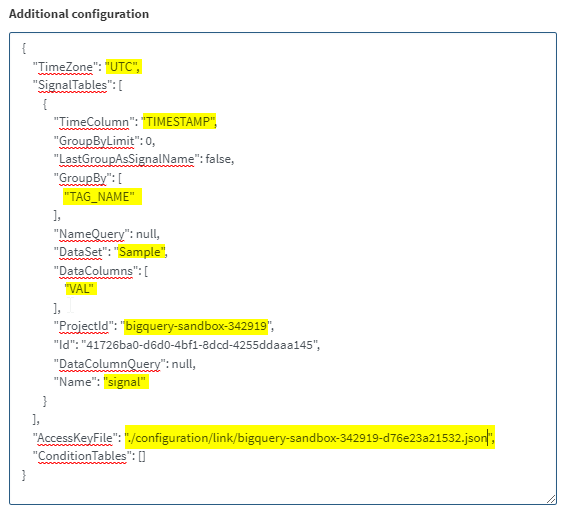
The TimeZone, ProjectId and AccessKeyFile will be different for you.
The key file in this example is a relative path, which will be relative to the Seeq data folder.
There are no conditions in this example and so we set ConditionTables to an empty array.
Escape any backslashes with another backslash; for example
"C:\file.txt"would be entered as"C:\\file.txt".
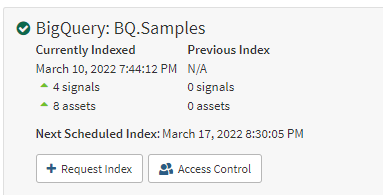
Click CREATE. The connector should index and you should see 4 signals.
Trend the signals
Create a worksheet. Find the Asset Tree for the BQ.Samples connection and navigate into the project, dataset, and view. You should see four tags:
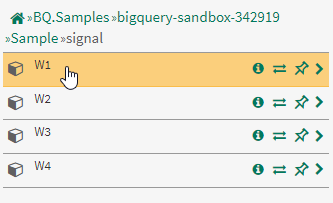
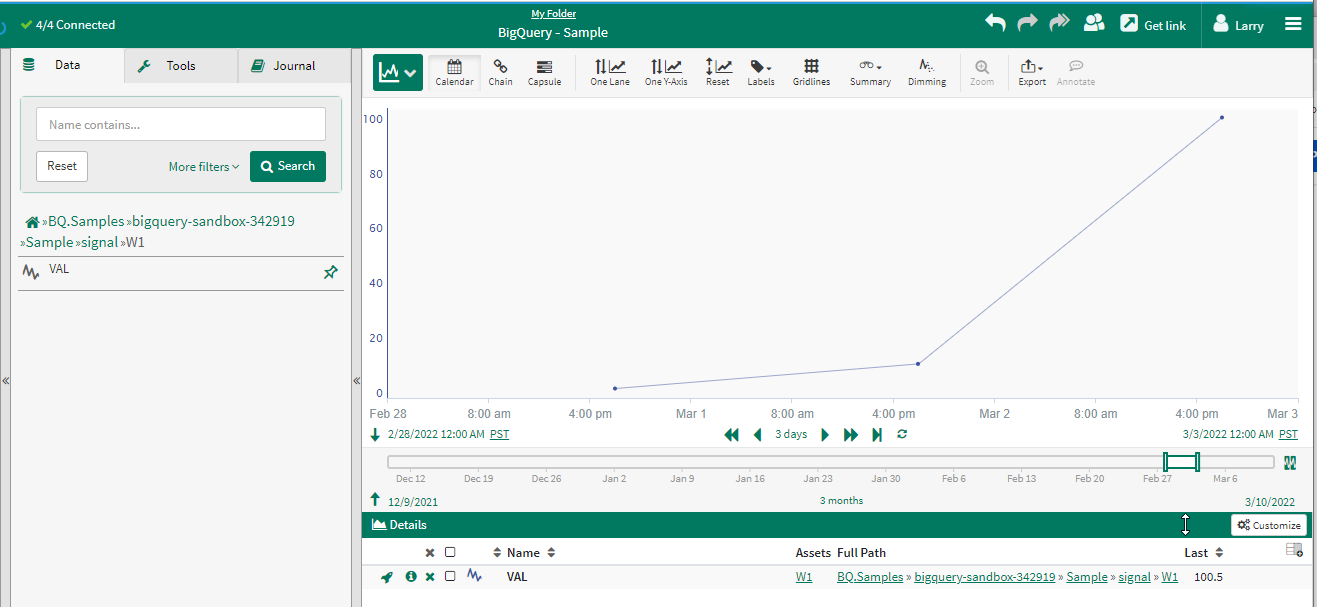
Select the VAL signal for one of the tags:
