Example: Accessing Condition Data
ADX Data
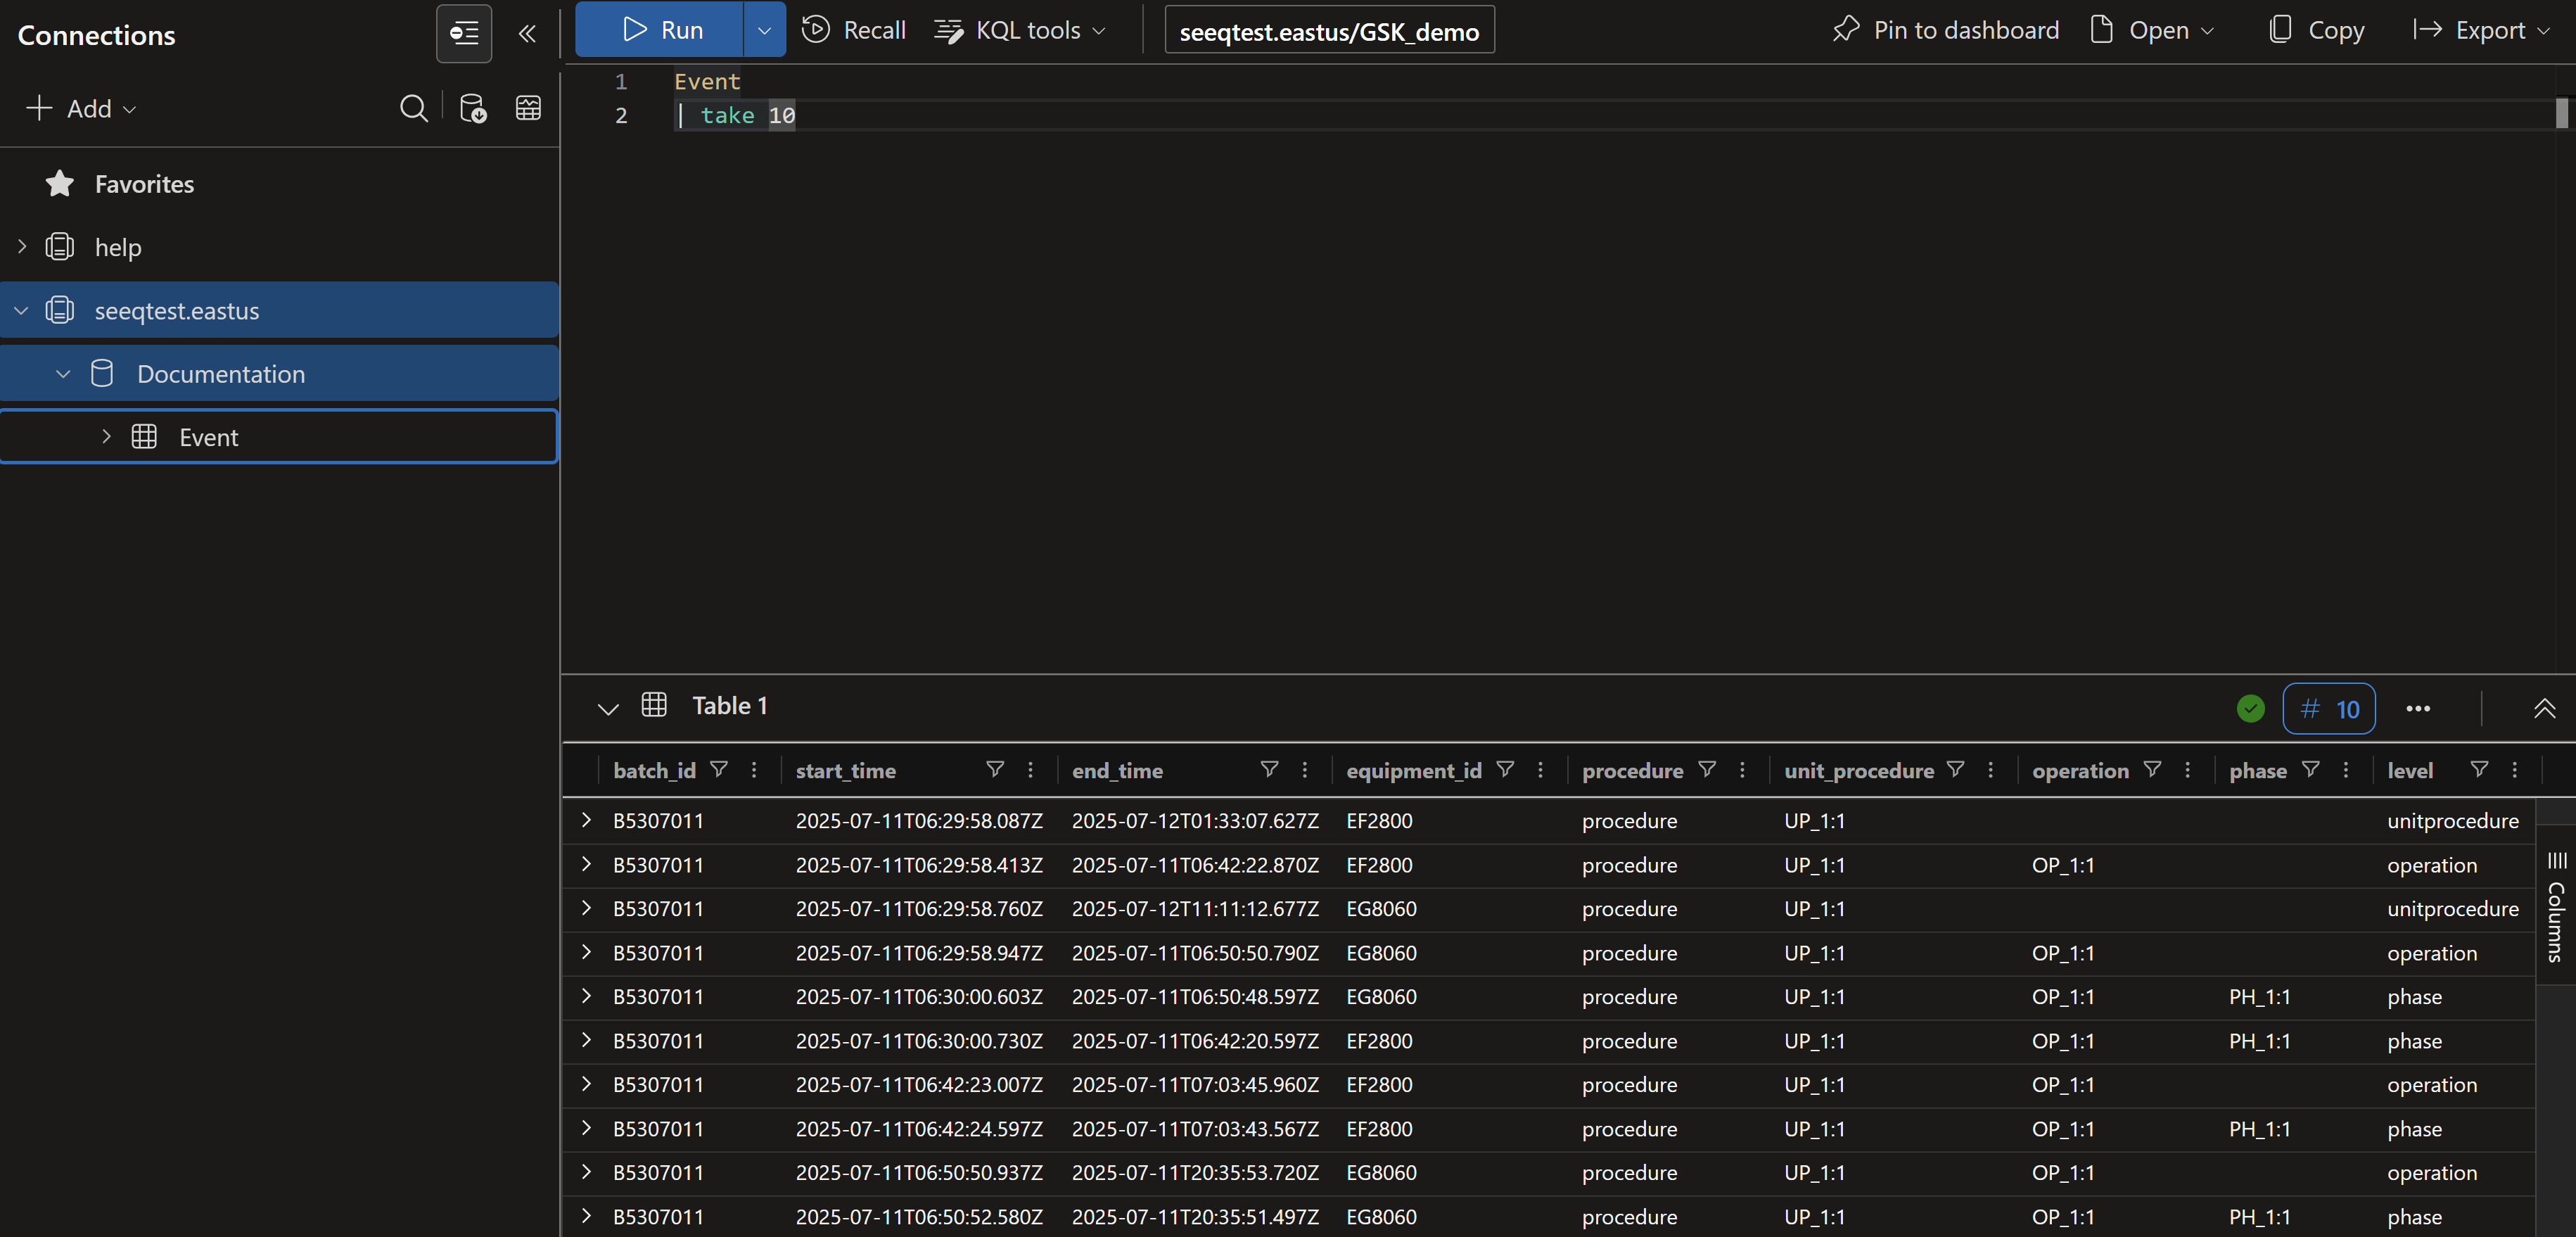
For this example we will index conditions from a table with a start_time column (of type TimeStamp), an end_time column (also TimeStamp) and some property columns.
batch_id | start_time | end_time | equipment_id | procedure | unit_procedure | operation | phase | level |
B5307011 | 2025-07-11T06:29:58.087Z | 2025-07-12T01:33:07.627Z | EF2800 | procedure | UP_1:1 | unitprocedure | ||
B5307011 | 2025-07-11T06:29:58.413Z | 2025-07-11T06:42:22.870Z | EF2800 | procedure | UP_1:1 | OP_1:1 | operation | |
B5307011 | 2025-07-11T06:29:58.760Z | 2025-07-12T11:11:12.677Z | EG8060 | procedure | UP_1:1 | unitprocedure |
We will start out with an ADX table as pictured above (this table was generated using the ADX ingestion tools from the CSV file below, if you would like to replicate in your environment). This table is named Event within the database called Documentation.
Within the Azure ADX Portal Page this is what a take 10 would look like:
Within Seeq we would like to generate one condition for each pair of equiment_id and level. In order to achieve this we will configure a new ADX connection.
Creating the ADX connection
Proceed to the Administration page and click on the blue Add Connection button in the upper right.

From here, you will select an appropriate JVM agent from the drop down list, and then select the ADX connector. You can then select the default Template Connection (ADX Connection) to populate the Additional configuration box with a template for ADX-specific configuration.
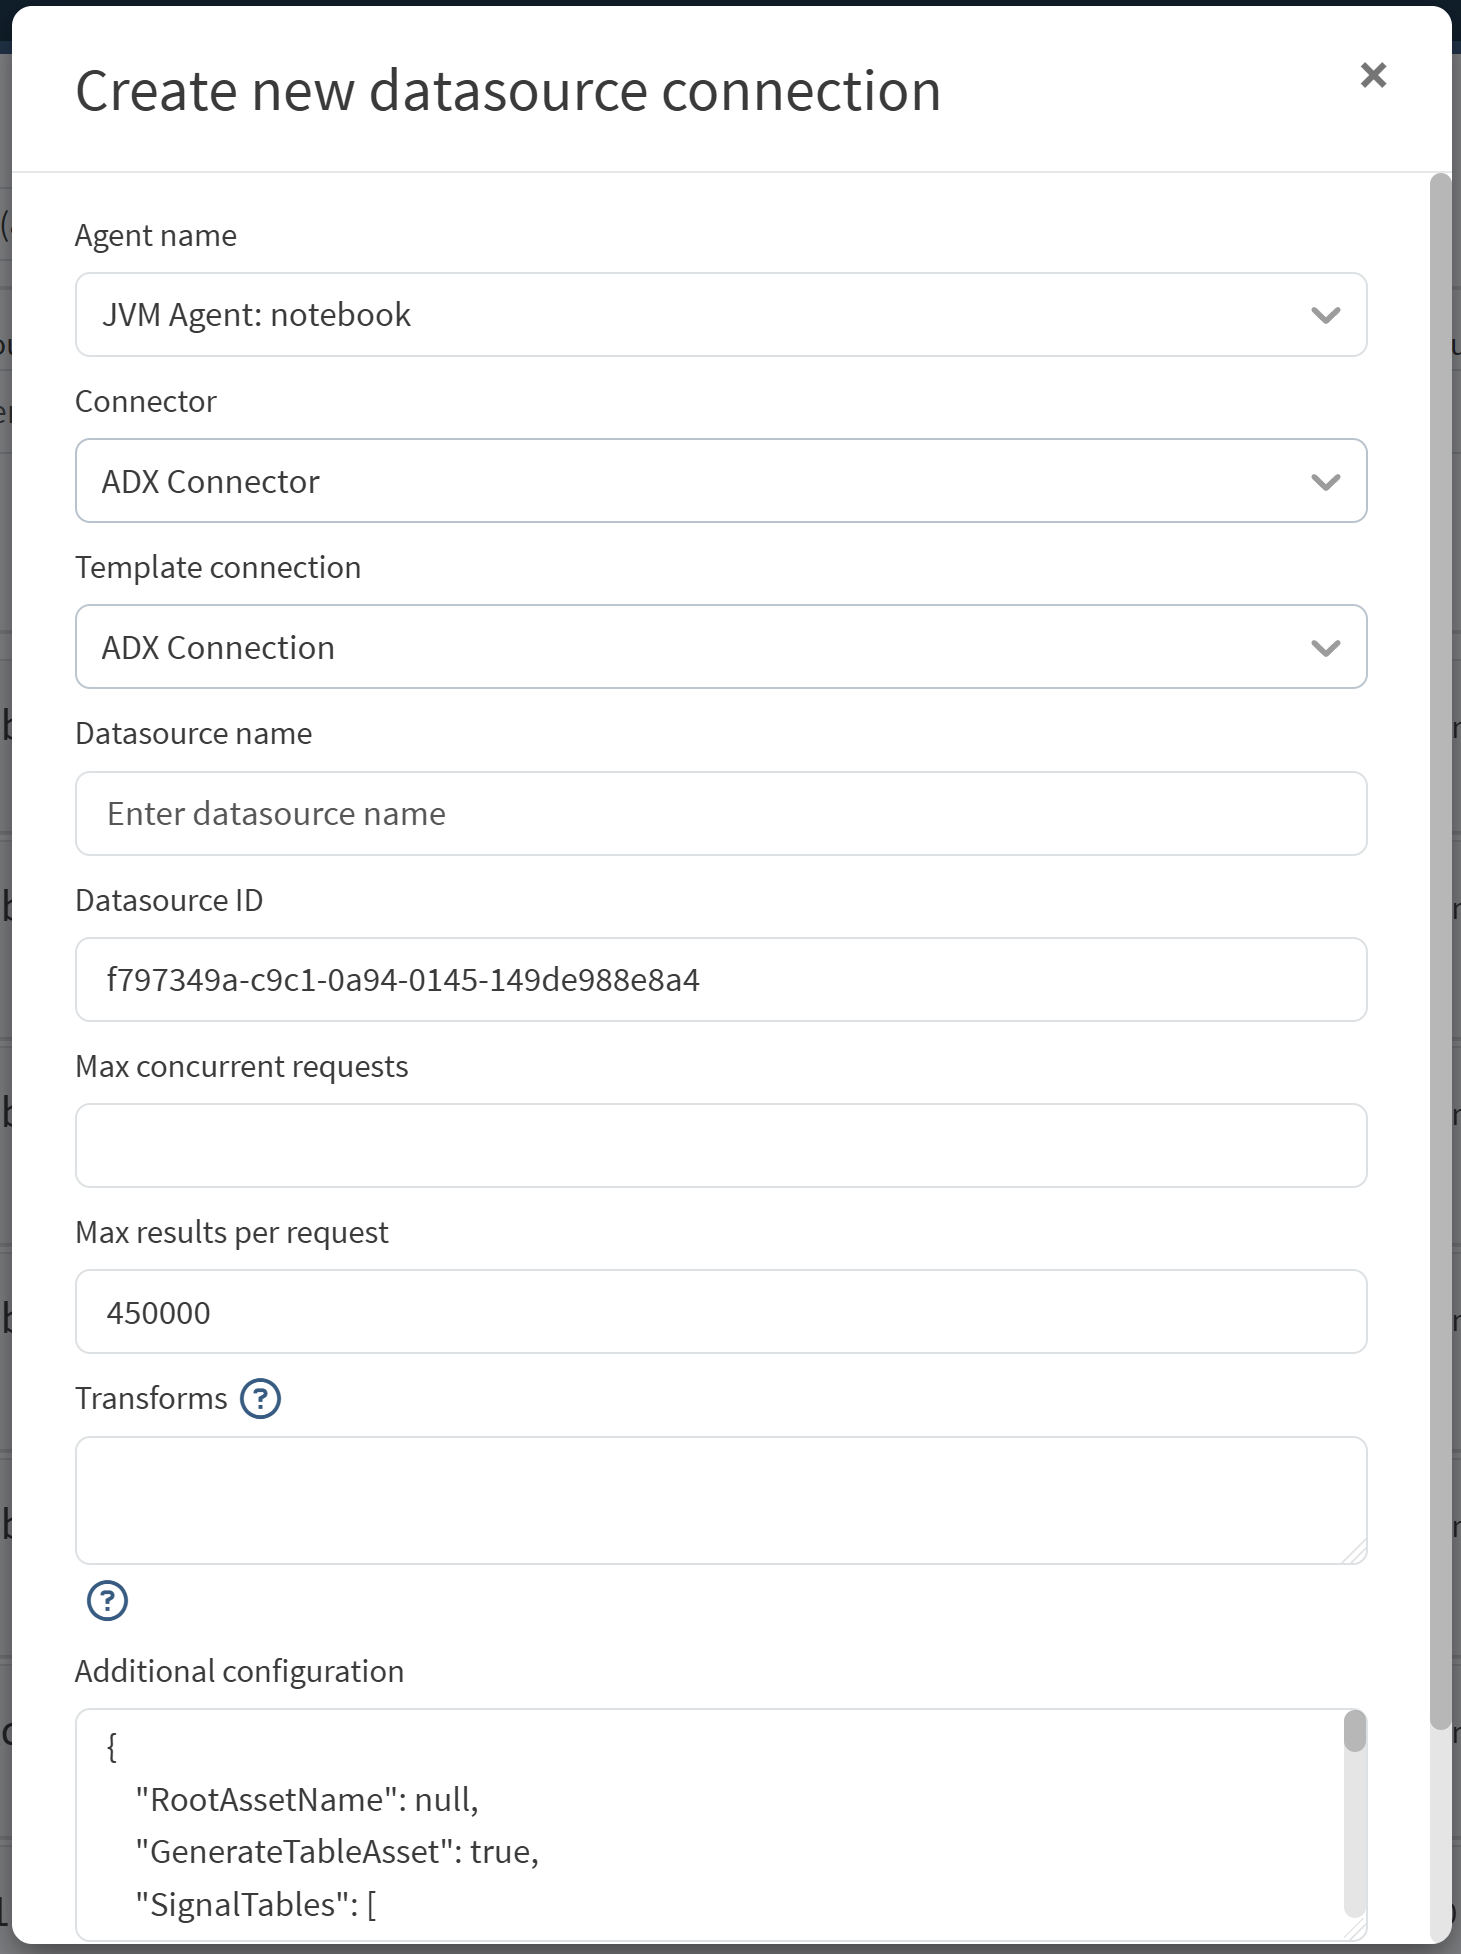
For a detailed description of the configuration file please see this document.
For this connection we are going to use the following configuration:
{
"RootAssetName": null,
"GenerateTableAsset": true,
"SignalTables": [],
"ConditionTables": [
{
"Id" : "Event Table 1",
"Name" : "Event",
"NameQuery" : null,
"GroupBy" : [ "equipment_id", "level" ],
"GroupByLimit" : 0,
"StartTimeColumn" : "start_time",
"EndTimeColumn" : "end_time",
"MaximumDuration" : "1day",
"CapsuleIdProperty" : null,
"CapsuleProperties" : [ {
"Name" : "Batch ID",
"Value" : "${columnResult}",
"Column" : "batch_id",
"Uom" : "string"
}, {
"Name" : "Procedure",
"Value" : "${columnResult}",
"Column" : "procedure",
"Uom" : "string"
}, {
"Name" : "Operation",
"Value" : "${columnResult}",
"Column" : "operation",
"Uom" : "string"
}, {
"Name" : "Unit Procedure",
"Value" : "${columnResult}",
"Column" : "unit_procedure",
"Uom" : "string"
}, {
"Name" : "Phase",
"Value" : "${columnResult}",
"Column" : "phase",
"Uom" : "string"
} ],
"TransformQuery" : null,
"TimeUnit" : null,
"ComputedGroupByResult" : null,
"GroupByRequestProperties" : null,
"DataRequestProperties" : null,
"MetadataQuery" : {
"TableName" : null,
"Filters" : null,
"Columns" : null,
"UniqueKeyColumnName" : null
},
"ConditionPropertiesMap" : null,
"LastGroupAsConditionName" : true
}
],
"ApplicationId": "<example application Id>",
"AccessKey": "<example access Key>",
"TenantId": "<example tenant ID>",
"UserName": null,
"UserPassword": null,
"Cluster": "https://<cluster name>.<cluster region>.kusto.windows.net",
"Database": "Documentation"
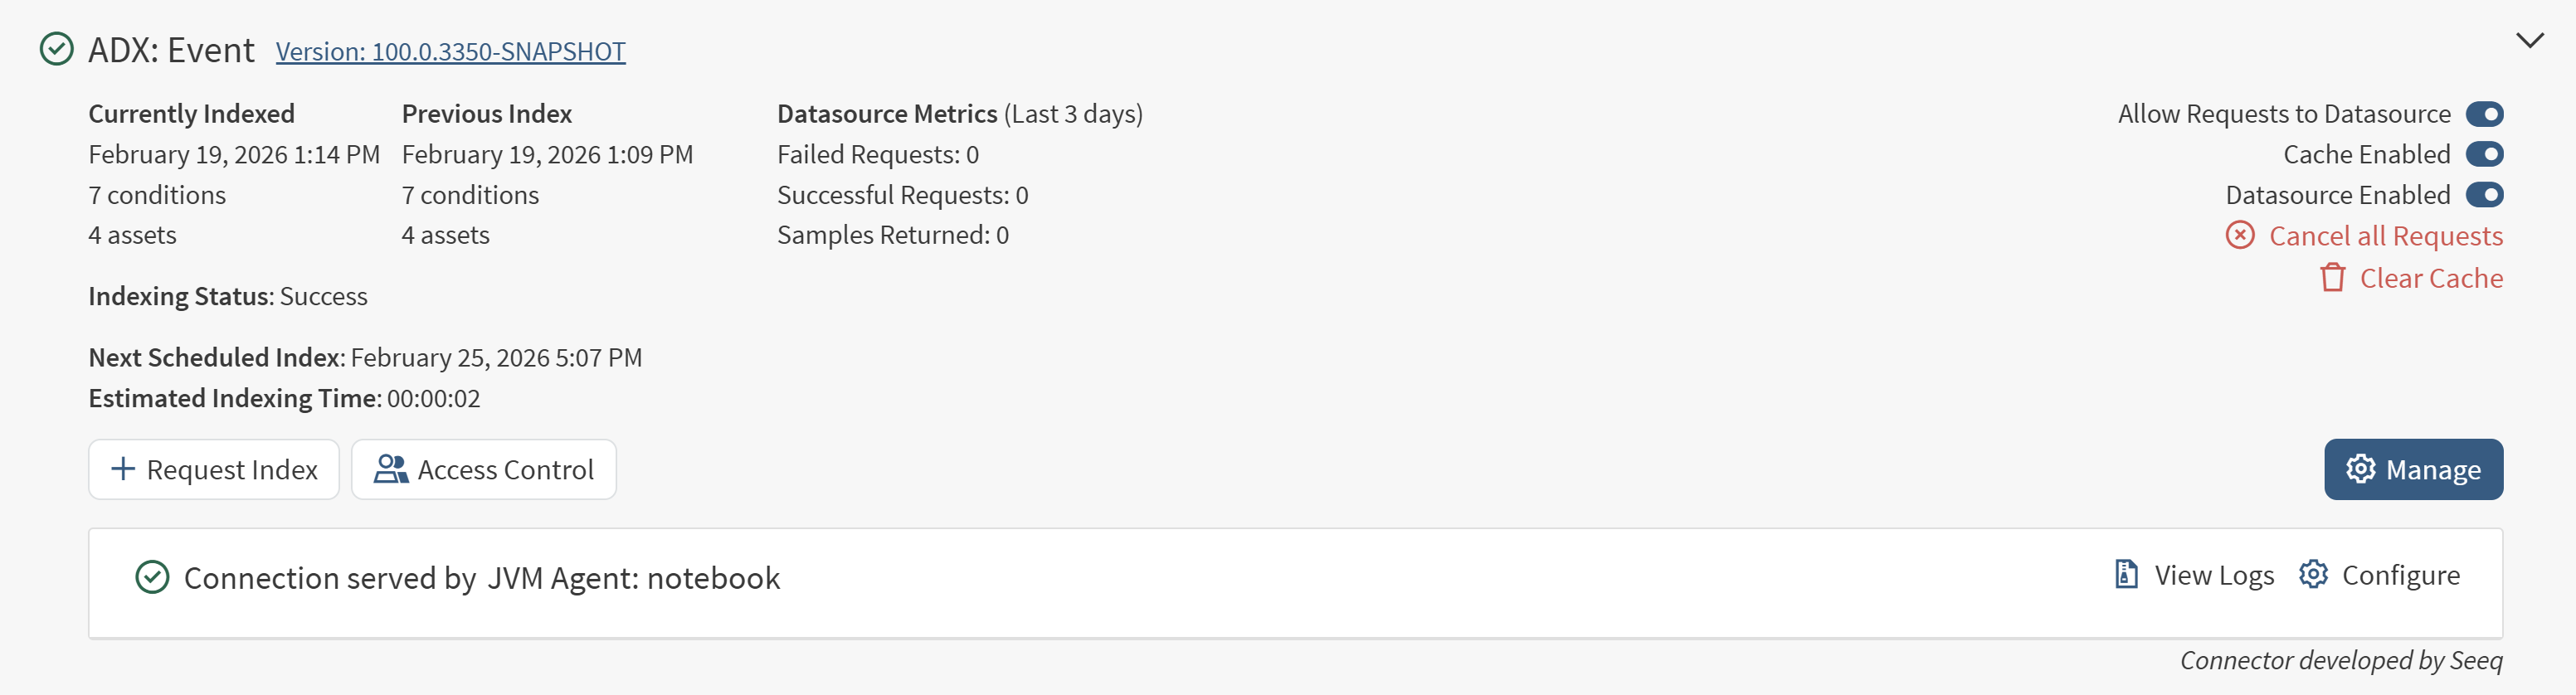
}Make sure to replace the Cluster, ApplicationId, AccessKey, and TenantId with appropriate values. Once this configuration is saved, the connection will automatically index and show something similar to the image below.
Navigating to a new workbench shows that there is now a new Asset tree with a root named Documentation.
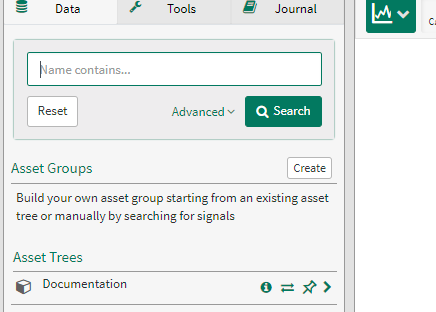
Within that tree we see the table and the conditions. Since we configured "GroupBy" : [ "equipment_id", "level" ], an asset was created for each equipment_id; within each equipment, one condition was created for each level. The condition is named after the level because we used "LastGroupAsConditionName" : true.
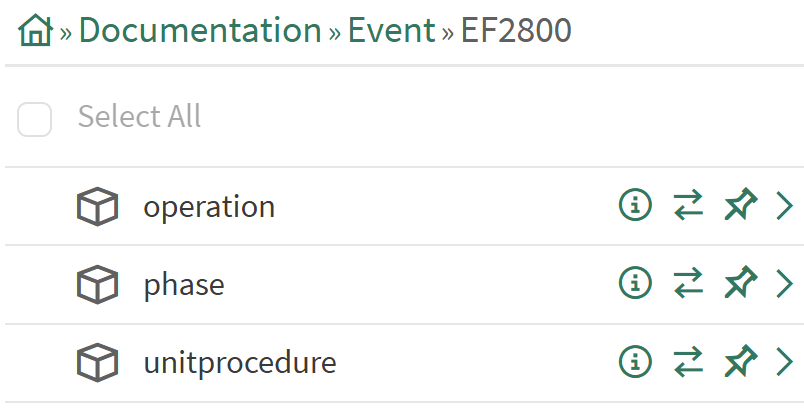
We can now begin to trend those conditions by clicking on them.
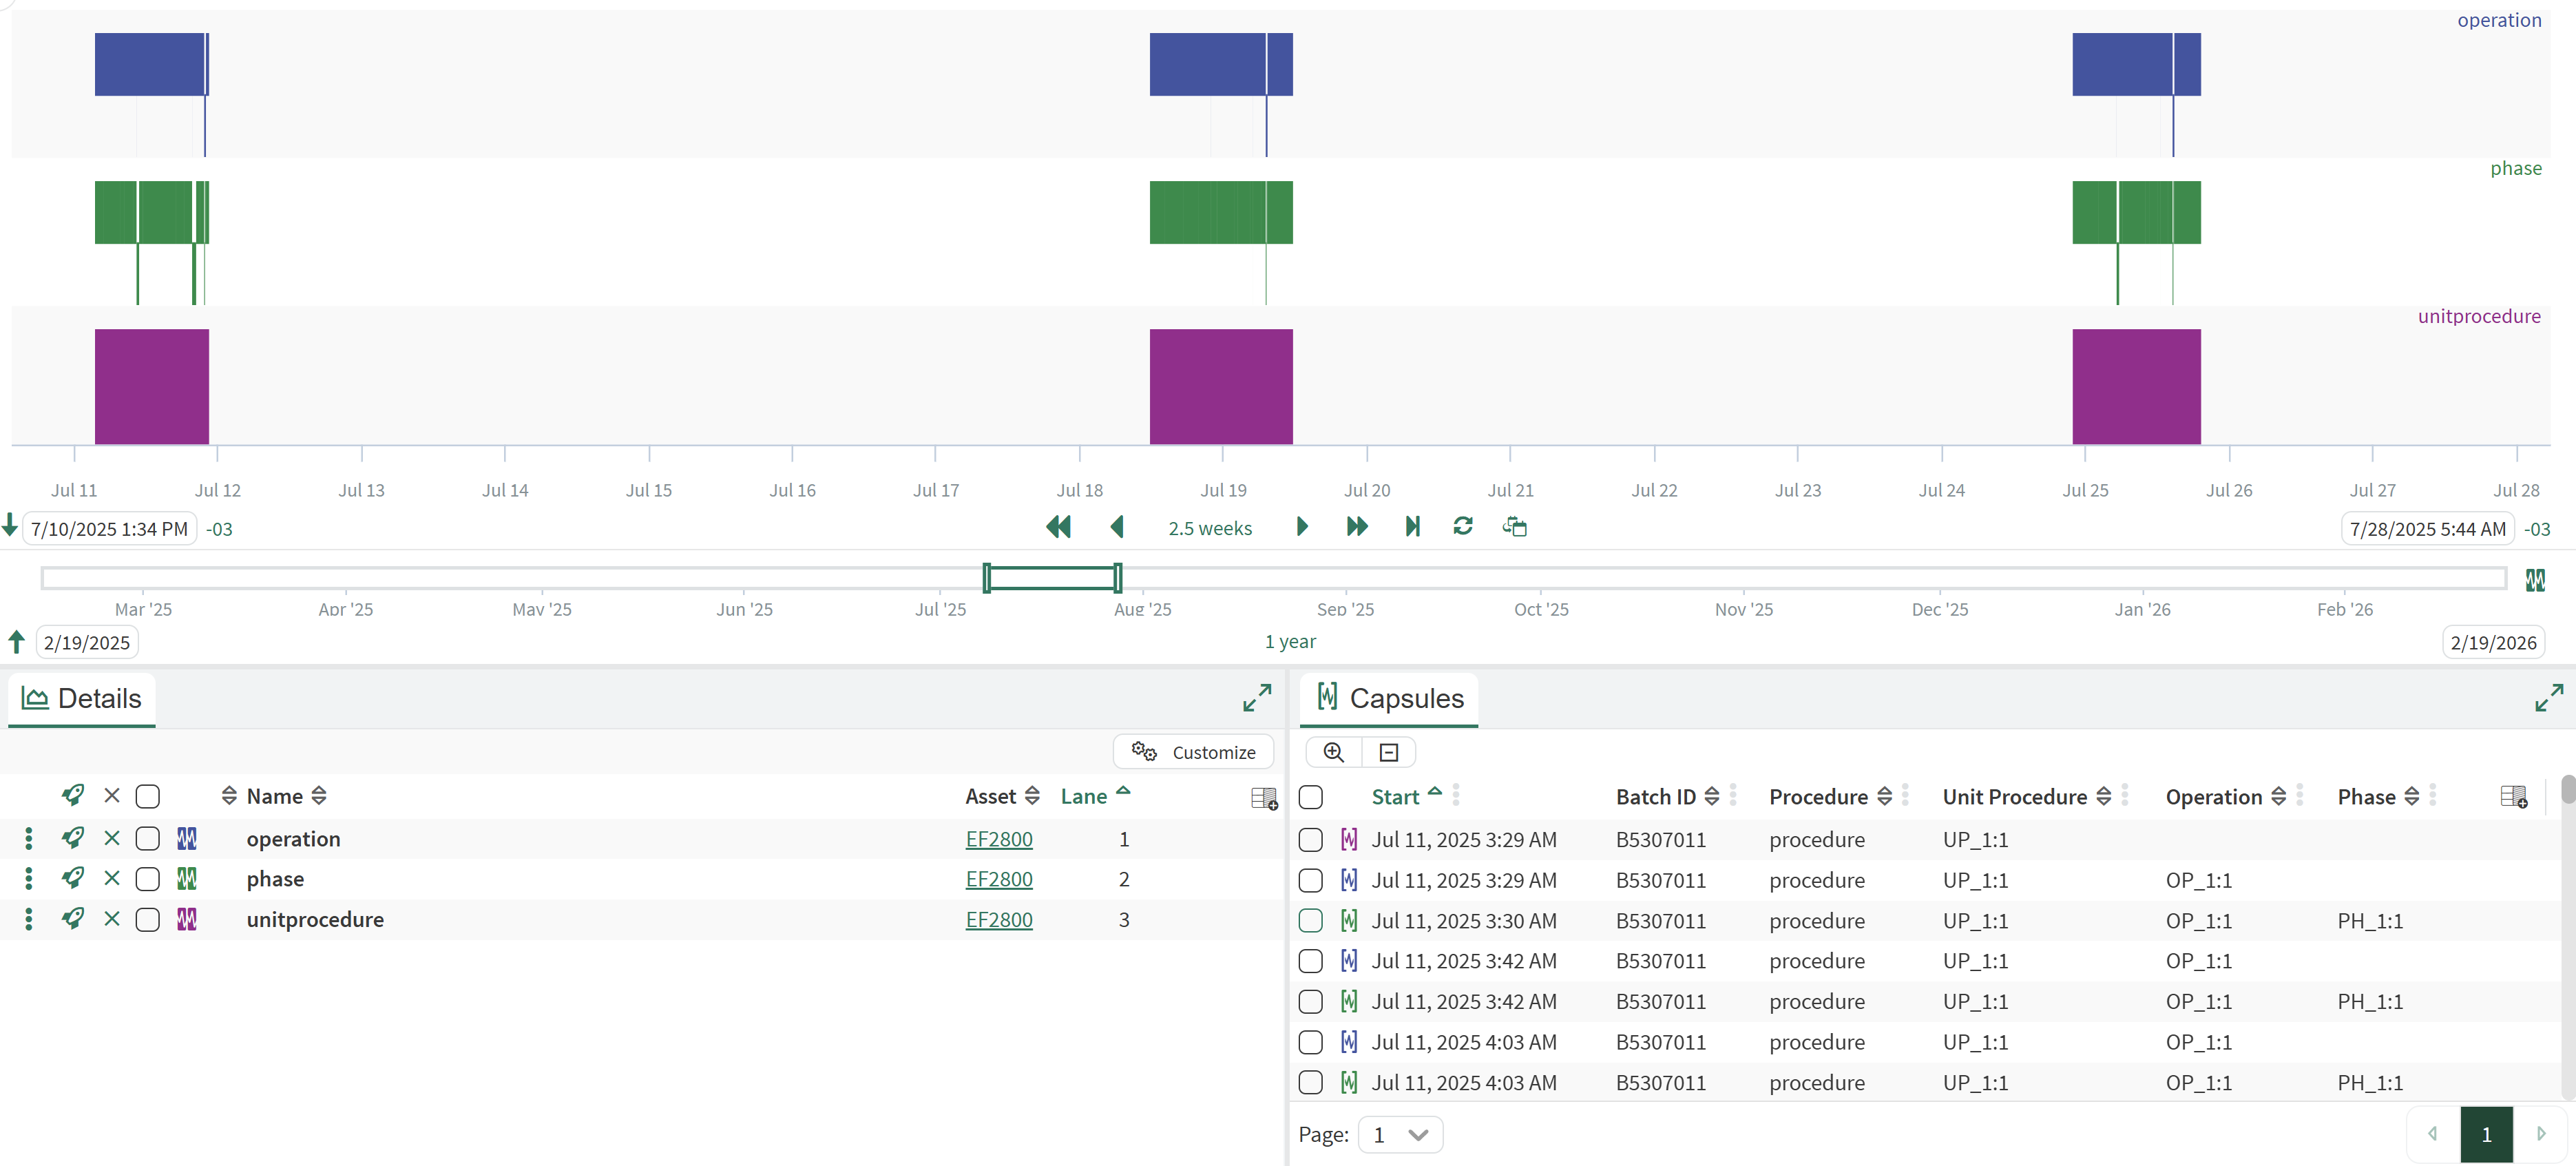
A capsule is generated for each row in our Event table, with duration defined by the start_time and end_time columns. Additionally, the other columns (like batch_id and unit_procedure) became capsule properties, because we listed them in the “CapsuleProperties": [ ... ] configuration option.