Applications Overview
An Application in Seeq represents an integration identity used for secure programmatic access to Seeq APIs and SPy. When an application is created, Seeq automatically provisions a service principal associated to that application. This service principal acts as a unique identity, independent of any user, and is intended solely for automated or scripted interactions with Seeq.
Applications vs Access Keys
Applications are the preferred mechanism for programmatic access to Seeq over Access Keys. Access keys are tied to a specific user and inherit the identity and permissions of that user. In contrast, Applications delegate identity and access control to Seeq, decoupling API access from any individual user.
Authentication model
Once an application is created, one or more API keys can be generated under that application. These API keys are used to authenticate to Seeq using the identity of the application’s service principal. Unlike access keys, the identity of the user who created the application has no bearing on the authentication context. Thus, all API activity is attributed to the service principal
Authorization model
Applications can be granted access to Seeq content (e.g. folders, Workbench workbooks, Organizer Topics, datasources, etc.) through the same permission model used for users and groups. See Setting Permissions (Access Control) and Managing Datasource Permissions
Managing Applications
Applications can be managed on the “Applications” tab of the Administration page. This tab is only accessible to system Administrators or users with the User and Group Administration capability.
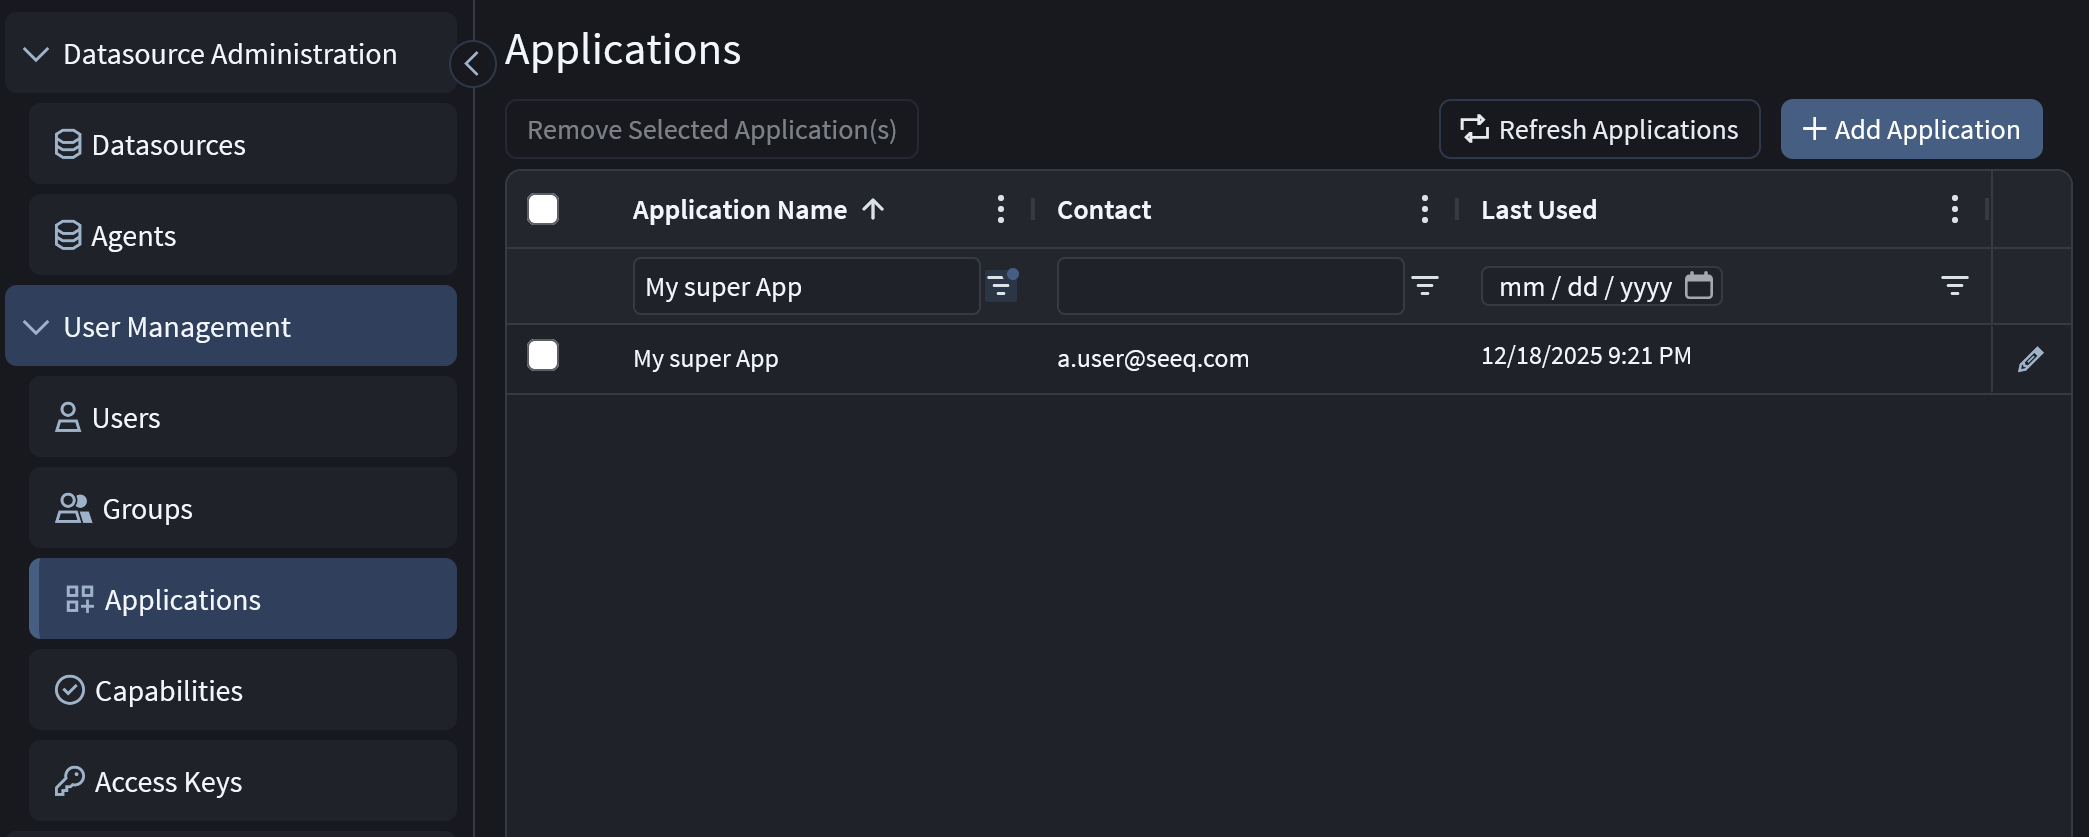
From this tab, you can add, remove, view or modify Applications. The table of Applications will display the following fields:
|
Column Name |
Description |
|---|---|
|
Application Name |
The user provided name for the Application. |
|
Description |
Not visible by default. This is a user provided description of the Application |
|
Contact |
A Seeq User who is assigned as of the point of contact for an Application. The user’s permissions do not affect the Application in any way and being assigned the owner of an Application does not grant any additional permissions for accessing or managing it. |
|
Last Used |
The last time an API Key associated with the Application was used. |
|
Edit Icon |
Clickable icon to display the Edit Application window. This will provide additional details of the Application as well. |
Add an Application
To add a new Application, click the + Add Application button in the top-right corner of the tab. This will display the Add Application window.
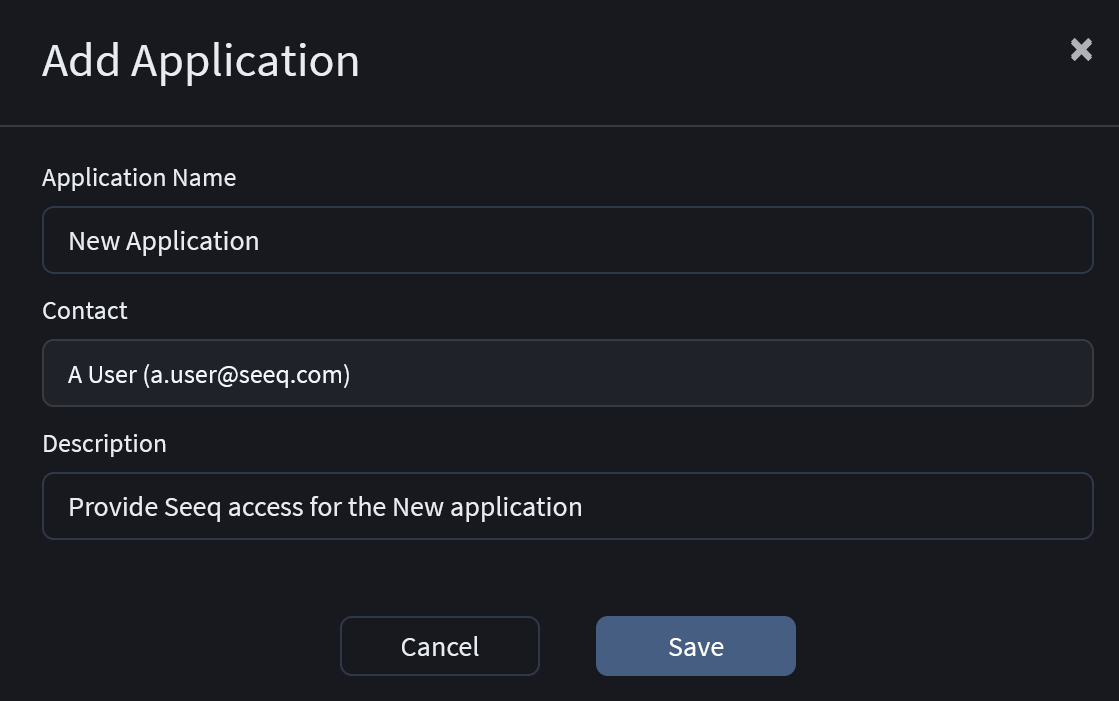
The Application Name field is required. This name must be unique among all Applications. A warning will be displayed and you will be prevented from creating a new application with a duplicate name.
The Contact field is optional. If left blank, you will be assigned as the contact for the created Application.
The Description field is optional. It can be used to record any additional useful information related to an Application.
Remove an Application
To remove an Application, select it (and any additional Applications you wish to delete) by clicking its checkbox in the left most column then clicking the Remove Selected Application(s) button in the top-left corner of the Applications tab. A confirmation window will appear.
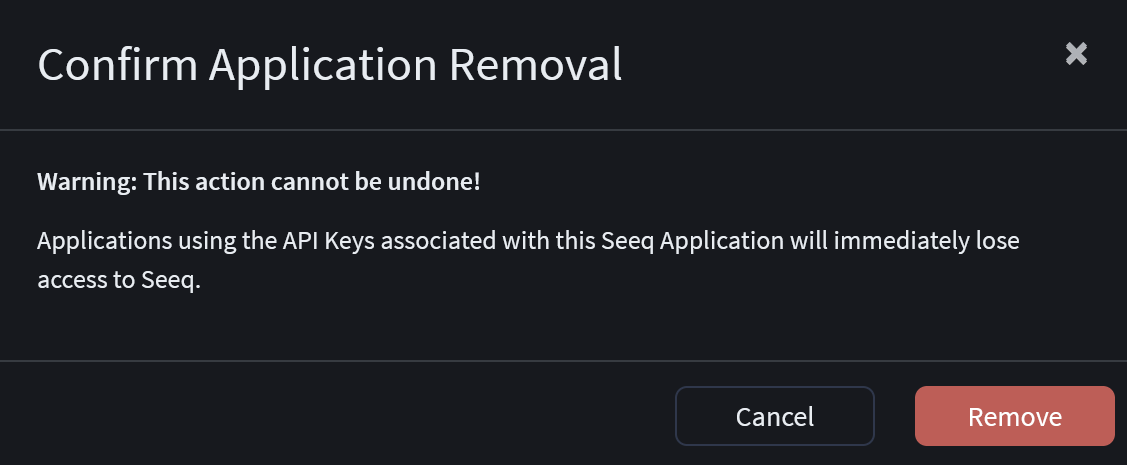
As noted in the confirmation prompt, removing an Application will also disable all API Keys associated with it.
Modify an Application
To modify an application, click the Edit icon in its right most column in the table. The Edit Application window will be displayed.
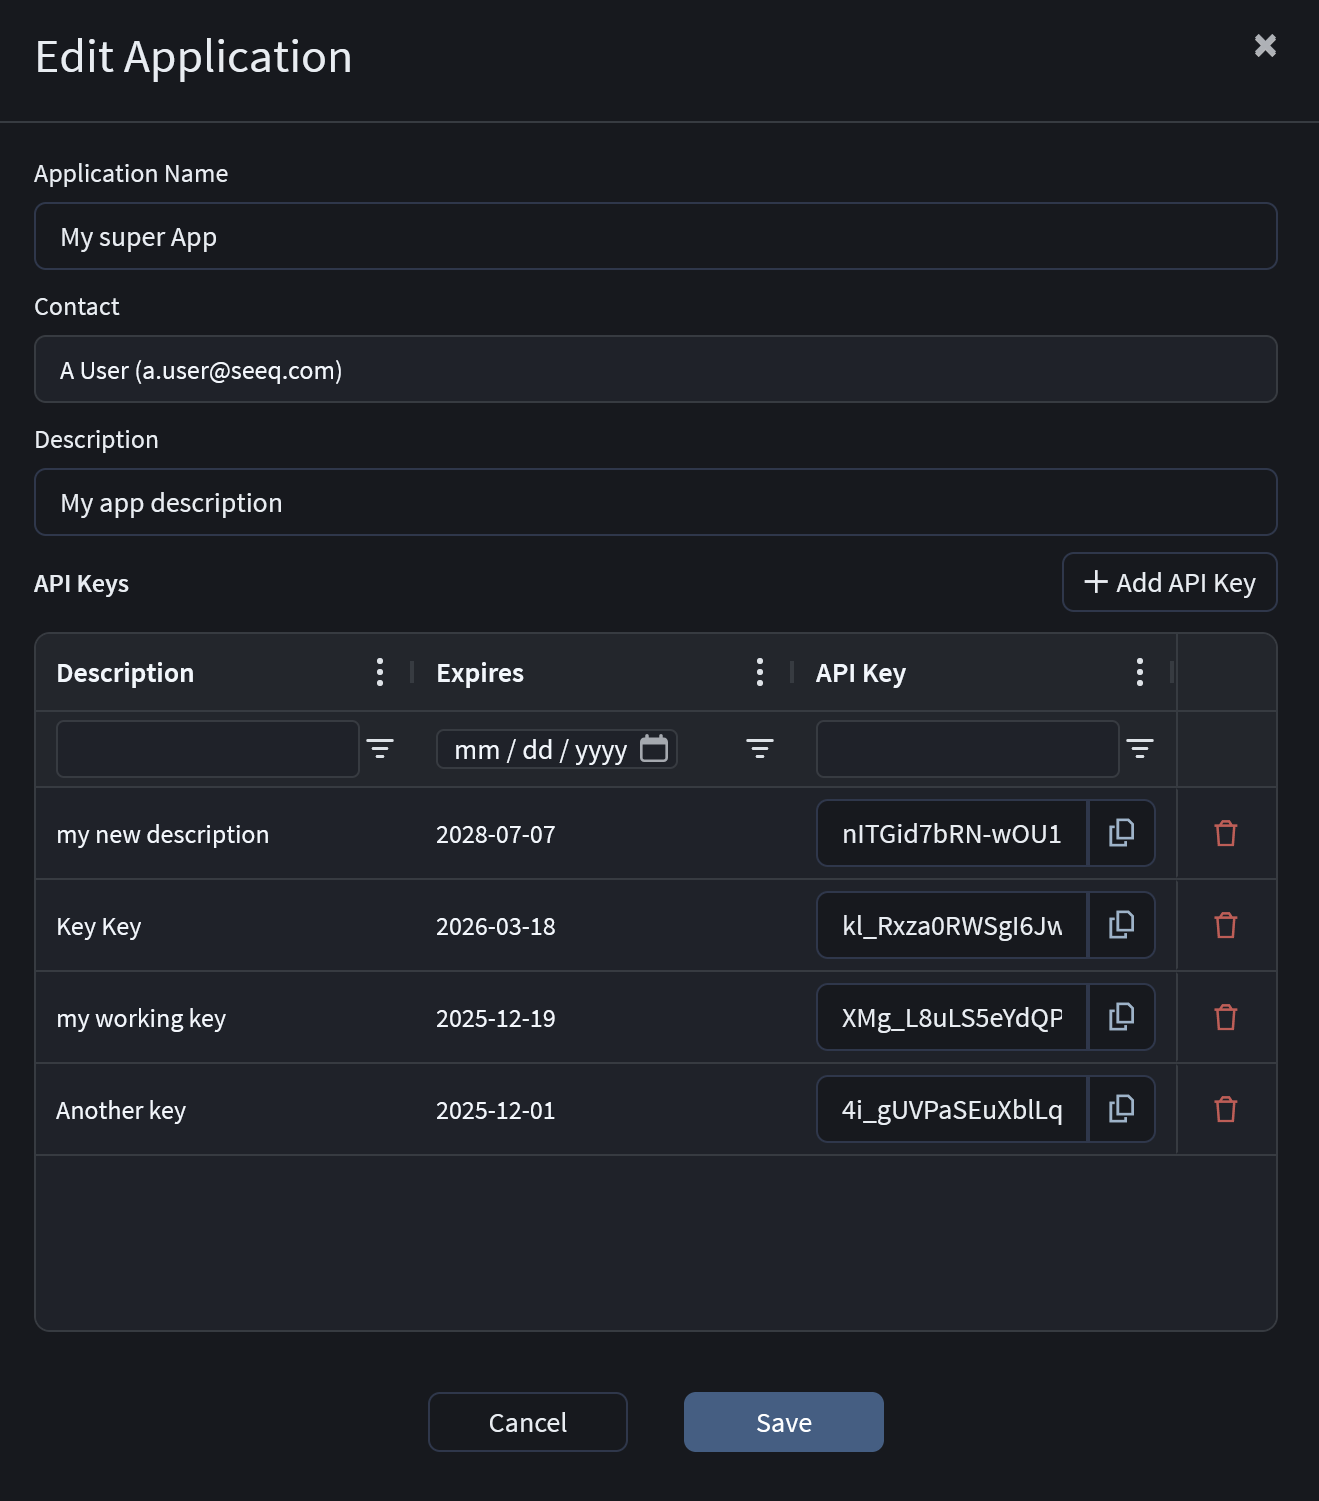
In this window, you can modify the Name, Contact and Description that were set when the Application was created. Additionally, you can create and remove API Keys that will be associated with this application. A table will display the following details for each API Key:
|
Column Name |
Description |
|---|---|
|
Description |
A description of the API Key and its purpose |
|
Expires |
The date on which the API Key will expire. API keys will expire at 00:00 UTC on the date displayed. |
|
API Key |
The API Key with a copy to clipboard button for ease of use. |
|
Delete Icon |
Clicking this will delete the API Key. |
Adding an API Key
To add an API Key, click the + Add API Key button. This will display the Add API Key window.
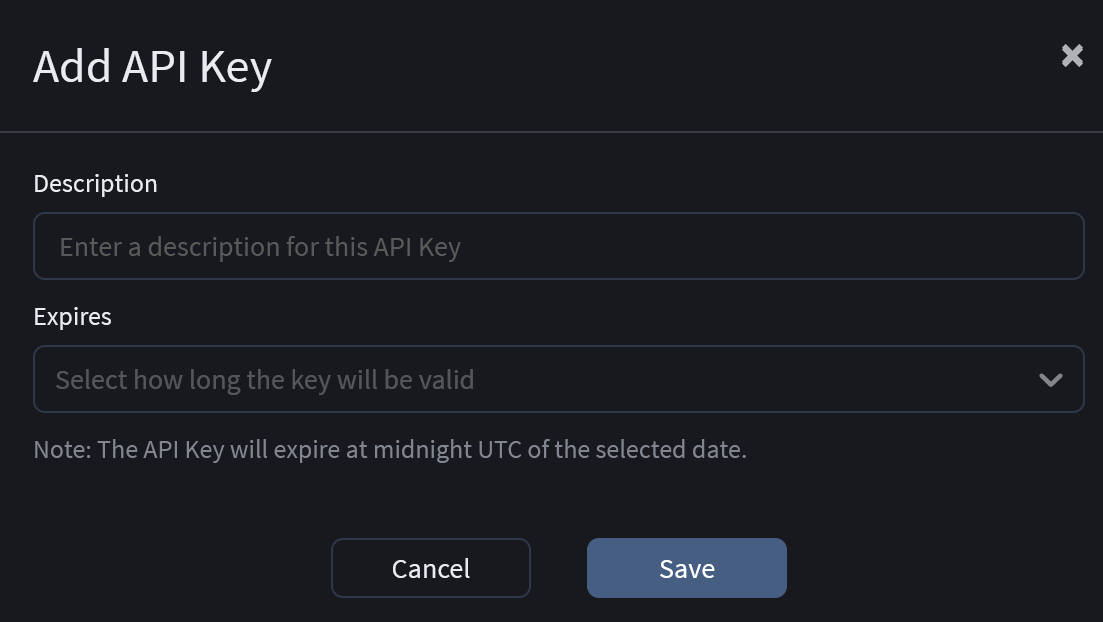
The Description and Expires fields are required. The Description should be a useful description for identifying the purpose or use of a specific API Key. Expires is a drop-down menu you can use to specify how long an API key will remain valid. Default duration options are 3 months, 6 months and 1 year. You may also choose to select a custom expiration date at which point a calendar will appear for selecting the date.
Removing an API Key
To remove an API Key, click the red Delete icon in the right most column of the API Keys table.