When working in trend view, two time ranges are available: the Display Range, and the Investigate Range. Both can be adjusted using the time range selectors (detailed below) located below the trend display area.
Controlling the Display Range
The display range in Seeq Workbench refers to the time over which signals and conditions are trended. It is the top of the two time ranges users can adjust inside Seeq Workbench.
Pan and Zoom
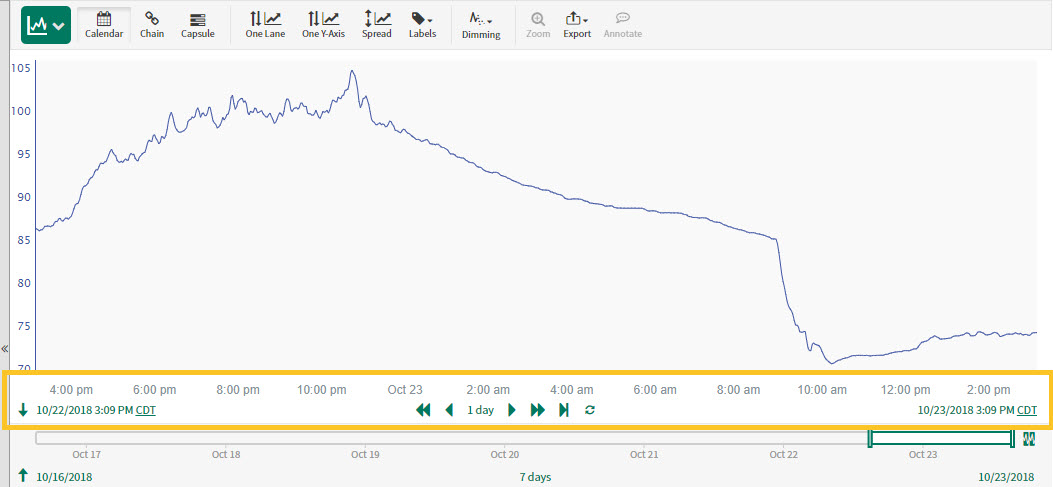
With your mouse over the time axis labels (4:00 pm, 6 pm, 8 pm, etc in the screenshot to the right) your mouse will change to a horizontal double arrow . When this icon is displayed you can zoom in or out by scrolling your mouse wheel or you can pan the trend by clicking and dragging left or right.
Entering Time Values in Fields
The start, end, and duration fields can be edited directly by clicking on the label (10/22/2018 3:09 PM CDT / 1 day / 10/23/2018 3:09 PM CDT in the screenshot to the right). To change any of these fields just type in a new date and press enter. You can also enter partial dates and times as adjustments. For example, if you want to change the start date from 11/14/2017 10:03am to 9:00 am in the example to the right you only have to type, "9:00am," and press enter and the time selection box will keep the day constant. Similarly, you can type only, "11/15," and it will hold the time constant.
Tips and Tricks for Entering Values in Date Fields
Entry
Result
-1d
Move the start/end date back 1 day
+1wk
Move the start/end date forward 1 week
*
Move the start/end date to the current time
*-30d
Sets the range to the last 30 days
$-12h
Sets the start date to 12 hours before the end date
Display Range
Quick Change Buttons
Full step forward/backward - Clicking the double arrows will page an amount equal to the current duration in either direction. In the example abovev it will move the display range forward/backwards 1.7 days.
Half step forward/backwards - Clicking the single arrow will page the trend half of the current duration in either direction. In the example above, it will move the display range forward/backwards 0.85 days.
Step to current time - Clicking the right most arrow will step the right side of your trend to the current time while keeping the total duration of your trend constant.
Enable auto update mode - Clicking on the update icon will set the trend into a streaming mode. After clicking you will be able to select how often the trend updates. The duration of your investigation range will remain constant, but trends will stream across the screen from right to left. This mode will also enable live computation of calculated signals and conditions.
Controlling the Investigation Range
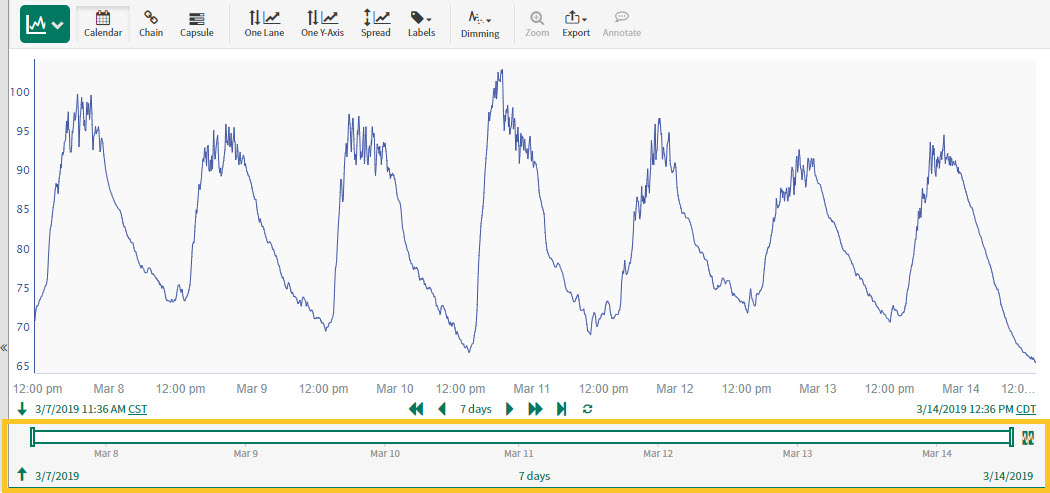
The investigation range in Seeq Workbench refers to the time over which conditions are displayed in the mini-map below the trend. It is the bottom of the two time ranges users can adjust inside Seeq Workbench.
Controlling the Display Range
The display range is shown inside the the investigation range as a highlighted region. You can adjust the display range by dragging the left or right edges of this highlighted area or by clicking, holding and panning left or right.
Viewing Capsules in the Investigation Range
Capsules are shown as colored bars in the investigation range. This allows you to see if there are capsules to the left or right of your current display range and so are not being displayed on the trend.
Swapping the Investigation and Display Ranges
Thetwo arrow icons on the left side of the display and investigation ranges will copy the start and end dates from one range to the other. For example, if you would like to trend the entire investigation range you can click on the up arrow and your display range will now match the entire investigation range.
Entering Time Values in Fields
Date entry follows the exact same format as date entry in the display range.
Investigation Range
JavaScript errors detected
Please note, these errors can depend on your browser setup.
If this problem persists, please contact our support.