JFrog Repository
Configuration
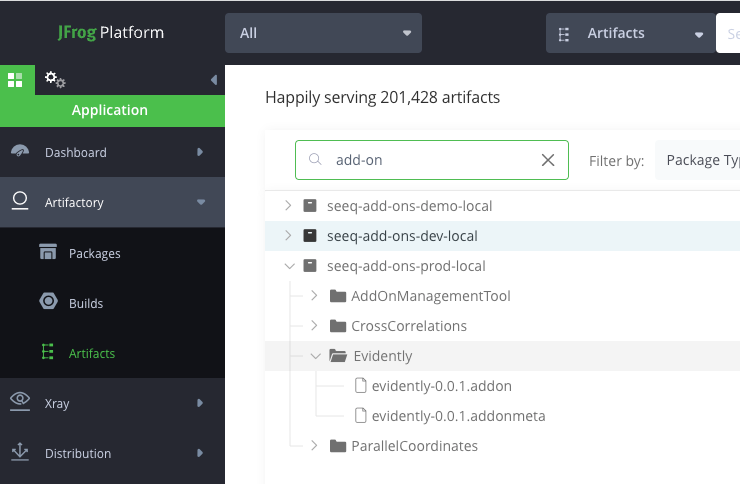
Once the JFrog repository is setup, you can start to add your Add-ons to it by creating a sub-folder and uploading your Add-on artifact there. In this example the repository is named seeq-add-ons-prod-local and all Add-ons that will be available in the Add-on Manager will be subfolders within this repository.

You’ll also need to select the Add-on on in the JFrog interface once it’s been uploaded and use the “Properties” tab to assign an identifier property to the Add-on artifact. The value of the property should be the Add-on identifier. The Add-on manager uses this property to efficiently identify and enumerate the Add-ons in the gallery.
The .addonmeta file is a zip file that contains just the addon.json file and the preview images. This file is required. It allows the Add-on Manager to more efficiently access the metadata without having to pull and unzip the entire Add-on package to do it.