Installing Seeq Server on Windows
The following instructions are for installing Seeq on Windows Server.
Support for Windows Server has been deprecated, and Seeq Server version R58 is the last version to support Windows Server. Seeq Remote Agents can still be installed on Windows Server.
To install Seeq on Ubuntu, see Installing Seeq on Linux.
Download the latest Windows Server 64-bit version of Seeq via https://www.seeq.com/customer-download . Move the installation kit to the Seeq machine, if it is not already there.
Disable antivirus and endpoint management software while installing or upgrading.
Run the installation executable by right clicking on it and selecting Run As Administrator to begin installation. You will be prompted for some information.
The only user input, which is optional, is where the Seeq executables and other files are installed. The default should work in most cases. Note that the Seeq data files are created elsewhere. If the installation folder is changed, the new location must still be a local drive and satisfy the requirements described in the Directories Used by Seeq Server below. The Seeq data folder may be set via the Seeq CLI if the default location of C:\ProgramData\Seeq\data is not desired, see: Changing the Seeq Data Folder Location.
By default, Seeq Server is configured to use the insecure HTTP protocol. It is strongly recommended that the secure HTTPS protocol is instituted as soon as possible by following the guidance at Secure Configuration Options (SSL/TLS).
HTTP is unencrypted, which means that usernames and passwords will be exposed to any network analyzing tool, and therefore are essentially exposed to other users on your network. HTTPS (SSL/TLS) is the only secure way to protect usernames, passwords and other sensitive information.
Starting Seeq Server
Seeq will automatically start Seeq, from the above dialog, or Seeq can be started by running the shortcut Launch Seeq. The first time Seeq is run, it is run interactively and a dialog is displayed. Seeq will automatically connect to the default OSIsoft PI historian (if available) and begin indexing. Also from the Seeq dialog you can:
Configure Seeq to run as a Service
Send log files to Seeq
When you start Seeq for the first time, the following dialog appears:
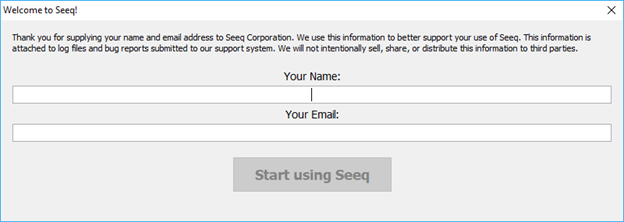
As the dialog says, this user name and email is associated with log file uploads and bug reports submitted to Seeq. This user name and email may be changed in the future.
The user running Seeq Server needs appropriate access to the directories used by Seeq Server. When running as a service, the "Log On" user configured in the service options is the user running Seeq Server. Otherwise, the user who runs the Seeq Launcher is the user running Seeq Server.
Directories Used by Seeq Server
If the default locations are used, no changes should be needed. If the installation or data directory are changed, the permissions may need to be manually changed.
Directory | Minimum Permissions |
|---|---|
Seeq data directory (C:\ProgramData\Seeq\data\ by default) | Full Control |
Installation directory (C:\Program Files\Seeq Server\ by default) | Read & Execute |
Global configuration and licensing directory (always C:\ProgramData\Seeq\) | Read & Execute and Write |
Additionally, Read permissions are required for all parts of the path to these three directories or Seeq Server will not start correctly. The read permission is only required for the folders themselves, not for their content.
Example
If the data directory is at G:\Seeq\data and Seeq is installed to F:\Applications\Seeq\Seeq Server the following permissions will be required:
Directory | Minimum Permissions |
|---|---|
F:\ | Read for this folder only |
F:\Applications\ | Read for this folder only |
F:\Applications\Seeq\ | Read for this folder only |
F:\Applications\Seeq\Seeq Server\ | Read & Execute for all contents |
G:\ | Read for this folder only |
G:\Seeq\ | Read for this folder only |
G:\Seeq\data\ | Full Control for all contents |
See Changing the Seeq Data Folder Location for information on changing the data directory. The installation directory can be changed during installation
Troubleshooting File Permissions
Folder permissions can often cause hard-to-diagnose problems. If you're not trying to lock down the data folder, then it is recommended that you make the permissions loose to get things working and lock down access once the problems have been identified and resolved.
Ensure that the user account has access to the directories used by Seeq Server
If you moved the data directory or changed the installation directory make sure that the new locations have the minimum permissions described above.
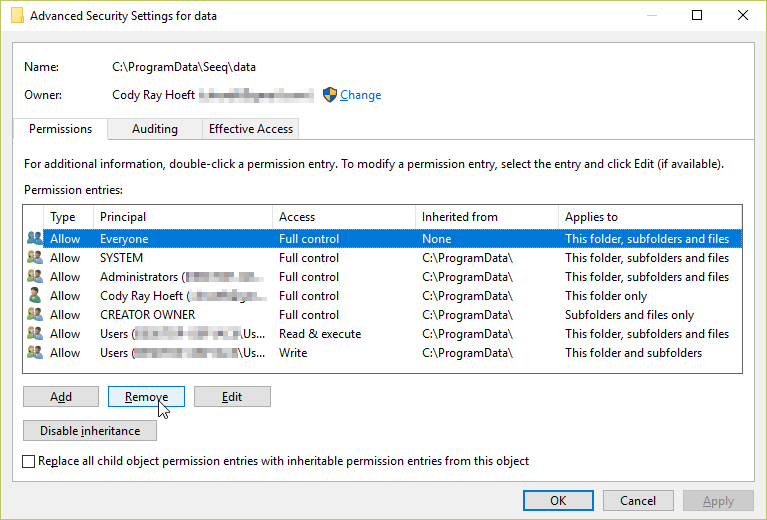
The easiest way to look at the permissions is through the "Advanced Security Settings" accessible by right clicking on folders (Properties » Security tab » Advanced button). If the permissions for the user account aren't clear the "Effective Access" tab allows you to enumerate the permissions for a specific user or group.
Temporarily Loosen up Permissions
If you suspect a problem with permissions is preventing Seeq from working properly, you can use the "Advanced Security Settings" menu to change the permissions to be more permissive.
seeq diag fix -fLimiting the Permissions on the Seeq Data Folder
When the data directory is created Everyone is given Full Access to the folder to ensure that non-administrator users can run Seeq Server. It is prudent to reduce these permissions to lock down access when you are not troubleshooting permissions and the user account that runs Seeq Server has been identified.
Changing the Permissions
Using File Explorer, navigate to the data directory
Open the "Advanced Security Settings" accessible by right clicking on the folder (Properties » Security tab » Advanced button)
Select the Everyone permissions and click Remove
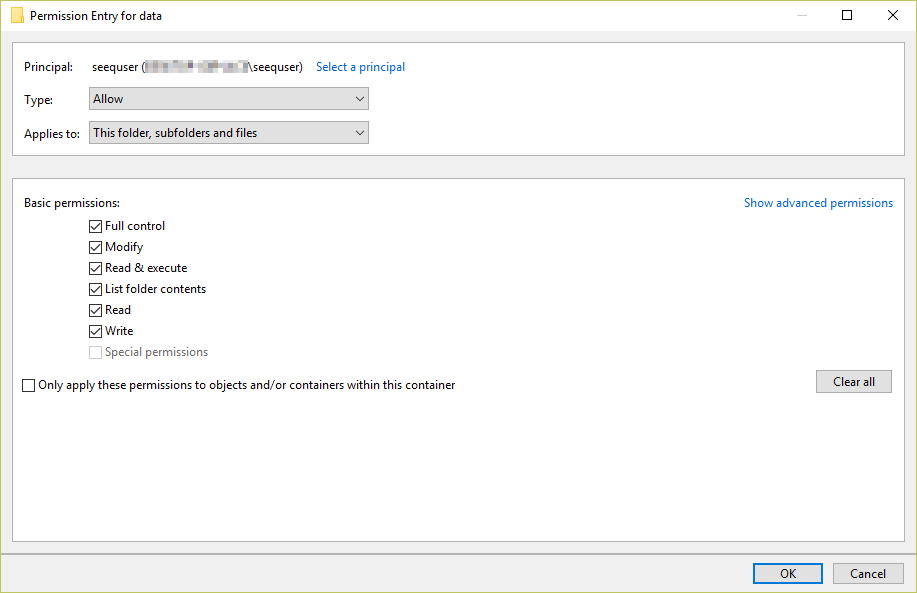
Click Add then Select a principal
Enter the username of the account (or the group of an account) that will run Seeq Server and click OK
Ensure that the user is given Full Control and click OK in the open windows.
Next steps
You will need to request and install a license file:
Requesting and Installing a License File
And you will want to make datasource connections: